
Photography Backdrop Exposure Guide: How to Meter Hand-Painted Textures (2026)
Posted on May 12, 2026
Standard in-camera metering consistently underexposes hand-painted canvas backdrops by two-thirds to one and one-third stops because the matte, textured cotton surface absorbs light and returns only 25 to 30 percent of it to the sensor's reflected-light meter, compared with the 85 to 90 percent a glossy vinyl backdrop throws back. This is not a flaw in your meter or your technique. It is a material property, the same optical principle that makes a dark car harder to expose correctly than a white one, except the problem is compounded by the unique micro-topography of hand-painted canvas, where every brushstroke casts its own shadows and diffuses light in directions the meter never sees.
The exposures you achieved on mass-produced paper or vinyl backdrops will not translate directly to hand-painted canvas photography backdrops. The cameras you trust, the metering patterns you have calibrated over thousands of sessions, will tell you to stop down or raise your ISO in situations where the backdrop itself is actually capturing light beautifully. This is why we see so many photographs shot against hand-painted surfaces that should glow but instead fall flat, their luminosity crushed by exposure compensation that was never applied, or applied incorrectly based on an assumption that a "neutral" gray canvas behaves like a studio wall.
Understanding why this happens requires understanding not just how meters work, but how hand-painted canvas behaves under light in ways that mass-produced alternatives cannot. When Jennifer hand-paints a Chasing Stone backdrop, she works pigment into the cotton fiber across two to three days, building layers that create tonal depth no printed surface can replicate.
That same depth is what confuses your meter. It requires building a metering philosophy specific to textured, light-absorbing surfaces that refuse to conform to the assumptions your camera's engineers made when they calibrated the standard 18 percent gray card that lives inside your firmware.
Struggling to get your hand-painted canvas backdrops to photograph correctly? Small exposure adjustments can completely change the depth, texture, and softness in your portraits.
Quick Answer
Hand-painted canvas backdrops underexpose by two-thirds to one and one-third stops in standard in-camera metering because cotton canvas absorbs 70 to 75 percent of incident light. Dial exposure compensation based on backdrop color: light tones like Limestone and Celestite need +2/3 to +1 stop; mid tones like Clay and Slate need 0 to +1/3 stop; deep tones like Umber and Lapis need -1/3 to -2/3 stop; near-black tones like Carbon and Graphite need -2/3 to -1 1/3 stops. The most reliable approach is an incident meter pointed at your subject from the backdrop position, which measures light falling on the subject rather than reflecting from the surface and bypasses the absorption problem entirely.
Why Your Camera's Meter Misreads Hand-Painted Canvas
The reflected-light meter built into your camera operates on a foundational assumption: that the surfaces it measures reflect approximately 18 percent of the light that hits them. This is the "middle gray" assumption, baked into every camera body from every manufacturer. The meter reads the light bouncing back from your scene, compares it to that internal 18 percent reference, and calculates an exposure that will render that average reflectance as middle gray in your image.
This works beautifully until it encounters hand-painted canvas. When you point that meter at a hand-painted backdrop, you are pointing it at a surface that reflects far less than the 18 percent it expects. A light-toned canvas like our Limestone or Celestite reflects somewhere between 30 and 40 percent, which sounds adequate until you account for the absorption factor of matte cotton fiber. A mid-tone canvas like Clay or Slate reflects roughly 15 to 20 percent. A deep-toned canvas like Umber or Lapis reflects only 8 to 12 percent. And a near-black canvas like our Carbon backdrop or Graphite reflects somewhere around 3 to 5 percent, which is why so many photographers shoot against these beautiful, sophisticated surfaces and watch the exposure system panic.
Here is what happens in practice: you frame your subject in front of the backdrop. Your camera's meter, assuming evaluative or matrix metering, reads the entire scene. It sees a large surface area returning very little light. The meter then tries to compensate by assuming you have underexposed. To correct for what it perceives as a problem, the meter tells you to open up. It adds exposure, trying to push that dark-reading surface toward the middle gray it expects. The result is that your subject gets overexposed because the meter sacrificed your subject's correct exposure in an attempt to compensate for a backdrop that never wanted to be middle gray in the first place.
A hand-painted cotton canvas backdrop reflects only 25 to 30 percent of incident light, compared with the 85 to 90 percent a glossy vinyl backdrop returns, creating a reflectance gap that causes standard in-camera meters to miscalculate exposure by up to one and one-third stops.
This is the core misunderstanding that drives so many mediocre exposures against hand-painted canvas. The backdrop is not the subject. The backdrop should not drive the meter reading. And yet, in evaluative metering, it does. For a deeper exploration of how camera settings interact with backdrop surfaces, our guide to camera settings for photography backdropscovers the complementary technical foundations.
The Reflectance Gap: How Canvas Absorbs What Vinyl Reflects
Material science matters more in photography than most photographers admit. The difference between a hand-painted canvas backdrop and a vinyl or muslin alternative is not merely aesthetic. It is optical. It is measurable. It is precisely quantifiable, and it explains why your metering systems fail against canvas in ways they never do against other surfaces.
Cotton canvas, the material we use for every Chasing Stone backdrop, has a tightly woven fiber structure with a matte finish. When light hits those fibers, a significant portion of it is absorbed rather than reflected. The absorption happens because light penetrates the fiber weave to a depth of several microns before being either scattered internally or converted to heat. This is the same property that makes canvas valuable as a painting substrate in fine art, the same reason museums hang oil paintings on canvas rather than plastic: the material accepts pigment, holds it, lets it integrate into the weave rather than sitting on the surface like a decal.
When Jennifer hand-paints a backdrop, she is not printing color onto the canvas surface. She is working pigment into the fiber across multiple sessions over two to three days. A single-application brushstroke has depth. Two or three layers of pigment, built up across days of painting, create a surface with significant tonal variation at the microscopic level. This is why hand-painted canvas has a presence that mass-produced surfaces cannot match. It is also why it behaves so differently under a meter.
Hand-painted canvas backdrops require intentional metering to preserve the layered texture and soft tonal variation that make them photograph so beautifully.
Vinyl, by contrast, is a non-porous plastic film. When light hits vinyl, the vast majority of it reflects directly off the surface without absorption. A white or light-colored vinyl backdrop will reflect 85 to 90 percent of incident light. Even a dark vinyl backdrop reflects 40 to 50 percent. This is why vinyl is so easy to expose: it behaves almost like a secondary light source. Your meter sees all that reflected light and calculates exposure correctly, because vinyl's reflectance is close enough to middle gray's assumptions that the math mostly holds. For a full breakdown of how these materials compare across every performance dimension, our photography backdrop materials comparison covers the complete analysis.
Hand-painted canvas absorbs and diffuses studio light, while vinyl reflects it, creating hot spots that flatten the tonal range of the image. This reflectance difference is not a minor variance; a glossy vinyl surface creates approximately 3.5 times more reflected fill light than a matte canvas surface of the same color.
The practical result: an in-camera meter pointed at a Limestone backdrop will read approximately two-thirds stop underexposed. The same meter pointed at a Clay or Bentonite backdrop will read roughly one-third stop underexposed. Pointed at a Slate or Umber backdrop, it will read approximately one-third stop overexposed. Pointed at a Carbon or Graphite backdrop, it will read one to one and one-third stops overexposed. This is not because your meter is broken. It is because your meter is doing exactly what it was designed to do with a surface that actively works against those design assumptions.
Photography Backdrop Exposure Metering: Compensation by Color Family
The solution is not to abandon your camera's metering system. The solution is to understand how to adjust for the canvas absorption factor based on the specific backdrop color you are using. We have built this reference table from extensive shooting against our own hand-painted canvases across studio lighting conditions, natural light, mixed light, and the full range of session types our photographers work: editorial portraiture, luxury wedding detail shots, fine art photography, and commercial product work. The exposure compensation values assume evaluative or matrix metering on a full-frame or APS-C sensor with standard metering algorithms. Your specific camera model may vary by plus or minus one-third stop, but these values represent the center point you should test first.
Exposure Compensation Reference for Hand-Painted Canvas Backdrops
| Color Family | Chasing Stone Colorways | Approx. Reflectance | Recommended EC Evaluative Metering |
Why |
|---|---|---|---|---|
| Light Tones | Limestone, Sandstone, Silt, Celestite | 30–40% | +2/3 to +1 stop | Meter darkens scene to push light tones toward 18% gray |
| Mid Tones | Clay, Bronzite, Bentonite, Slate, Rose-Quartz, Mica | 15–20% | 0 to +1/3 stop | Close to meter calibration; slight canvas absorption offset |
| Deep Tones | Umber, Hematite, Rhodonite, Lapis, Azurite, Serpentine, Purpurite | 8–12% | −1/3 to −2/3 stop | Meter overexposes to push dark tones toward 18% gray |
| Dark Tones | Carbon, Graphite | 3–5% | −2/3 to −1 1/3 stops | Maximum meter overcorrection; strongest negative EC required |
✦All values are recommended starting points. Adjust based on lighting conditions and creative intent.
Light Tones (Limestone, Sandstone, Silt, Celestite): +2/3 to +1 Stop. These backdrops return the most light of any canvas we make. Limestone and Sandstone are warm light neutrals with subtle undertones that reveal themselves under directional light. Silt is a cool light gray with nearly architectural precision. Celestite is a soft sky blue, the lightest of our saturated tones. All four of these backdrops will cause your meter to underread by approximately two-thirds to one stop, which means your in-camera exposure will fall darker than your subject actually needs. Start with +2/3 stop exposure compensation in soft light. Increase to +1 stop if you are using directional or key-light-heavy setups.
Mid Tones (Clay, Bronzite, Bentonite, Slate, Rose-Quartz, Mica): 0 to +1/3 Stop. These are the workhorse backdrops for most session types. Clay is warm terracotta, earthy and forgiving with almost any skin tone. Bronzite is a warm, sophisticated bronze-gold. Bentonite is a warm mid-gray with warmth that does not abandon its role as a neutral. Slate is the cool-toned equivalent, a concrete gray with architectural clarity. In this color family, your meter's behavior depends heavily on lighting. In soft, overcast light, these backdrops may require no exposure compensation at all. In more directional setups with stronger key light, dial +1/3 stop to ensure both subject face and backdrop texture hold their full luminosity.
Deep Tones (Umber, Hematite, Rhodonite, Lapis, Azurite, Serpentine, Purpurite): -1/3 to -2/3 Stop. Here the metering system reverses behavior. Deep-toned backdrops absorb so much light that your camera's meter adds exposure automatically to try to push the scene toward middle gray. The result is subject overexposure unless you dial negative exposure compensation. Umber is a deep brown, rich and dimensional. Lapis is a deep, saturated blue. Start with -1/3 stop and adjust based on your histogram. If highlights begin to blow, move to -2/3 stop.
Dark Tones (Carbon, Graphite): -2/3 to -1 1/3 Stops. These are the most technically demanding backdrops to meter, not because they are difficult to shoot against artistically (they are sublime), but because they trigger the most aggressive overcorrection in your camera's metering system. Carbon is near-black, a sophisticated pure dark. Graphite is a charcoal so deep it reads as near-black in low light. You must dial substantial negative exposure compensation, typically -2/3 to -1 stop as a starting point, and be prepared to move to -1 1/3 stops if skin tones are brightening beyond what your eye perceived on set.
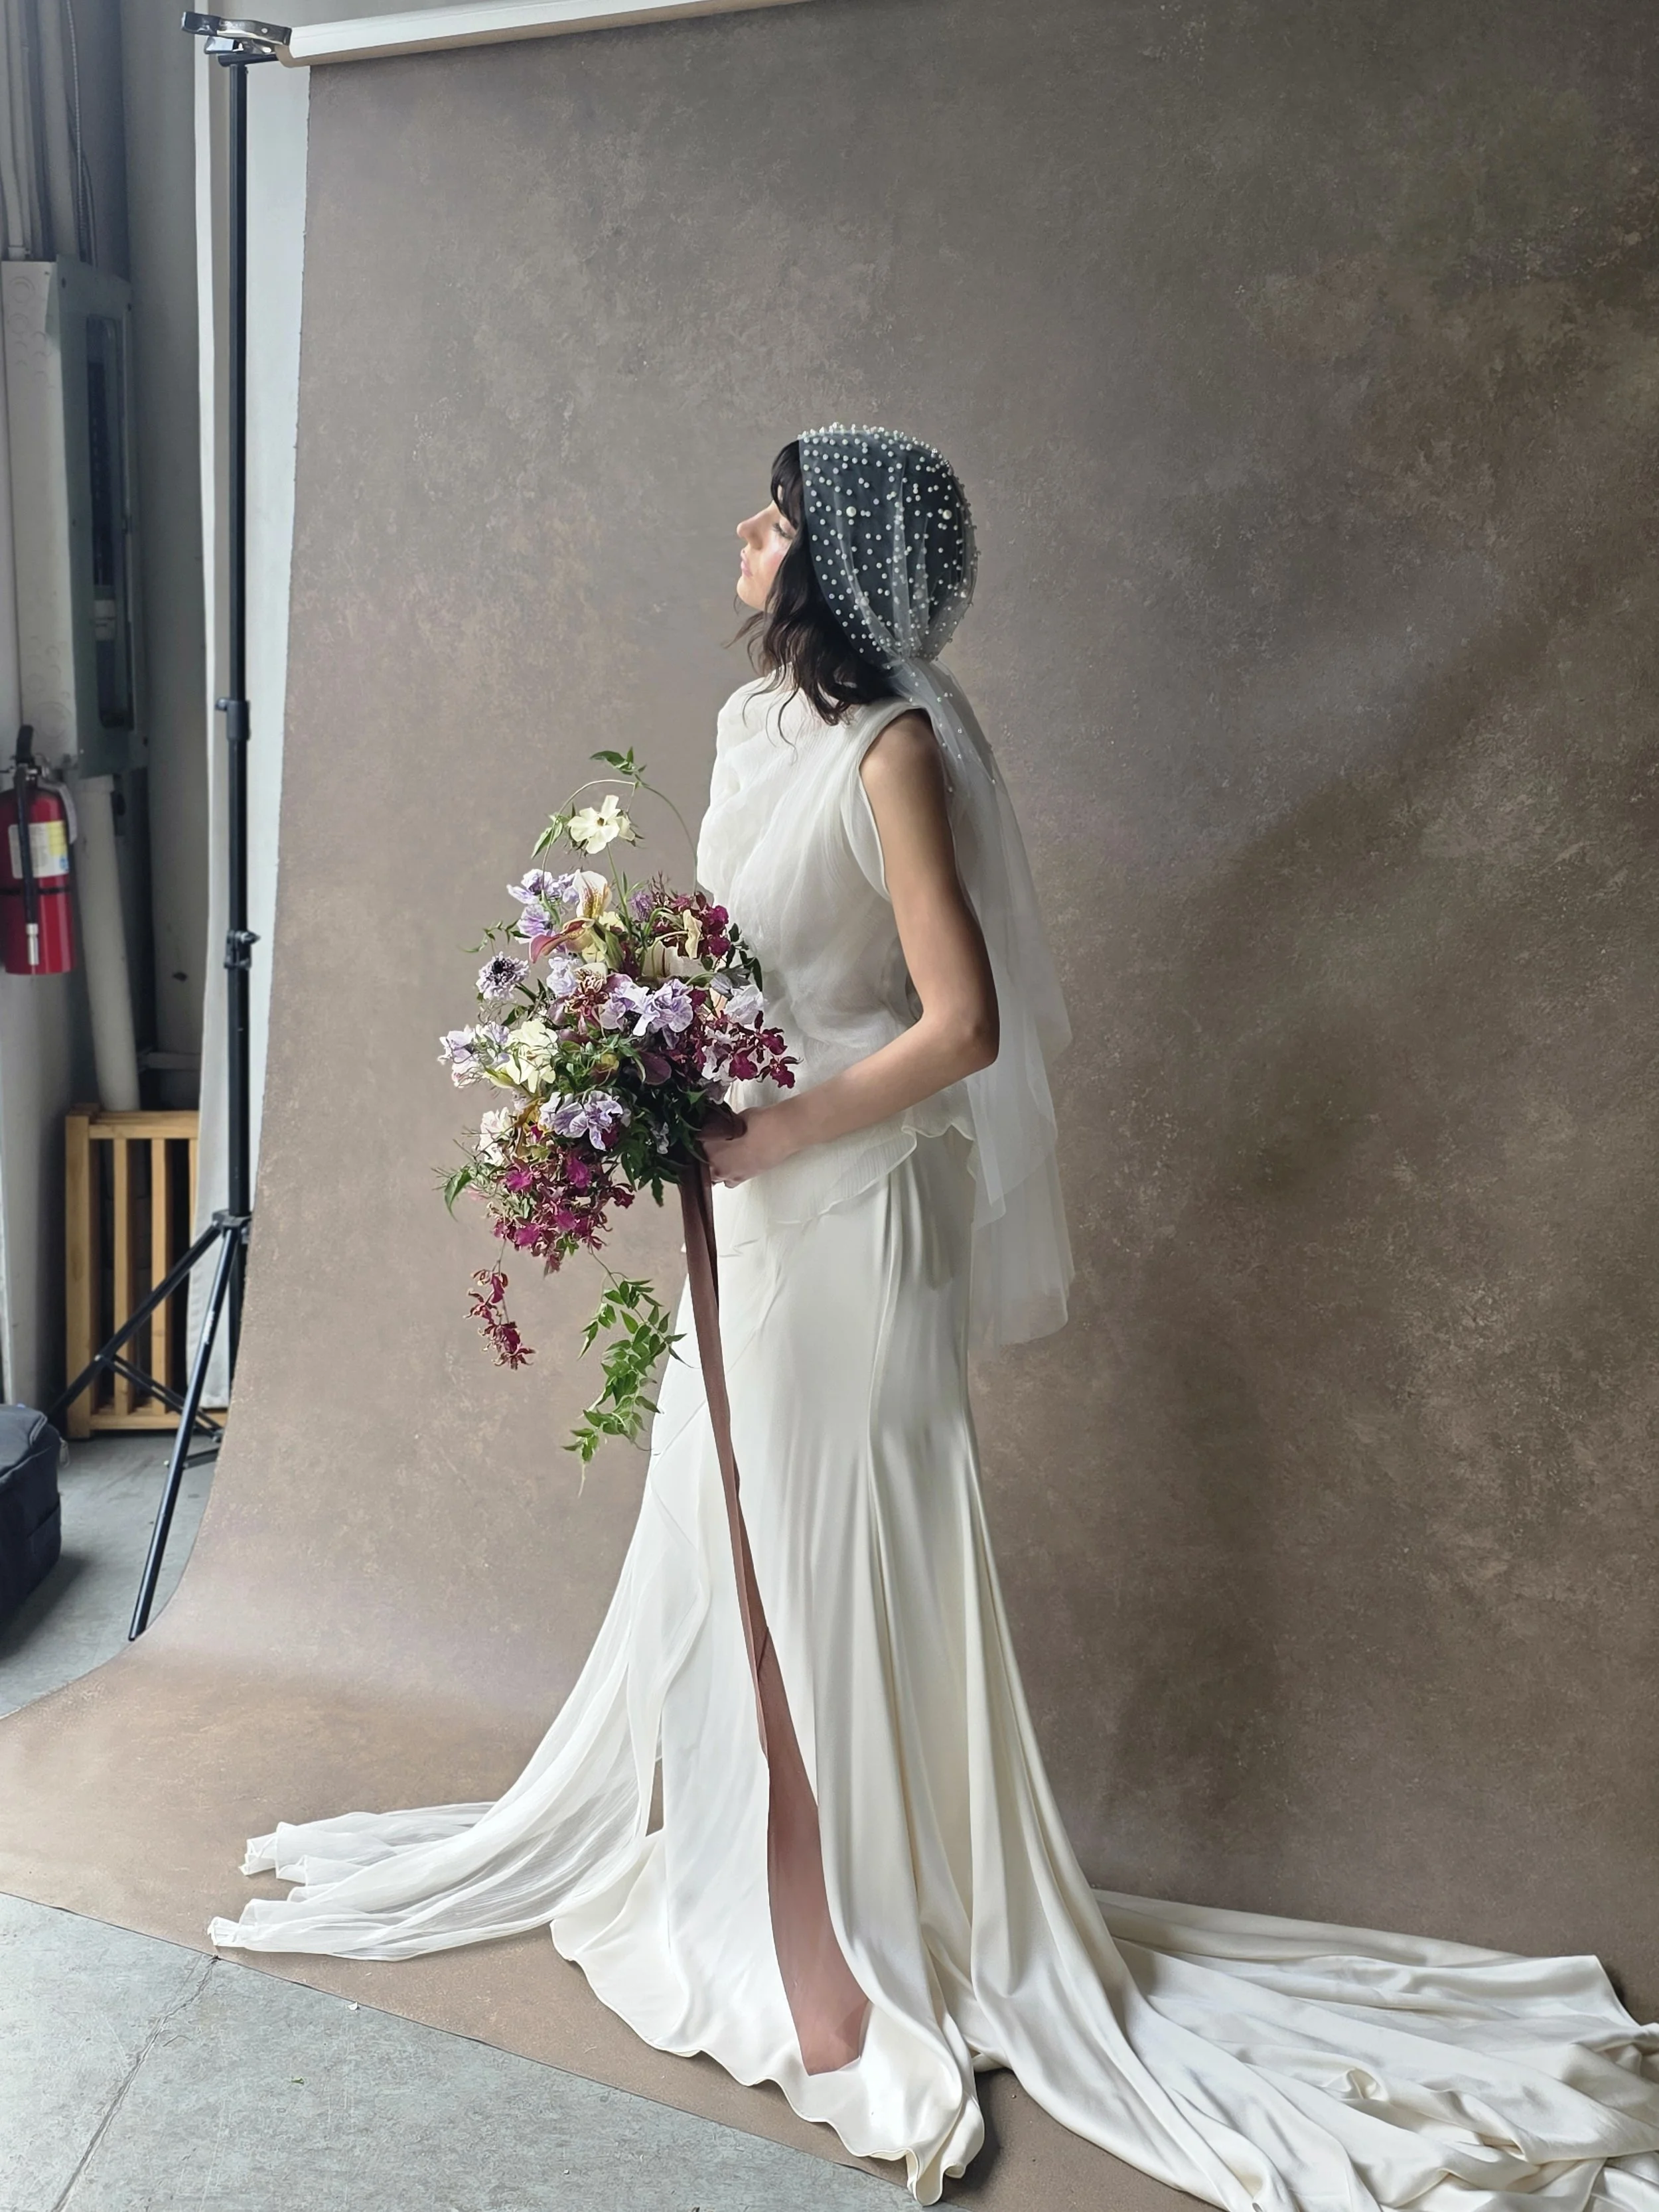
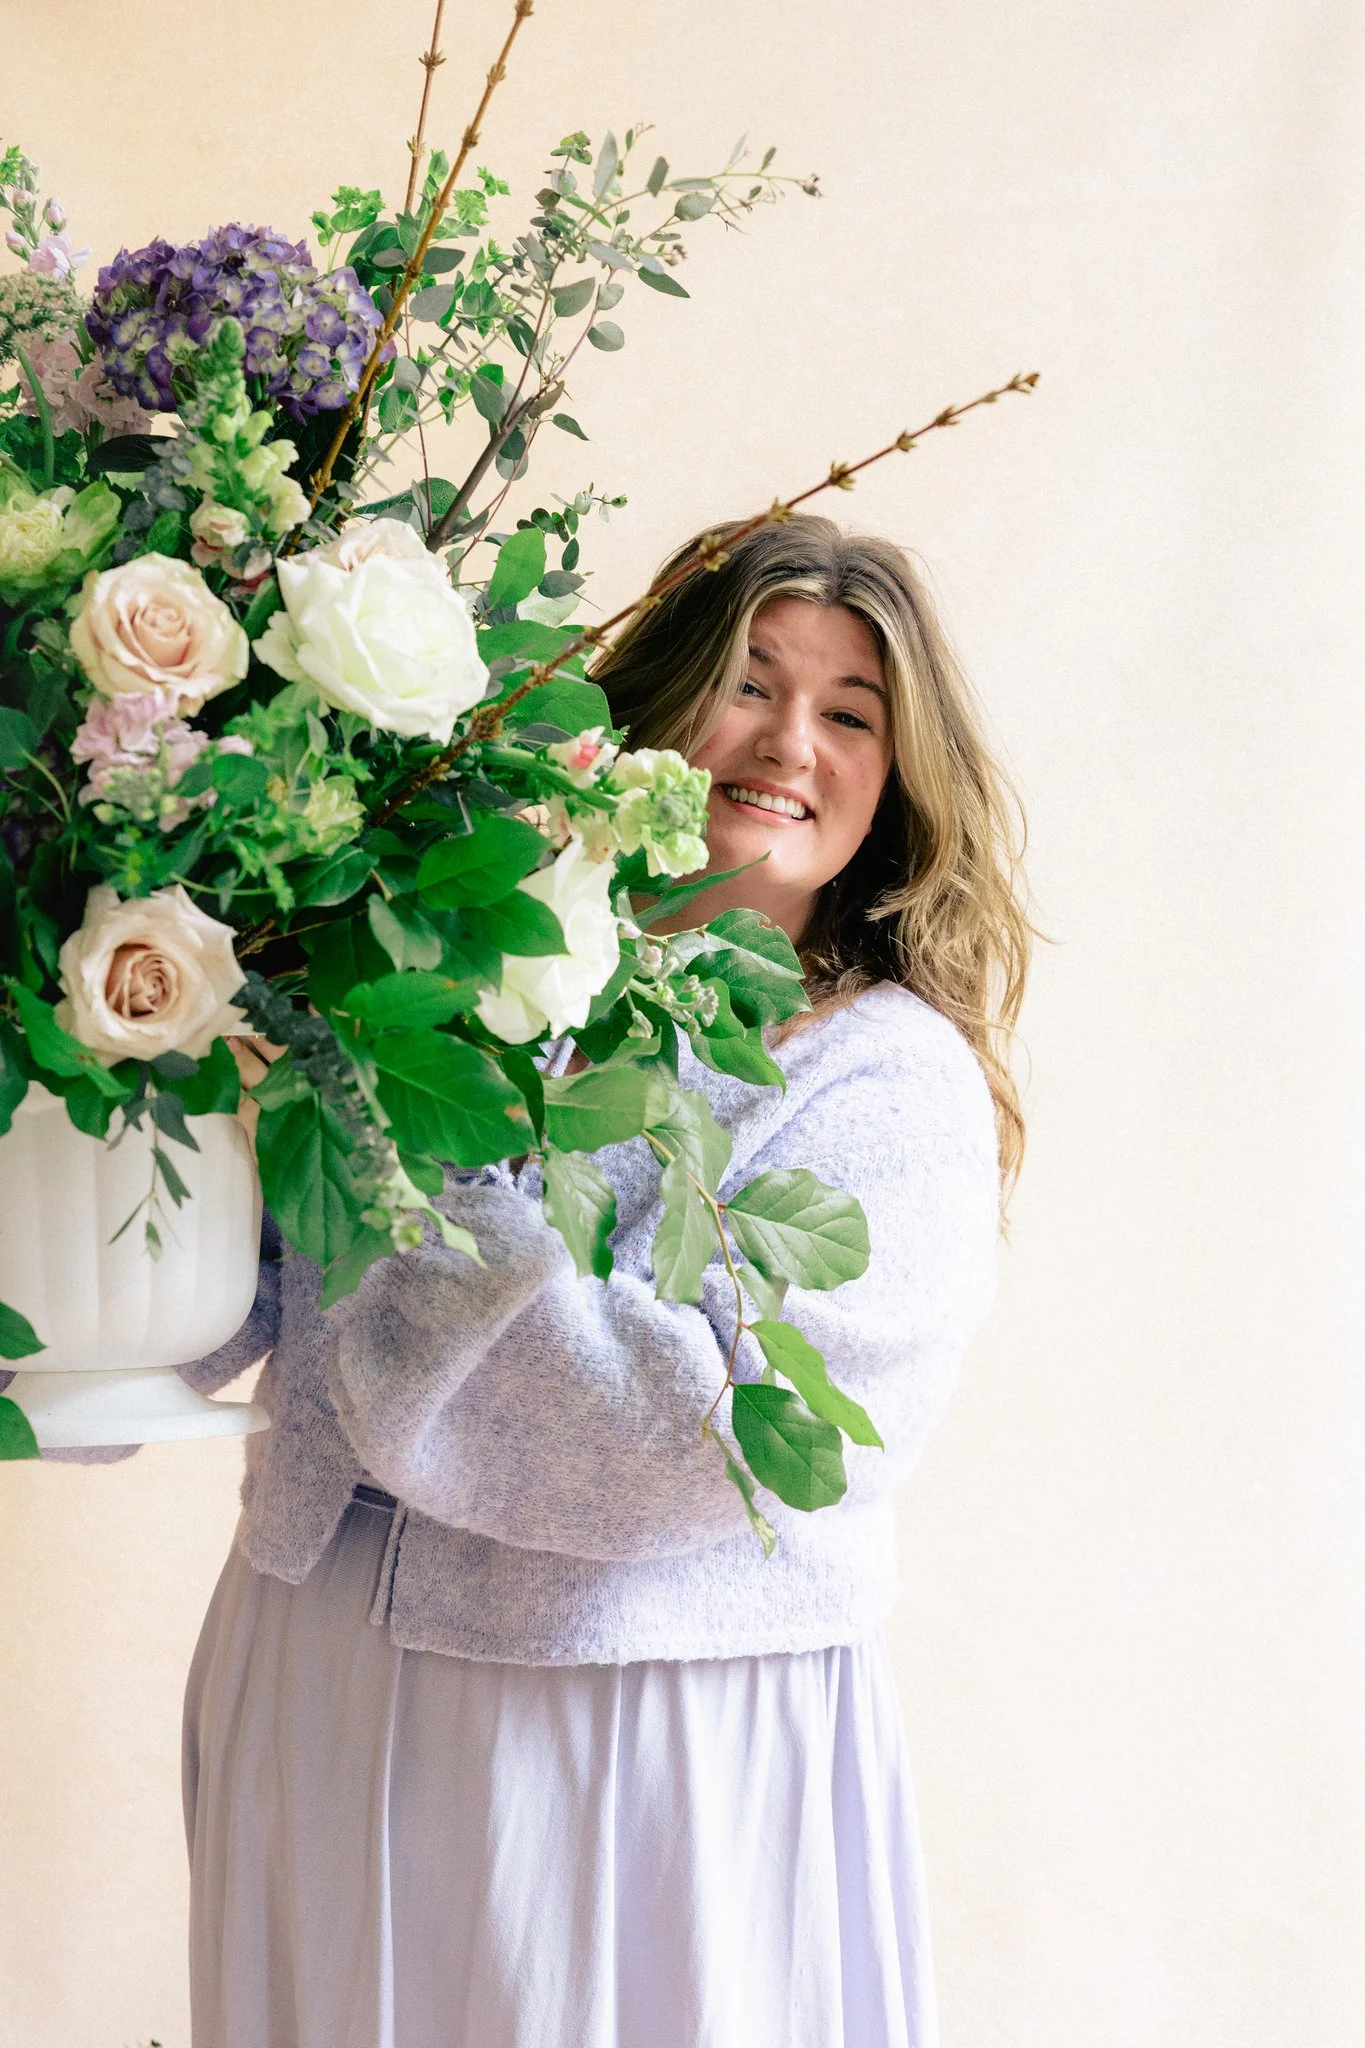
Hand-painted canvas backdrops absorb light differently than vinyl or paper. Understanding exposure compensation helps wedding photographers maintain the texture and softness that luxury bridal portraits deserve.
Choosing the Right Metering Mode for Backdrop Photography
Most photographers shoot in evaluative or matrix metering because it is the default and because it works acceptably for the majority of everyday photography. Evaluative metering reads the entire frame, weights certain zones more heavily than others (usually near the focus point), and tries to calculate an overall "correct" exposure. For backdrop work, evaluative metering is a liability because it cannot distinguish between your subject and the backdrop. Both are in the frame. Both are weighted. Your subject and your backdrop are in a zero-sum competition for exposure, and the backdrop always wins because it covers more frame area.
Spot metering, by contrast, reads only the small central circle of your viewfinder, typically representing 1 to 5 percent of the frame depending on your camera model. In backdrop work, spot metering becomes a surgical tool. You point it at your subject's face, at the plane of focus where critical exposure needs to be correct, and ignore the backdrop entirely. The meter reads only the light hitting your subject and calculates exposure based on that alone. This is often the fastest, most reliable approach for portrait photography against any backdrop, hand-painted or otherwise. One note: human skin at different tones reflects between 30 and 40 percent of light, which is why spot metering on skin still benefits from +1/3 to +2/3 stop positive compensation even before you consider the backdrop.
Center-weighted metering splits the difference. It meters the entire frame but weights the central area more heavily, typically 60 to 75 percent of the total metering data comes from the center. For backdrop work, center-weighted metering can be useful if your composition consistently places your subject in the center, but it inherits some of evaluative metering's problems: the backdrop still influences the reading, just less severely. If your backdrop is Carbon or Graphite, center-weighted metering will still overcompensate. If your backdrop is Limestone or Celestite, it will still undercompensate, just not as aggressively.
The hierarchy we recommend: use spot metering pointed at your subject for all situation-critical shooting (client sessions, editorial work, anything where exposure must be perfect on the first frame). Use center-weighted as a secondary mode when you have time to adjust. Reserve evaluative metering for hand-painted canvas only if you are prepared to apply the full exposure compensation values from the table above and verify every frame on the histogram. Our camera settings guide for backdrop photography covers the aperture and distance parameters that complement these metering decisions.
Why an Incident Meter Changes Everything
An incident meter is a small handheld device with a light sensor and a translucent dome. You point it at your light source from the subject position, and it measures the light falling on the subject rather than the light reflected by the subject. This is the difference between reflected metering (what your camera does) and incident metering (what a handheld meter does). For backdrop work against hand-painted canvas, an incident meter is a revelation.
Because an incident meter measures light falling on the scene rather than light bouncing off it, the meter does not care what color your backdrop is. It does not matter if you are shooting against Carbon or Limestone. The meter sees only the light illuminating your subject. It calculates exposure based on that light alone. No compensation factors. No color-dependent adjustments. The meter tells you what shutter speed and aperture combination will correctly expose your subject given the light quality and intensity in your scene. Your backdrop's reflectance becomes irrelevant.
An incident meter eliminates the backdrop absorption factor entirely. It measures light falling on your subject, not light reflecting from your backdrop, making it the gold standard for metering hand-painted canvas surfaces regardless of colorway.
This is why incident metering remains the gold standard for professional studio and location portrait work: it eliminates the largest source of metering error, which is the scene's reflectance variability. At a wedding, the bride's white gown, the groom's dark suit, the venue walls, the stained glass: all the reflective surfaces in the frame create a chaotic reflectance environment that confuses reflected-light meters. An incident meter says: your key light is two stops brighter than your fill, your subject needs f/5.6 to hold depth of field, calculate your shutter speed from there.
The cost of an incident meter is typically $200 to $500 for a professional-grade model like a Sekonic L-858D or Gossen Digipro F2. The time savings and exposure confidence it provides across hundreds of sessions pays for itself within a season. If you are shooting backdrop-based portraiture, editorial work, or commercial photography at any regular volume, an incident meter transforms the exposure question from a guessing game with positive and negative compensation factors into a definitive physical measurement.
Reading the Histogram Against a Textured Backdrop
The histogram is your most reliable exposure verification tool when shooting against hand-painted canvas, because it measures the actual light distribution in your captured image rather than relying on assumptions. But histogram reading against a matte, textured backdrop requires understanding one critical difference: the histogram will show you a much wider spread of values than you see with smooth surfaces, because the texture creates micro-variations in tone across the backdrop.
When you shoot against a smooth surface (paper, vinyl), the histogram shows a relatively clean spike in whatever tonal range that surface represents. A light-toned vinyl produces a histogram spike in the highlights. A dark vinyl produces a spike in the shadows. This clean spike exists because every pixel of the backdrop is essentially the same tone.
A hand-painted canvas backdrop produces a much wider histogram spread across its tonal range, because the painted texture means every pixel is slightly different. The direction of a brushstroke, the layering of pigment, the subtly varying pressure of Jennifer's hand across the surface: all of this creates tonal microvariation that your histogram faithfully records. This is not a problem. This is the signature of hand-painted work. But it means you must learn to read the histogram differently.
The critical zone to protect is your subject's exposure, which appears in the histogram as a separate, usually smaller peak offset from the backdrop's broader distribution. Your subject's face, for example, will produce its own histogram spike in the skin-tone range (typically occupying the zone between 40 and 70 percent across the full 0 to 255 histogram range, depending on skin tone and lighting). When you review a frame, you are reading the backdrop's distribution (the wider, softer bulge) and the subject's distribution (the distinct peak), and ensuring the subject's peak is neither crushed into the blacks nor blown into the whites.
One benefit unique to texture: if your exposure is slightly off, the texture itself becomes visible proof. An underexposed hand-painted canvas begins to flatten. The brushstrokes lose definition. The tonal depth vanishes into a murky sameness. An overexposed hand-painted canvas begins to blow out, the texture washing away into highlights that read as featureless white. This visible feedback loop is faster than studying RGB values. You learn, across dozens of frames, exactly what the right exposure looks like because the backdrop texture tells you. For photographers setting up a tethered workflow where this feedback appears on a calibrated monitor in real time, our guide to tethered shooting for portrait photography covers the complementary setup.

Hand-painted backdrops and textured event settings photograph best when exposure is balanced correctly, helping every floral detail and candlelit tone feel natural in-camera.
Common Exposure Mistakes with Hand-Painted Backdrops
We have observed these patterns across thousands of client relationships and partnerships. The same exposure mistakes appear repeatedly. Understanding why they happen helps you avoid them.
Trusting automatic exposure modes without override. Aperture Priority mode is tempting because it lets you set depth of field while the camera chooses shutter speed. But in Aperture Priority, the camera's metercontrols the final exposure, and the meter is consistently wrong about hand-painted canvas. Manual mode forces you to engage actively with exposure. You make the decision. You apply the compensation factor. The camera executes. This requires more thought on set, but it prevents the slow, systemic drift that automatic modes introduce frame after frame.
Setting exposure compensation once and leaving it all day. Some photographers set exposure compensation in the morning (e.g., +2/3 stop for a Limestone backdrop) and leave it fixed all session. But lighting changes hour by hour. Morning window light has different intensity than afternoon light. A +2/3 compensation that works in soft morning light overexposes dramatically under hard midday key light. The compensation factor is a starting point that should shift as your lighting shifts.
Relying on LCD preview without the histogram. The back of your camera, with its tiny screen and dynamic contrast adjustment, is unreliable as an exposure reference. An image can look perfectly exposed on the LCD and be substantially off when viewed on a calibrated monitor. The histogram does not adapt to ambient viewing conditions. Learn to read it. Trust it more than your eyes on set.
Applying the same compensation across all backdrops. The most common version: a photographer shoots a session against Clay (which needs 0 to +1/3 stop EC), achieves beautiful results, and then switches to a Carbon backdrop (which needs -2/3 to -1 1/3 stops EC) with the same settings. The results are blown highlights and destroyed subject detail. Every backdrop color requires a specific approach. The exposure compensation table exists precisely for this reason.
Underexposing "for safety" to protect highlights. Some photographers, burned by blown highlights in the past, deliberately underexpose to preserve detail, planning to lift exposure in post. This strategy fails with hand-painted canvas because the underexposure crushes the backdrop texture and creates a flat, featureless background. The whole visual advantage of canvas, its dimensionality, its depth, its presence, vanishes. A correctly exposed hand-painted backdrop where the brushstrokes and micro-shadows are fully visible is worth far more than a "safe" underexposed frame that requires aggressive processing.
Not accounting for reduced fill bounce. Hand-painted canvas is matte and light-absorbing, which means reflectors and fill panels bounce light back less effectively than when used in front of vinyl or paper backgrounds. A white reflector in a canvas-backdrop scene returns less fill light than the same reflector would in a vinyl setup. This preserves contrast and separation (which is desirable), but your shadows will be deeper than you might anticipate. Factor this into your exposure when reading the histogram: a slightly wider shadow region is normal and correct for canvas, not a sign of underexposure. Our studio lighting setup guide for canvas backdrops covers the full lighting interaction in detail.
Frequently Asked Questions
Should I expose for the backdrop or the subject when shooting against hand-painted canvas?
Always expose for the subject. The subject's face, the fabric being photographed, the floral arrangement, the product on the styling surface: these are where exposure matters. Expose your subject correctly and let the backdrop fall where it falls. If your backdrop goes slightly dark or slightly light as a result of correct subject exposure, that is almost always preferable to correct backdrop exposure with an incorrectly exposed subject.
Can I recover underexposure in post-processing if I shoot RAW against a hand-painted backdrop?
Technically yes, but you lose information in the process. Lifting shadows and midtones in post introduces noise and tonal separation artifacts, especially in the backdrop texture where there is already subtle tonal variation from the hand-painting. Correct exposure on set preserves full image information and the texture holds its integrity across the full tonal range. Post-processing recovery should be a last resort, not a workflow strategy.
What metering mode is best for hand-painted canvas backdrops?
Spot metering pointed at your subject is the most reliable in-camera mode for hand-painted canvas, because it reads only 1 to 5 percent of the frame and ignores the backdrop entirely. Center-weighted metering is a workable second choice. Evaluative or matrix metering requires the most exposure compensation adjustment because it factors the backdrop's reflectance into the overall reading.
How much does a handheld incident light meter cost, and is it worth the investment?
Professional incident meters from Sekonic and Gossen range from $200 to $500. For photographers shooting backdrop-based portraiture at any regular volume, the investment pays for itself within a single season by eliminating metering guesswork. An incident meter measures light falling on the subject rather than reflecting from the backdrop, delivering correct exposure regardless of backdrop color or material.
Why do my hand-painted backdrops look different in photos than they do in person?
Two factors contribute. First, the metering error described in this guide causes the camera to render the backdrop at incorrect brightness, which shifts its apparent color. A properly exposed Slate reads as the cool architectural gray it actually is; an overexposed Slate reads as a washed-out, pale neutral. Second, white balance and color temperature settings affect how the layered pigment renders digitally. Calibrating your white balance to the actual light source on set, rather than relying on auto white balance, preserves the true color character of the painted surface.
Does the exposure compensation change if I use flash or strobe instead of continuous light?
The reflectance properties of hand-painted canvas remain constant regardless of light source. Flash and strobe produce the same absorption and reflection behavior as continuous light. However, because strobe is often metered via a handheld flash meter in incident mode, photographers using strobe may already be bypassing the reflected-metering problem. If you are using TTL flash with evaluative metering, the same compensation values in the reference table apply, because the camera's meter is still reading reflected light from the scene.
The Surface That Rewards Precision
Metering hand-painted canvas is not a limitation of the medium. It is the price of entry into a category of material that simply performs better under studio light than any mass-produced alternative. Understanding the photography backdrop exposure metering mechanics, building a system for applying compensation consistently, and learning to read your histogram in the context of texture: these are the skills that separate the photographers working with mass-produced surfaces from those producing editorial work at the caliber of Jose Villa, Siren Floral Co, and the teams behind the pages of Vogue and Over the Moon.
Our hand-painted canvas backdrops are created one at a time by Jennifer, who hand-paints every surface herself over two to three days per piece. No two are identical, because paint and human craft do not produce identical results. That variation in texture and tone is precisely what makes these surfaces worth metering carefully. When the texture holds its integrity across a full range of tones, when the brushstrokes cast their own micro-shadows, when the layered pigment shifts from cool undertone to warm surface under your chosen light, you have achieved something a vinyl backdrop simply cannot deliver.
Explore the full collection of hand-painted canvas photography backdropsat Chasing Stone. If you have questions about photography backdrop exposure metering, backdrop selection, or how to integrate canvas backdrops into your studio workflow, reach us atinfo@chasingstone.com. We are here to support your work at the highest level.

Creators of premium photography backdrops and styling surfaces
Trusted by thousands of discerning creatives worldwide
Every piece is handcrafted with intention in Orange County, California