
How to Plan a Styled Shoot: A Guide for Photographers, Florists and Planners

There is something I find deeply moving about a group of artists gathering around one idea, the way wildflowers gather along a hillside after the first spring rain: each one distinct, each one finding its own light, and the whole slope more beautiful for their being together. A styled shoot holds that same feeling. A photographer brings the eye, a florist brings the living color, a planner brings the order that lets everything breathe, and a surface brings the texture that ties it into one quiet story. When I paint a canvas, I am chasing the softness of weathered plaster and the depth of old stone, and I love imagining that texture finding its place within a day built by many hands. This guide is everything I would want to share with a fellow maker who is about to plan one for the first time, or who has planned a few and wants the next one to feel calmer and more intentional.
Quick Answer
To plan a styled shoot, begin with a single written concept and a mood board, then invite a small team of vendors whose work genuinely fits that concept. Agree in writing on roles, credit, how costs and products are shared, and how images may be used. Choose a location, or bring a portable backdrop that lets you build the set anywhere. Write a shot list organized by setup, build a day-of schedule around the light, and deliver a curated gallery with a clear credit list. If you hope to be published, read each outlet's guidelines before the shoot, since exclusivity rules shape everything that follows.
Begin With a Concept You Can Say in One Sentence
The clearest styled shoots begin with an idea small enough to say aloud in one breath. "A late summer supper in a terracotta courtyard" is a concept. "Romantic and organic with modern touches" is a feeling that could describe almost anything, and a team asked to build it will each build something different. Before you design a single detail, write one sentence that names the setting, the season, the emotion, and the palette, and keep it at the top of every document you share.
From that sentence, the mood board grows. I would encourage you to keep it lean, somewhere between fifteen and thirty images, because a board with two hundred pins asks every vendor to guess which ones matter. Organize it in rows: one row for color, one for texture and surface, one for florals, one for attire and beauty, one for light. That last row is the one most often forgotten, and it shapes the entire day. A concept built around soft window light in a north-facing room will feel completely different from one built around low golden sun in a field, and your florist, your stylist and your model all deserve to know which one they are dressing for.
Color is where a backdrop or surface first joins the concept. If your palette is warm and earthen, a backdrop like Clay, which carries a faded terracotta brown, or Sandstone with its light peach-brown, will set the tone before a single bloom arrives. If your concept is cooler and more airy, Celestite's light sky blue or Slate's light grey tones give the florals room to lead. I have written much more about how each colorway behaves in the complete Chasing Stone color guide, and it can be a helpful companion while the board is still taking shape.
Finally, ask yourself honestly what the shoot is for, because the answer quietly decides which backdrop, location and team you choose before anything else, a question I explore more fully in planning a session and choosing the right backdrop before your shoot. A shoot planned to fill a gap in a portfolio, perhaps because you want to book more intimate elopements or more editorial florals, should be designed around the images you are missing. A shoot planned for publication should be designed around what a particular outlet tends to feature. A shoot planned purely for the joy of collaboration is a lovely thing too, and it simply asks for clearer agreements about time and cost, since no one is quietly working toward a business goal. When I think about how a portfolio grows through deliberate creative work, I return to the ideas in building a wedding photography portfolio with backdrops, which pairs naturally with this stage of planning.
Styled Shoot Ideas That Give a Team Room to Create
When the concept is still open, it can help to think in terms of a single anchor rather than a full theme. An anchor might be a place, such as a courtyard, a greenhouse, or a quiet stretch of coastline. It might be a material, such as linen, aged brass, unglazed clay, or hand painted stone. It might be a moment in the day, such as the hour after a ceremony when the light grows long and the guests have wandered off to dinner. Each of these gives every vendor something concrete to respond to while leaving room for their own artistry.
A styled shoot can be built around a single color told in many textures: a dusty mauve gown, a berry-toned backdrop, a florist's arrangement of garden roses that moves from blush to deep wine, and stationery printed on a soft pink cotton paper. Another might be built around contrast, such as a pale bridal look set against a dark, moody surface like Graphite, whose mid charcoal grey tones let white fabric glow. A third might follow the season itself, using what a florist can source locally that month and letting the palette follow.
If you are a florist planning your first shoot, I would gently suggest an anchor that lets your arrangements be the hero: a single large installation built against a backdrop, a series of smaller arrangements photographed on a stool or plinth in front of the same canvas, and a tablescape that ties them together. If you are a planner, an anchor around a full guest experience, from invitation to welcome table to dinner, shows the breadth of what you design. If you are a photographer, the anchor might simply be a quality of light you want to explore, with the team invited to dress that light beautifully.

Assembling Your Styled Shoot Vendors
Once the concept is written, you can begin inviting collaborators. The instinct is often to gather as many vendors as possible, since each one brings product and reach, but a smaller team tends to produce a more cohesive shoot. For a first styled shoot, I would think of a core of five or six: the photographer, a florist, a planner or designer who holds the vision, a stylist for hair and makeup, an attire designer or boutique, and the model or couple. Stationery, rentals, a cake artist, a venue, and surfaces such as backdrops and flat lays can join as the concept calls for them.
When you reach out, send your one-sentence concept, the mood board, the proposed date and location, what you are asking each vendor to contribute, and what they can expect in return. That last part matters most. A vendor who is asked to lend product, travel an hour, and set up for three hours deserves to know whether they will receive a curated set of images, when those images will arrive, how they may use them, and whether the shoot is intended for submission to a particular outlet. Clear invitations attract committed collaborators, and committed collaborators are what make the day calm.
Look for vendors whose existing work already lives near your concept. A florist who loves loose, garden-gathered arrangements will create something beautiful for a romantic, natural shoot, and will likely feel constrained if asked to build tight, structured modern pieces.
Holding the creative vision
Every styled shoot needs one person who holds the vision and makes final decisions. Often it is the planner or designer, sometimes the photographer, occasionally the florist. Name that person in your first message. When a question arises on the day, such as whether to swap a linen or move an arrangement, everyone should know whose answer is final. This is a kindness to the whole team, because it keeps the day from dissolving into well-meaning debate while the light moves on.
Roles, Credit and Agreements in Writing
A styled shoot is a collaboration among small businesses, and the clearest collaborations put their agreements in writing before the day arrives. A simple shared document is enough. It should name each vendor, their role, what they are contributing, how they wish to be credited, and their website and social handles. It should state who is responsible for submitting the shoot, if anyone, and who may share images and when.
Because credit is what every vendor carries forward from a styled shoot, it deserves particular care. Decide early how each vendor's credit will read, and gather every credit before the shoot rather than afterward, when memories blur. Atlanta Style Weddings, for instance, asks for a full vendor list that includes every contributor, and encourages you to check it with the couple, the planner and the photographer so that no one is left out. Building that list at the start means you will never scramble to find the name of the rental company that lent the chairs.
Image use is the other half of the agreement, and it is where misunderstandings most often begin. According to the U.S. Copyright Office's guidance for photographers, the person who takes a photograph is generally its author and initial copyright owner, with work made for hire as the main exception. In most styled shoots, then, the photographer holds the copyright and grants the other vendors permission to use the images, so it is worth writing down exactly what that permission includes. Many teams agree to let each vendor to use the images on their own website, social media, and marketing, with credit to the photographer, while reserving publication submissions for whoever is named as the submitter. Some photographers also ask that images not be edited or filtered, and that vendors avoid entering them into competitions or selling them to third parties. None of these terms is right or wrong; what matters is that every vendor reads and agrees to them before they give their time. I share all of this as general guidance from one creative to another, and it is not legal advice, so if you are drafting a formal agreement or release, a short conversation with an attorney who works with creative businesses is time well spent.
Your models deserve the same care. Atlanta Style Weddings asks submitters to have written permission from models before sending their images to media outlets, and that is a sensible standard for any styled shoot. A model release signed on the day, before the first frame, gives everyone the same clear understanding, the model included. If you are photographing a real couple rather than professional models, take a moment to explain where the images may appear, so that a feature in a magazine never comes as a surprise to them.

Budget and Sharing Costs Fairly
People sometimes speak of styled shoots as free, though every vendor contributes time, product, travel, and the cost of what they could have earned on a paid day. Some shoots also carry real cash costs: a venue fee, model fees, rentals, florals that cannot be reused, printing for stationery, and refreshments for a team that may work for six or seven hours. Being honest about those costs is what keeps collaborations kind.
I would encourage the person organizing the shoot to make a simple budget, listing every hard cost and who is covering it. A few approaches tend to work well. In the first, each vendor covers the cost of their own contribution, and the organizer covers shared expenses such as the venue and model. In the second, shared costs are split evenly among the vendors who will receive images. In the third, a venue or a rental company offers its space or pieces in exchange for being featured, which can remove the largest cost entirely. What I would gently steer away from is any arrangement where one vendor quietly absorbs far more than the others, since that imbalance has a way of surfacing later.
Florals deserve special attention, because they are perishable and often the largest product contribution. Talk with your florist about what the arrangements will cost them, whether the stems can be repurposed after the shoot, and whether the team might contribute toward them. A florist who feels that care from the rest of the team is far more likely to bring their most generous work.
Backdrops and surfaces as a lasting investment
When a photographer, planner or florist brings their own backdrop or styling surface, it behaves differently from most other shoot costs, because it returns for every shoot after this one. A hand painted backdrop is a piece you will photograph against for years, across styled shoots, real sessions, and portfolio work. Our backdrops come in 5' x 8' at $497, 8' x 10' at $797, and 8' x 14' at $1,197, and for teams who plan shoots often, the Pair Any (3) bundles gather three backdrops of the same size together. The three 8x10 bundle, for example, lets a planner or photographer keep a warm, a cool and a neutral canvas on hand, so that the palette can always follow the concept.
Location or Studio: Choosing a Backdrop for Styled Shoots
One of the earliest decisions is where the shoot will happen, and it shapes nearly every other choice. A beautiful location brings architecture, natural light, and a sense of place that is hard to build from scratch. It also brings fees, restrictions, permits in some places, unpredictable weather, and the chance that other teams have already photographed those same walls. A studio brings control over light and time, and asks you to build the entire setting yourself.
A portable backdrop offers a gentle middle path. It lets you bring the texture of crumbling stone or weathered plaster into a plain studio, a living room, a garden, or a field, so that you can choose a location for its light and its quiet rather than for its walls. I founded Chasing Stone in 2018 because I needed exactly that kind of surface for myself, something stone-like and textured that I could carry anywhere, and it still delights me to imagine each canvas unrolled in a place I may never see.

When you bring a backdrop to a location, a few practical choices make the day much easier. For a floating look, a C-stand with our Floating Photography Backdrop Adapter Mount holds the canvas cleanly. Every backdrop hangs on its short side, with the short edge running across the top, so a 5' x 8' is five feet wide and eight feet tall and needs one stand and one adapter, while an 8' x 10' or 8' x 14', each eight feet wide, needs two of each. Outdoors, our site suggests weighting each C-stand with 30 to 50 lb sandbags, and I would treat that as non-negotiable on any afternoon with even a hint of a breeze. If you expect to shoot outside, I have gathered much more on this in outdoor backdrop photography: wind, weather and stability.
Size is the other decision. For a styled shoot centered on details, florals on a plinth, or seated portraits, a 5' x 8' backdrop is often enough, and it is the easiest to carry. For full-length bridal portraits, a couple standing together, or a floral installation that needs breadth, an 8' x 10', eight feet wide and ten feet tall, gives you comfortable room. For movement, a long gown pooling at the bride's feet, or seated and floor-level portraits, the 8' x 14' shares that eight foot width and hangs fourteen feet tall, so its extra length can sweep forward onto the floor and the painted surface runs beneath the scene rather than ending at a visible edge. A sweep can even be stepped on; simply keep it smooth so it never creases. If you are unsure, plan your widest frame on paper first: note the focal length you will use, how far the subject will stand from the backdrop, and how far you will stand from the subject, and choose the size that fills that frame with a little to spare.
Backdrops travel rolled on their core inside a telescopic tube, and they should always be rolled, never folded or creased. Roll them paint side in, so that when a canvas is unrolled on location it rests on its durable, wipeable back rather than on the painted face. If you are driving to a location, lay the tube flat in the car rather than wedging it among rental chairs, and unroll it only once the stands are set.
Writing a Shot List Organized by Setup
A styled shoot can produce hundreds of images in a few hours, and without a shot list it can also leave a vendor without a single frame of the piece they spent two days making. The shot list is how you make sure every contribution is honored.
I find it helps to organize the list by setup rather than by vendor. A setup is any arrangement that stays in place while you photograph it: the backdrop with a floral installation beside it, the tablescape, the flat lay of stationery and details, the portrait corner by the window. For each setup, list the wide frame that shows the whole scene, the medium frames that show how the pieces relate, and the close details that let each vendor's work be seen clearly. Then list which vendors are represented in that setup, so you can check at a glance that the stationer, the florist, the rental company, and the attire designer each have the images they need.
For publication, it helps to know what editors tend to look for. Atlanta Style Weddings suggests that roughly 70 percent of a gallery be detail images and 30 percent people, and encourages photographing details both horizontally and vertically. Love My Dress recommends a mix of about 80 percent portrait-oriented images to 20 percent landscape, since most of its readers browse on their phones. Those two outlets measure different things, so the lesson I take is simply to photograph every important detail both vertically and horizontally, and to make sure every detail is framed with enough context that a reader can understand what it is.
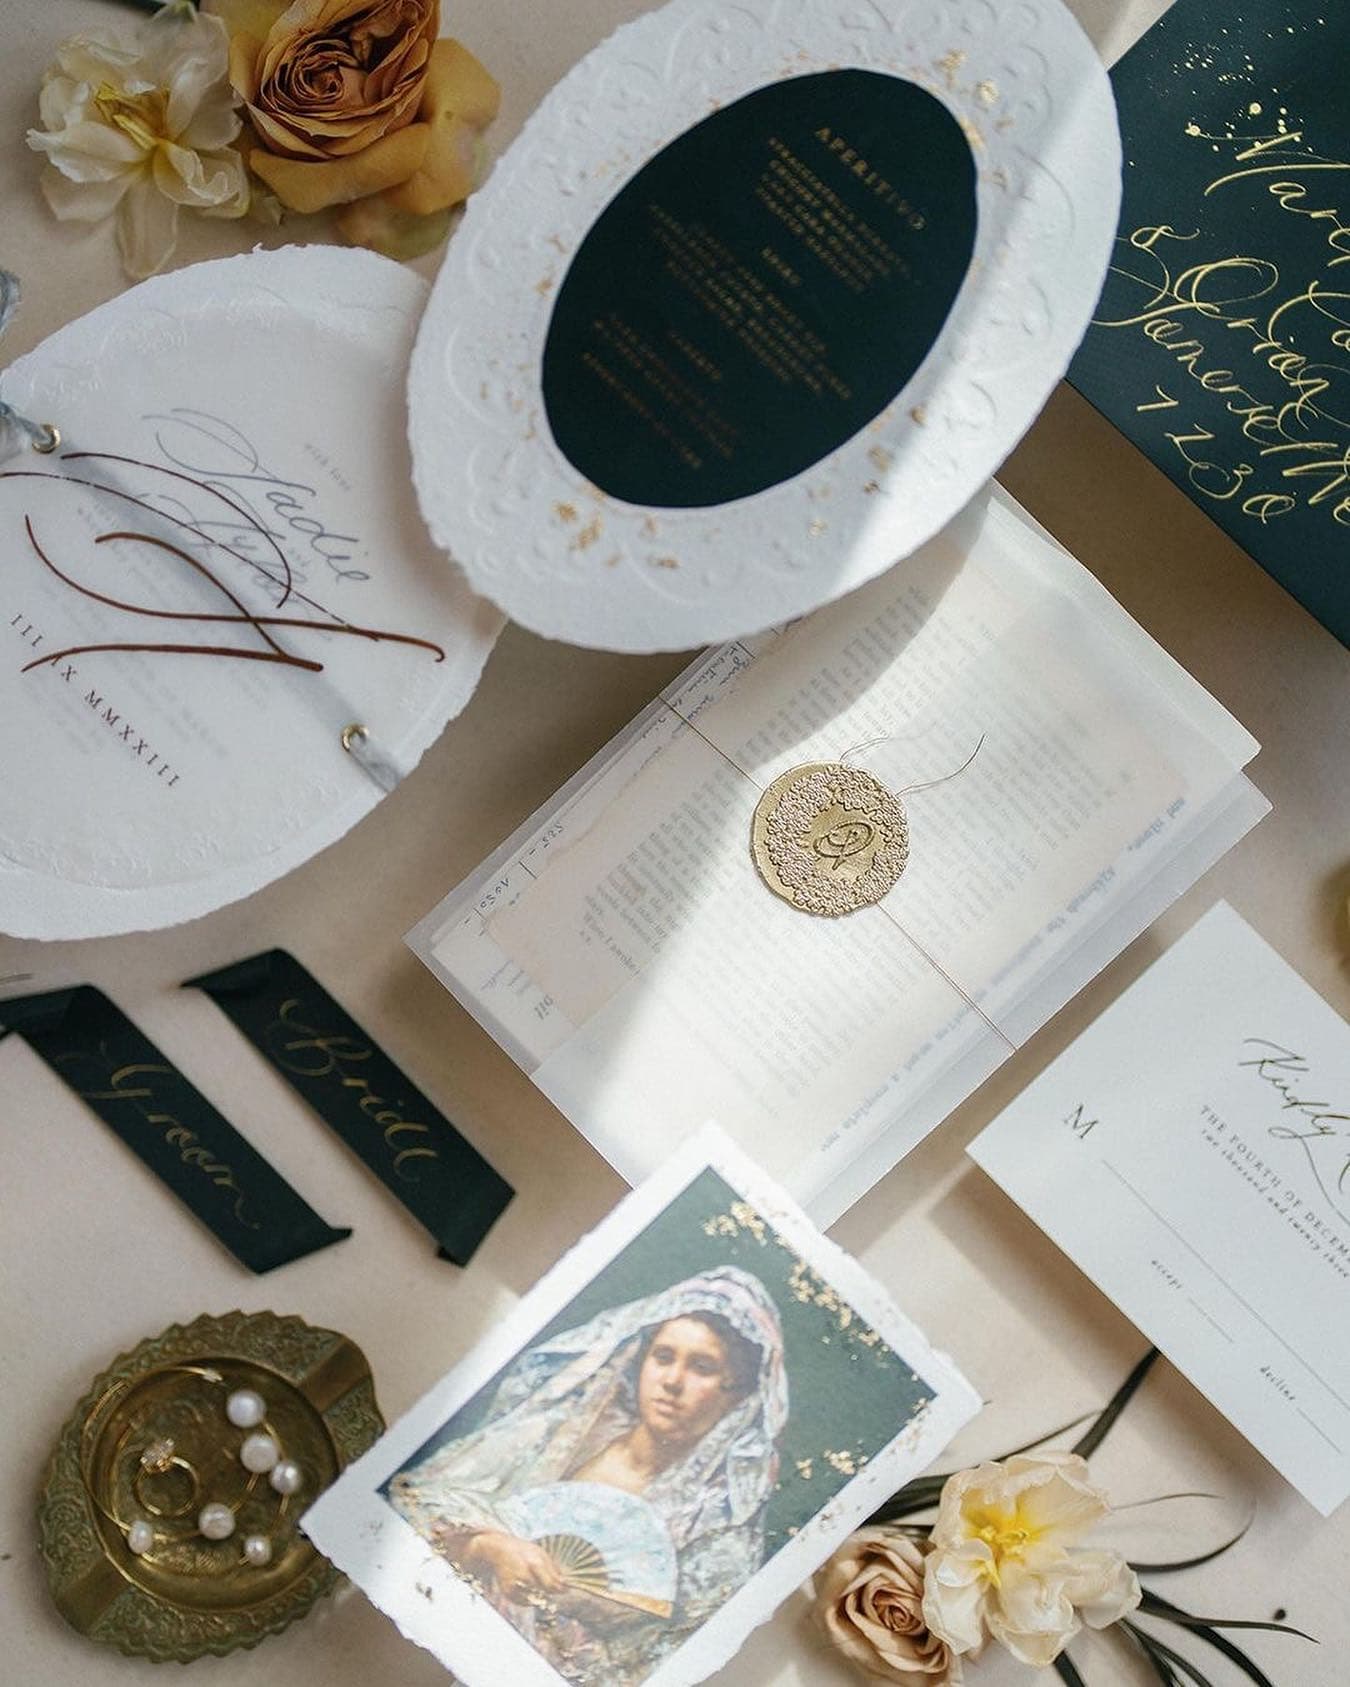
A flat lay is often the most efficient way to honor many vendors in a single frame: the invitation suite, the rings, a bloom or two from the florist, a ribbon, a pair of shoes. Plan your flat lay surface as carefully as your backdrop, so that its color belongs to the same palette. If you would like a deeper guide to composing these, the ultimate flat lay photography guide for wedding photographers covers composition, height, and light in detail.

Finally, mark a few hero frames on the list: the three to five images you most want the shoot to be remembered by. These are often the ones an editor chooses to lead a feature, and naming them in advance ensures you protect the light and time they need.
Building a Day-of Schedule Around the Light
The schedule is where a concept meets the clock, and the clock that matters most is the sun. If you are shooting with natural light, find out exactly when it will fall where you want it, then work backward from your hero frames. A portrait planned for the soft hour before sunset sets the end of your day; a window-lit flat lay planned for late morning sets the beginning.
I would build the schedule in blocks. The first block is arrival and setup, and it almost always takes longer than anyone expects. For a backdrop, allow time to set the stands, attach the adapters, unroll the canvas, and let it settle; for a florist building an installation, allow far more. The second block is details, which can be photographed while hair and makeup are underway, since stationery, flat lays, and tablescapes need no model. The third block is portraits, timed to the best light. The fourth is wide scenes and any last setups, followed by breakdown.
Give every block a buffer of fifteen to twenty minutes, and assign a single person to keep time. That person should not be the photographer, who will be absorbed in the frame, and ideally not the person holding the creative vision either. A gentle timekeeper who says "we have ten minutes before we move to the window" keeps the day flowing without hurrying anyone.

Share the schedule with every vendor at least a week ahead, with the address, parking notes, load-in instructions, the timekeeper's phone number, and when each vendor needs to arrive. A florist who needs two hours to build should arrive long before a stylist who needs forty minutes. A rental company may only need to drop off and collect. Staggering arrivals keeps the space calm and avoids a dozen people waiting in a small room.
On the day, take a few minutes at the start to gather everyone, read the concept sentence aloud, name the person holding the vision, and walk through the shot list. It is a small ritual, and it gives the team a shared sense of what they are making together.
I have seen moments like this unfold around our canvases, and watching a whole team step back together to look at a finished set never stops moving me, because every person has brought their own art to it and the backdrop is quietly holding all of it in one place.
Image Delivery and Usage Agreements
After the shoot, the photographer typically culls and edits the gallery, and this is where the generosity of the day is either honored or lost. Agree in advance on a delivery window, and keep it. Vendors who lent their time are often eager to share, and a long silence can quietly erode the warmth of the collaboration.
When you deliver, include the agreed usage terms again at the top of the gallery, along with the full credit list written exactly as each vendor should be tagged. If the shoot is being submitted for publication, the delivery note should also say plainly whether vendors may share now, may share only single images, or should wait until the feature is live. Many outlets care deeply about this, as the next section explains, and a single well-meaning carousel posted too soon can make a shoot ineligible for the publication the team was hoping for.
Consider curating a smaller selection for each collaborator alongside the full gallery, such as the dozen frames that show a stationer's suite beautifully, or the installation wide and close for a florist. This small extra effort is remembered, and it makes the next collaboration much easier to assemble.
Submitting a Styled Shoot for Publication
Many teams plan a styled shoot with a publication in mind, and if that is your hope, read the outlet's guidelines well before the shoot day. Each publication sets its own rules, they differ meaningfully, and they change, so treat what follows as a picture of how varied the expectations can be rather than as a substitute for reading the current guidelines yourself.
Green Wedding Shoes, according to its submission page, asks for 50 to 250 images, each at least 2200 pixels wide, submitted through its own form. Once a shoot is accepted, it asks for a 60-day window of exclusivity from the publication date before the work goes to another blog or magazine, and it notes that review can take up to 20 days.
Love My Dress asks that the lead creative on an editorial be a member of its wedding directory, and that it be the first publication to feature the work. Its guidelines invite an initial submission of 25 to 30 low-resolution images, at least 1000 pixels wide, sent as direct email attachments, and ask contributors to wait six months after publication before submitting elsewhere. It allows individual images to be shared on your own channels, but asks that new carousels, reels, or galleries not be shared once a submission is accepted and until the feature is live. It also states that it does not publish AI-generated imagery.
Atlanta Style Weddings distinguishes between print and online. Exclusive content for print should go to only one publication at a time, while online submissions do not require exclusivity, though the editors suggest submitting to no more than three outlets at once. It also asks that venues, planners, florists and other vendors never submit a shoot without the photographer's prior approval.
Junebug Weddings, according to its submission guidelines, now accepts editorial submissions only from its member vendors, through a form found inside their vendor account.
What these differences teach is simple: choose your outlet early, read its terms, and share those terms with your team before anyone posts a single image. Name one person as the submitter, so that the shoot is never sent to two places at once by two well-meaning vendors. Prepare the credit list, a short written description of the concept, and the images in the format the outlet requests. And if the shoot is declined, which happens to beautiful work every day, let your team know promptly so they can share freely, and consider the next outlet on your list once any review period has passed.

Frequently Asked Questions
How do you plan a styled shoot for the first time?
Start with one written sentence that names the setting, season, emotion, and palette, then build a lean mood board around it. Invite a small team of five or six vendors whose work already fits the concept, and put roles, credit, shared costs, and image use in a simple written agreement. Choose a location or bring a portable backdrop, write a shot list organized by setup, and schedule the day around the best light.
Who pays for a styled shoot?
Costs are usually shared among the vendors involved. A common approach is for each vendor to cover their own contribution, such as florals or attire, while shared costs like the venue, models, and rentals are either covered by the organizer or split evenly among those receiving images. Whatever the arrangement, write it down before the shoot so that no single vendor quietly carries far more than the others.
What is the best backdrop for a styled shoot?
The best backdrop is one whose color and texture belong to your concept. Warm, earthen palettes pair naturally with terracotta or peach-brown tones, while airy concepts suit light blues and pale greys. Size matters too. Each backdrop hangs on its short side: a 5' x 8' is five feet wide for details and seated portraits, an 8' x 10' eight feet wide for full-length portraits and couples, and an 8' x 14' eight feet wide with extra length to sweep onto the floor.
Who owns the photos from a styled shoot?
According to the U.S. Copyright Office, the person who takes a photograph is generally its author and initial copyright owner, unless it is a work made for hire. In most styled shoots, the photographer owns the images and grants other vendors permission to use them. Write down exactly what that permission covers, such as website and social use with credit, before anyone contributes time or product, and for a formal contract or release, consult an attorney, since this is general guidance rather than legal advice.
Can I post styled shoot photos on Instagram before they are published?
It depends on the outlet. Love My Dress, for example, allows individual images on your own channels at any time but asks that no new carousels, reels, or galleries be shared once a submission is accepted and until the feature is live. Other outlets focus their rules on submitting to other publications rather than on social posts. Read your chosen outlet's current guidelines before the shoot, and share those terms with every vendor so that no one posts too soon.
How many photos should you submit from a styled shoot?
Requirements vary widely by publication. Green Wedding Shoes asks for 50 to 250 images at least 2200 pixels wide, while Love My Dress asks for an initial 25 to 30 low-resolution images at least 1000 pixels wide. Check the current guidelines of the outlet you choose, and photograph every important detail vertically and horizontally so you can meet any outlet's request.
Gathering Your Team
A styled shoot asks a great deal of everyone involved, and it gives back something rare: a day when a group of artists can make precisely what they love, with no other purpose than to see it made well. The planning described here, the concept, the agreements, the budget, the shot list, and the schedule, is simply a way of protecting that freedom so that the day itself can feel unhurried and full of care.
When I see one of our canvases in the hands of a creative team, standing behind a florist's installation or a bride's quiet portrait, I feel the deepest gratitude, because a surface I painted alone in my studio has become part of something many artists made together.
If you are dreaming up a styled shoot of your own and would like a canvas to anchor it, you are warmly invited to browse our hand painted backdrops, each one painted entirely by hand, by me, and made to order for the artist who will bring it to life. What story will your team gather to tell?
Shop the look