
Venue Backdrop Setup: Working in Tight, Unpredictable Spaces
Posted on Apr. 9. 2026
The worst room I ever set up a backdrop in was a converted coat closet.
I'm not exaggerating. The bride's "getting-ready suite" at a historic estate in Pasadena was a narrow room off the main hallway that had clearly been a coat closet in its previous life. Maybe 7 feet wide. A window on the far end the size of a dinner plate. A single overhead bulb casting greenish light on everything. The bride, her mom, two bridesmaids, a hair stylist, a makeup artist, and all of their belongings were crammed in there when I arrived.
I had 15 minutes to create bridal portraits that would look like they belonged in an editorial spread.
This is the reality that no venue tour prepares you for. The coordinator's Instagram showed the estate's grand ballroom, the manicured garden, the gorgeous staircase. Nobody photographed the room where the bride would actually spend the first three hours of her day. And that room is where you need to make images that sell your next 20 bookings.
I got the shots. They looked beautiful. And the process of figuring out how to make that closet work taught me more about on-location backdrop setup than the previous two years of shooting combined.
This post is everything I've learned since then about walking into unpredictable spaces and creating professional portrait environments in minutes. Not the mechanical "how to hang a backdrop" steps (we cover that in our setup guide). This is the layer on top of setup. How to read a room. How to adapt your plan. How to stay calm when the space is nothing like what you expected.
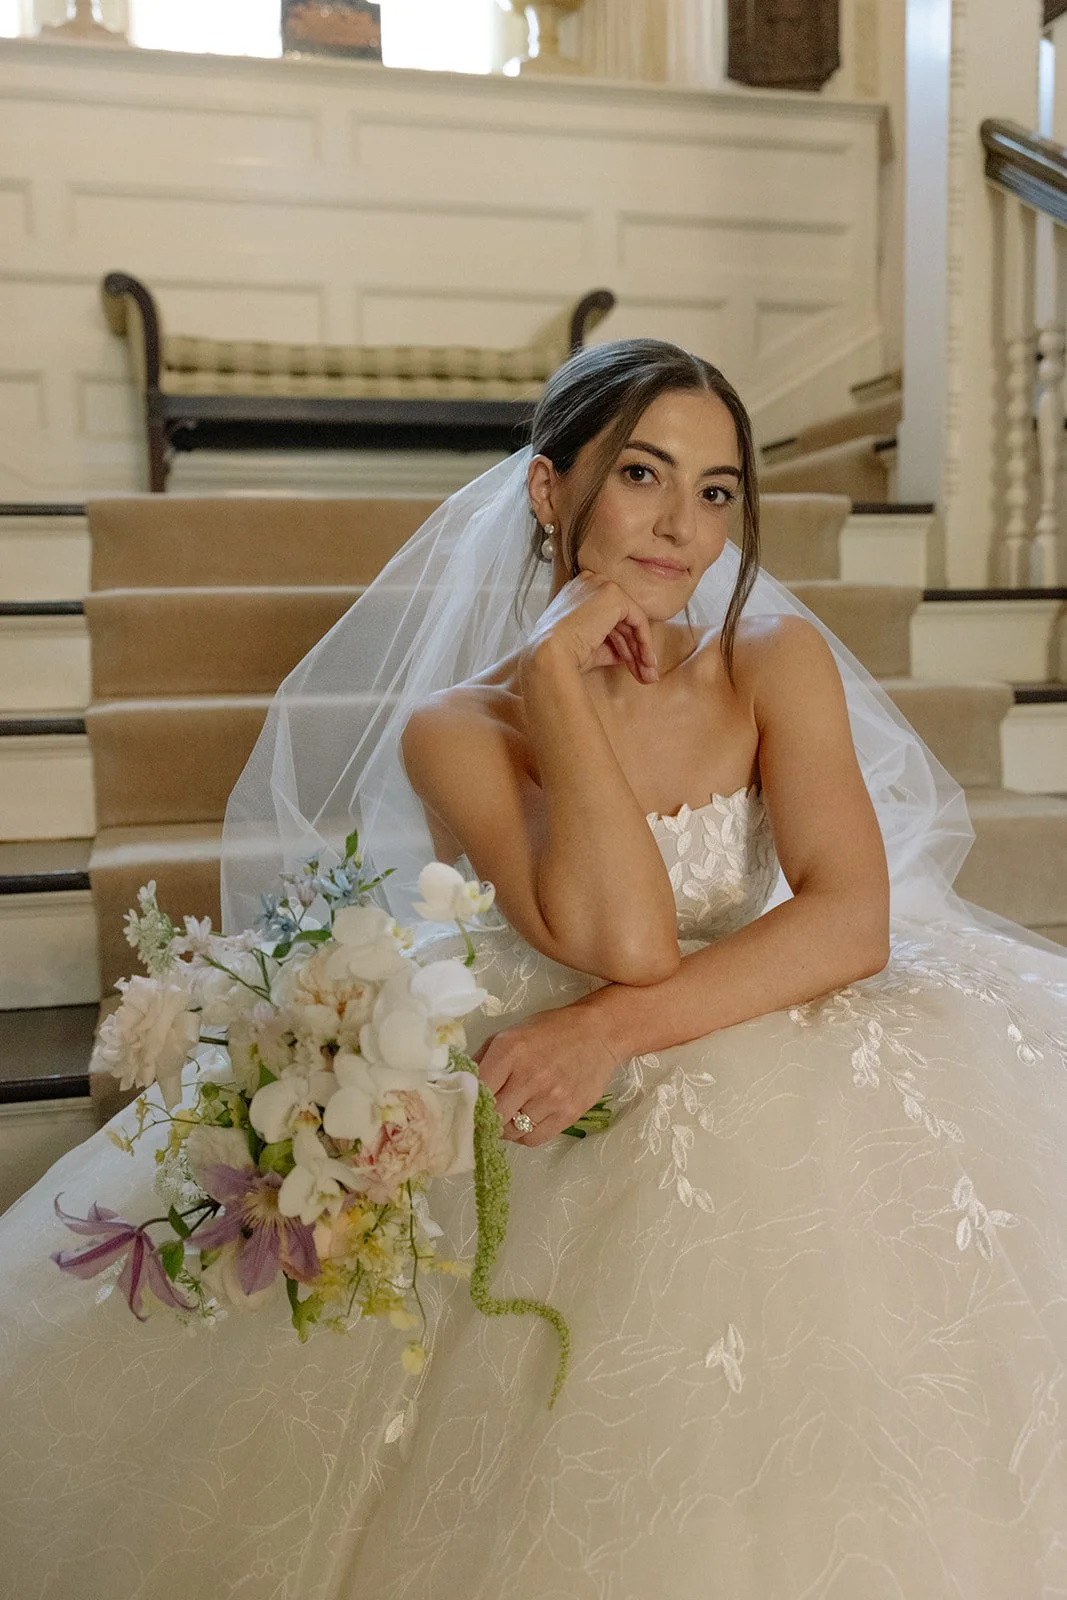
Wedding venues rarely give you perfect portrait spaces. Knowing how to read the room and adapt your backdrop setup quickly is what saves the shot.
The 60-Second Room Read
Every photographer who uses backdrops on location needs a system for assessing a space quickly. You can't stand there for ten minutes weighing options while the bride watches you look confused. You need to walk in, scan, and commit to a plan.
Here's the assessment I run in my head every single time I enter a new space. It takes about a minute, and it answers the only four questions that actually matter.
Where is the best light? This is always question number one. Not "where is the most space" or "where would the backdrop look nice." Where is the light. I'm looking for the largest window, the direction it faces, and what quality of light is coming through. Our lighting guide covers the technical details of how hand-painted canvas responds to different light sources, but at the room-read stage I just need to identify my primary light. Everything else flows from that decision.
I made the mistake early in my career of setting up in the most spacious corner of a room only to realize it was 15 feet from the only good window. I had to tear everything down and start over, burning 8 minutes I didn't have. Now I find the light first, always, and figure out logistics second.
Where can I position a backdrop perpendicular to that light? This is the principle from our lighting guide in action. If the window is on the north wall, my backdrop needs to go on the east or west wall (or on a stand in one of those positions). That perpendicular relationship is what makes the hand-painted texture come alive. I'm looking at the walls adjacent to my light source and mentally asking: is there enough clearance for a 5x8? An 8x10? Can I get a C-stand in that position?
How much depth do I have to work with? Depth is the distance from backdrop to the furthest point I can stand while still shooting. In a generous space, I might have 15 feet of depth. In a tight one, I might have 6. Depth determines my lens choice, my aperture options, and how much separation I can create between subject and backdrop. If I'm working with less than 8 feet of total depth, I already know I'm shooting at 50mm or wider and my subject will be close to the canvas. That's not a problem. It just changes my approach. (Our posing guide covers how contact-distance posing actually creates some of the most compelling portrait work.)
What's on the floor? This is the question most photographers forget, and it bites them. You can hang the most beautiful SANDSTONE backdrop in the world, but if the floor below it is matted brown hotel carpet, that carpet is going to show up in any shot wider than a head-and-shoulders crop. I need to know what's underfoot before I commit to full-length portrait plans.
That's the whole assessment. Light, backdrop position, depth, floor. Four questions, 60 seconds. Everything after that is execution.
The Five Venues You'll Actually Encounter (and How to Handle Each One)
Venue tours and mood boards don't prepare you for the reality of where getting-ready coverage happens. After hundreds of weddings, I've found that nearly every space falls into one of five categories, and each one has specific setup strategies that work.
The Hotel Room
This is the most common getting-ready space in wedding photography, and it's also the most universally mediocre. Hotel rooms are designed for sleeping, not photographing. You get heavy blackout curtains that block your best light, patterned wallpaper that fights with everything, beds that dominate 60% of the floor space, and a bathroom mirror that the hair stylist has permanently claimed.
What works: Pull the curtains back as far as they'll go. In most hotel rooms, the window wall is opposite the door. Set your backdrop perpendicular to that window, which usually means against the wall that has the TV or the desk. If the room has a credenza or desk against that wall, slide it away. You only need about 3 feet of wall clearance for a C-stand with a 5x8 backdrop.
The 5x8 is your hotel room workhorse. It's big enough for head-to-hip bridal portraits and detail shots, light enough that you're not struggling with setup in a tight space, and narrow enough to fit between the bed and the wall in most standard rooms. I keep an adapter mount and a single C-stand dedicated to my hotel room kit. The whole setup fits in a corner and goes up in under two minutes.
The hotel room trick nobody talks about: Check if the room has a connecting door to an adjacent room. If it does, and if the other room is unoccupied, you can open both sides and gain access to a second window or an entirely different light angle. I've done this at least a dozen times. The front desk will usually let you access the connecting room for 20 minutes if you explain you're the wedding photographer. I shot a wedding at a Hilton in Newport Beach last year where the bridal suite window faced a parking structure. Zero usable light. But the connecting room's window faced the courtyard with beautiful open shade pouring in. That connecting door turned a disaster into one of my favorite portrait setups of the season.
The Airbnb or Rental Home
Airbnbs have become the default getting-ready space for destination weddings and couples who want a more relaxed vibe than a hotel. The good news: they often have better natural light, higher ceilings, and more character than hotel rooms. The bad news: they're completely unpredictable.
I've walked into Airbnbs with floor-to-ceiling windows and 20-foot ceilings. I've also walked into Airbnbs where the "spacious master bedroom" from the listing was barely bigger than the queen bed inside it. You cannot plan your setup from listing photos. They lie.
What works: Do a virtual walkthrough with your couple or planner before the wedding day if possible. Ask specifically about window orientation and room dimensions in the primary bedroom and the living area. Even a quick phone video from the planner gives you more information than any listing photo.
On the day, the living room is usually your best bet in an Airbnb. It's the largest open space, it typically has the biggest windows, and furniture can be pushed aside more easily than in a bedroom. Set your backdrop in the living area, perpendicular to the largest window, and use it as your portrait station throughout the getting-ready process. The bride can come to you for portraits rather than you trying to create a shooting environment in whatever tiny bedroom she's getting dressed in.
I shot a wedding last March at an Airbnb in Dana Point where the master bedroom was so small I couldn't even open my C-stand legs fully. I set up my BENTONITE backdrop in the living room near a sliding glass door instead. When the bride was ready for portraits, she walked 30 feet down the hall to my setup. Total time away from her bridesmaids: four minutes. The images looked like they were shot in a purpose-built studio with beautiful directional light. The backdrop made a living room with a sectional couch and a TV disappear from existence.
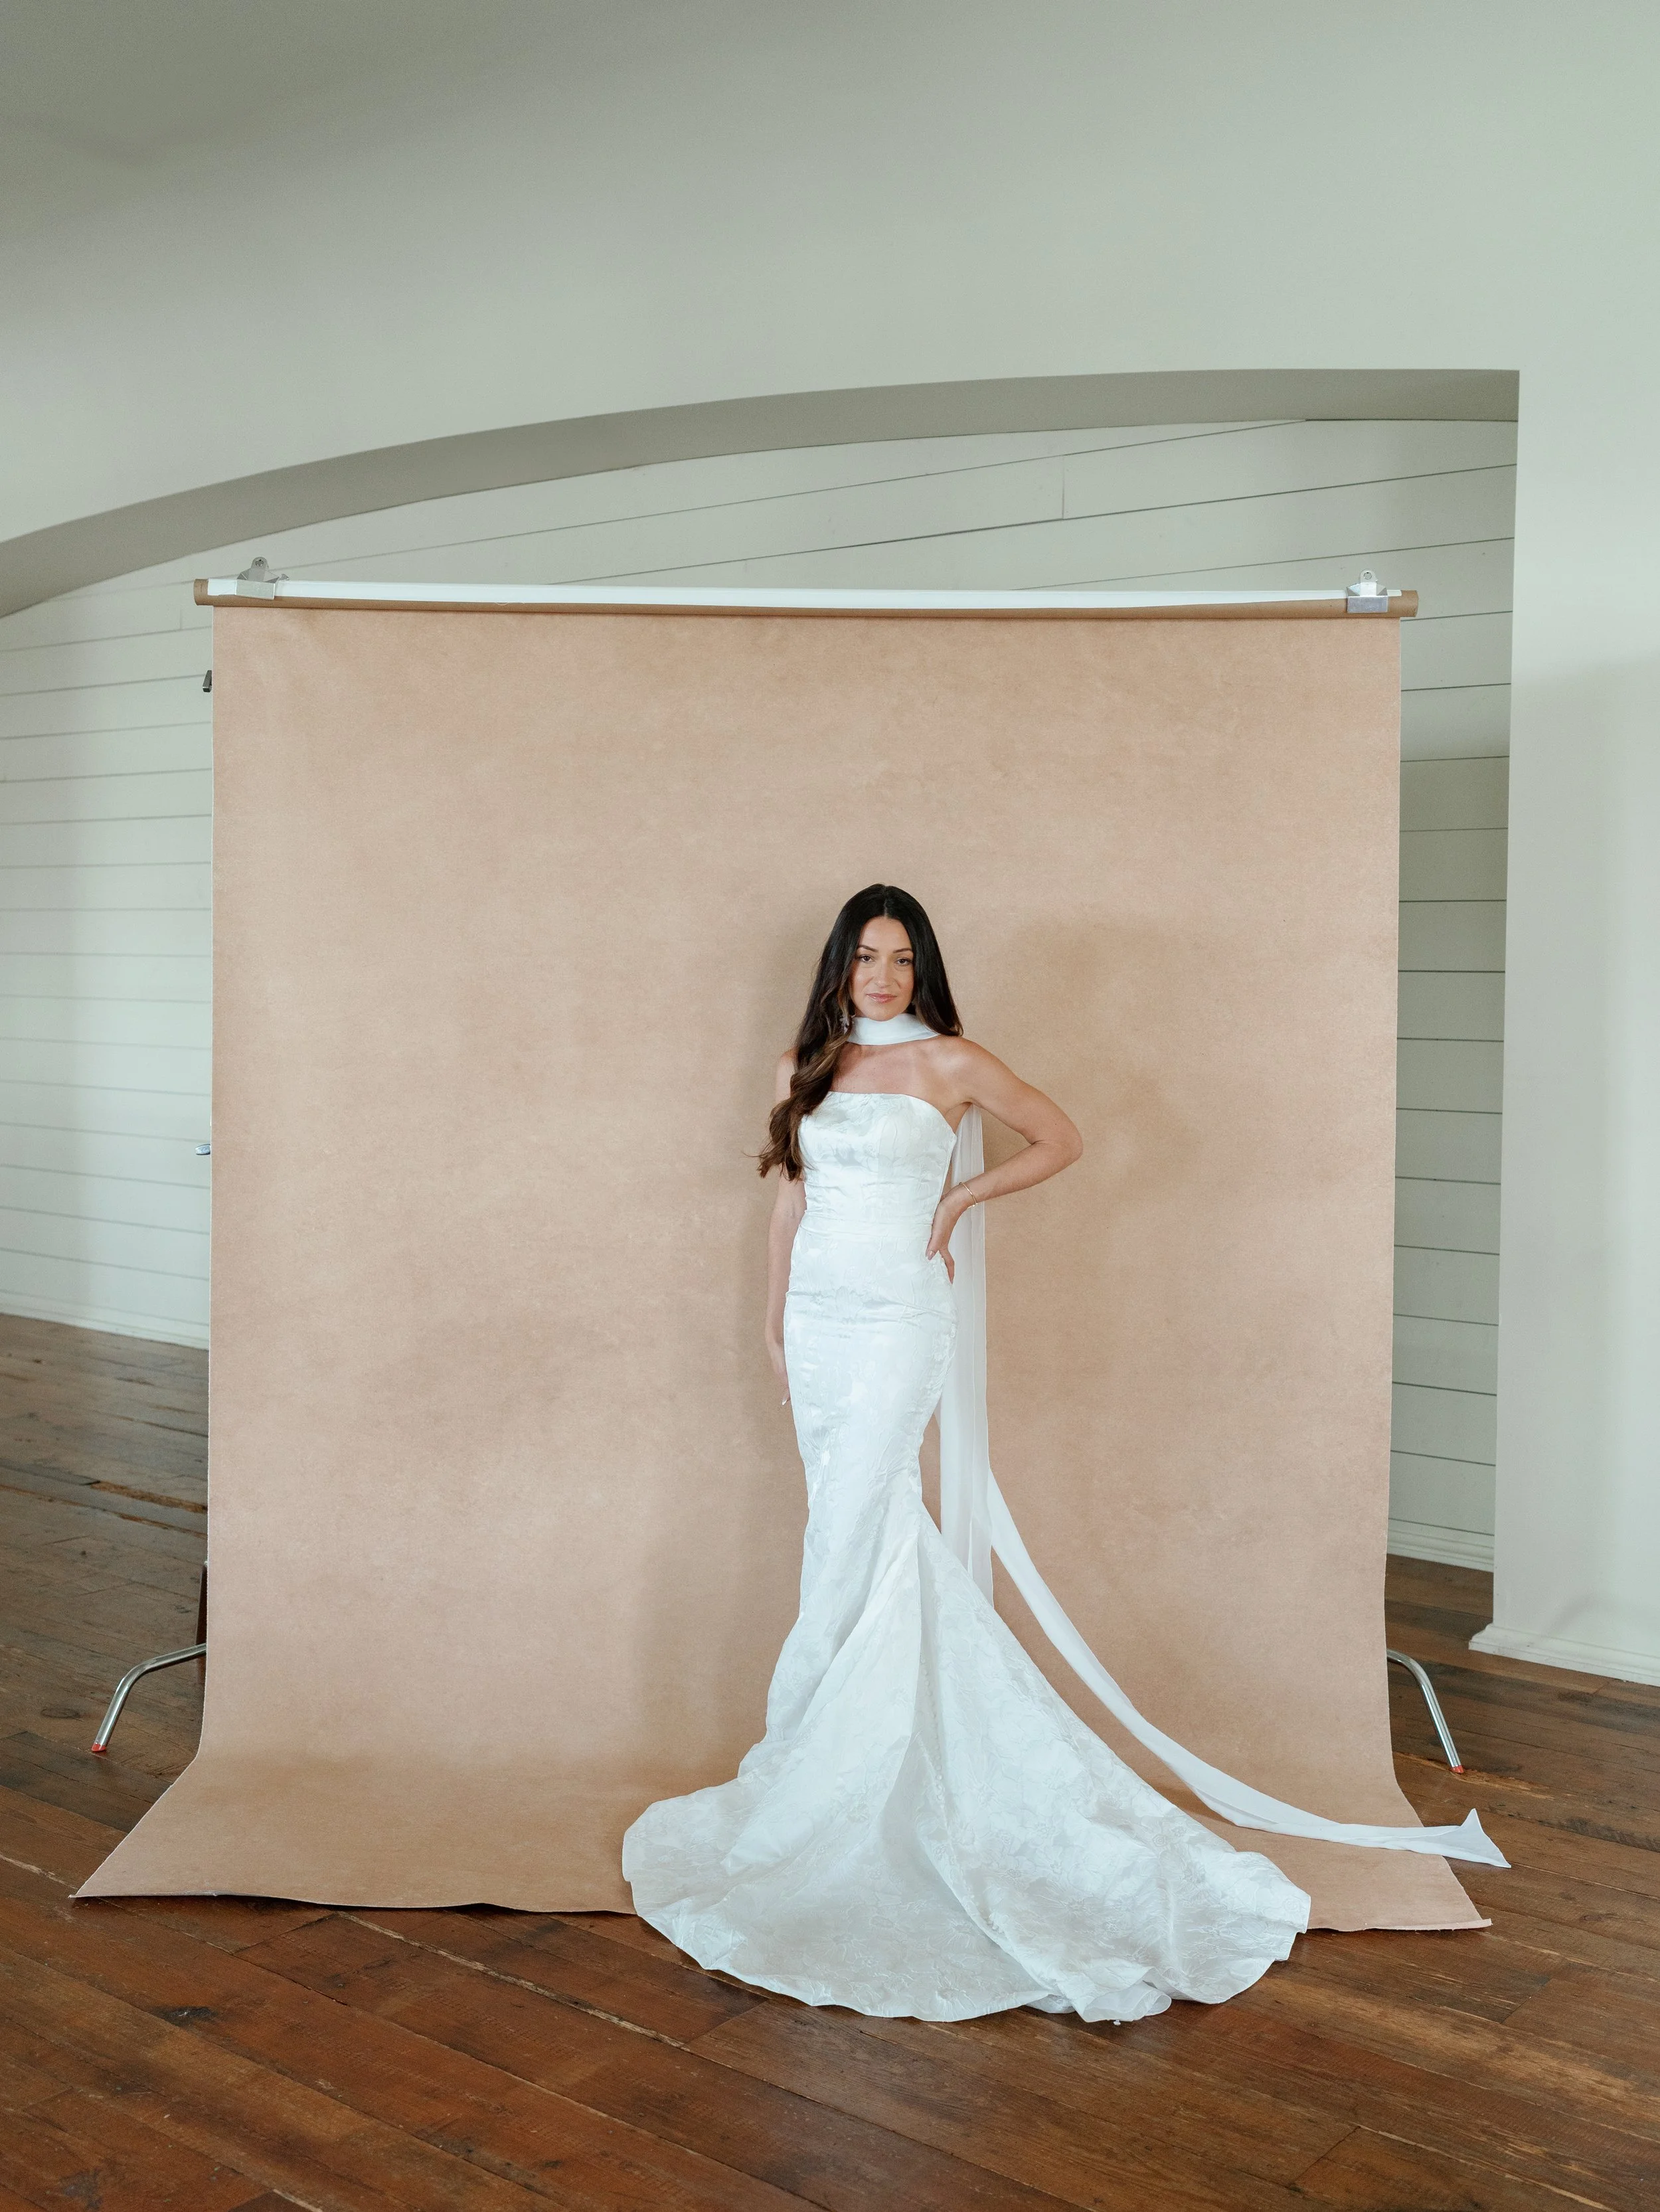
A simple backdrop setup can turn any room into a professional portrait environment, even when the venue space is tight or unpredictable.
The Venue Prep Room
This is the room the venue designates for getting ready. Sometimes it's a genuine bridal suite with good light, a vanity, and enough space to work. More often, it's a repurposed office, a former storage room, or a space that was clearly an afterthought in the venue's design.
What works: Venue prep rooms have one major advantage over hotels and Airbnbs: you might be able to scout them ahead of time. If your couple has a venue tour or a rehearsal, ask if you can tag along for 15 minutes specifically to see the prep space. Bring a tape measure. I know that sounds obsessive, but knowing the exact dimensions of the room saves you from showing up with an 8x10 backdrop only to discover the room is 9 feet wide and there's no way to create enough shooting distance.
The challenge with venue prep rooms is that they often have terrible overhead lighting (fluorescent panels, harsh recessed cans) and small or oddly placed windows. If the room has a window, use it. If it doesn't, you're working with off-camera flash or continuous light, and a hand-painted backdrop becomes even more valuable because it responds to artificial light with the same dimensional texture that makes it shine in natural light. The brushstrokes still catch and release light beautifully. You just need to position your light source at an angle to the canvas rather than pointing it straight on. Same principle as window placement, just with a light you control.
The Outdoor Setup
More couples are doing outdoor getting-ready scenarios: backyard weddings, park ceremonies with no indoor facilities, ranch and farm venues with beautiful grounds but zero indoor infrastructure. Setting up a backdrop outdoors introduces variables that don't exist inside: wind, direct sun, uneven ground, and curious guests who want to know what you're doing.
What works: Wind is your primary enemy outdoors. A hand-painted canvas on a C-stand acts like a sail. If there's any breeze at all, you need sandbags on your stands. I carry two 25-pound sandbags in my car for every wedding, regardless of whether I expect to shoot outdoors. The one time you don't bring them is the time a gust sends your backdrop face-down into the gravel.
I learned this at a ranch wedding in Temecula. Beautiful October afternoon. No wind when I set up. I clipped my CLAY backdrop to a single C-stand, stepped back to grab my camera, and watched the whole setup topple over in a gust that came out of nowhere. The canvas landed paint-side down on decomposed granite. It survived (the paint on these is remarkably durable), but my heart rate didn't recover for an hour. I bought sandbags the next day and they've been in my car ever since.
For outdoor setups, find shade. Direct sunlight on a backdrop flattens the texture the same way a flash aimed straight at it would. Under a tree canopy, beneath a porch overhang, on the shaded side of a building. You want soft, indirect light raking across the canvas.
Ground conditions matter more outdoors than anywhere else. Grass is generally fine. Gravel or dirt can work if it's clean. Sand is tricky because C-stand legs sink. If you're on soft ground, spread the C-stand legs wider than you normally would and press them in slightly for stability. And check that the ground within your frame is presentable, because you can't hide dirt and dead grass the way you can crop out hotel carpet with a tighter composition.
The Impossible Space
Some rooms simply don't have enough space for a standard backdrop setup. The ceiling is too low for a C-stand to extend to backdrop height. The room is too narrow for any shooting distance. There's no window, or the only window faces directly into another building's exterior wall.
I've been in all of these situations. Here's what I've learned: before you give up, try the backdrop on the floor.
Seriously. Lay the backdrop flat on the ground, position your subject sitting or lying on it, and shoot from above. A 5x8 canvas on the floor gives you a beautiful textured surface for seated bridal portraits, detail shots with shoes and jewelry arranged around the subject, or intimate close-ups where the bride is looking up at camera. You lose the traditional portrait orientation, but you gain a completely controlled environment that requires zero vertical clearance and zero shooting distance.
I've also pinned backdrops directly to walls using heavy-duty removable adhesive strips (the kind rated for 16+ pounds) when there wasn't room for a C-stand. It's not my first choice because the backdrop hangs flat against the wall rather than floating with that slight natural curve, but it eliminates the need for stand footprint entirely. In a room where every square foot matters, that can be the difference between getting the shot and not.
The Gear Hierarchy: What I Actually Carry (and What I Leave in the Car)
Here's the counterintuitive thing about on-location backdrop work: bringing more gear usually makes your results worse, not better.
When you have three backdrops, two sizes of stands, multiple clamps, and a bag of accessories, you spend too much time deciding and not enough time shooting. Decision fatigue on a wedding day is real. Every minute you spend debating whether to use the 5x8 or the 8x10 is a minute you're not capturing moments.
So here's my hierarchy, and it's intentionally opinionated.
The one-backdrop kit (what I carry into the room): A single 5x8 canvas, one C-stand, one adapter mount, and two sandbags. That's it. The backdrop is usually LIMESTONE or BENTONITE, depending on the wedding palette. This kit handles 80% of getting-ready scenarios. It sets up in two minutes. It breaks down in one. And it fits through any doorway, up any staircase, and into any elevator.
The upgrade kit (stays in my car until I confirm the space): An 8x10 canvas and a second C-stand with a second adapter mount. I only bring this inside when I've done my room read and confirmed two things: the room has at least 10 feet of depth from where the backdrop will hang to where I'll stand, and there's enough floor space for two C-stand bases without blocking foot traffic. If either condition isn't met, the 8x10 stays in the car and the 5x8 does the work.

A reliable backdrop setup gives photographers a clean portrait environment even when hair, makeup, and styling teams are working in tight spaces.
The thing most photographers get wrong about their kit: They default to the biggest backdrop they own because more coverage feels safer. But a too-large backdrop in a too-small room creates problems. The stands crowd the space. The canvas bunches against adjacent walls instead of hanging freely. You can't get enough distance for the backdrop to fill the frame at your working focal length, so the edges show anyway. A 5x8 that fits the room perfectly will always produce better images than an 8x10 you're fighting with.
If you're building your first on-location kit, our backdrop buying guide covers the sizing decision in full detail. But my honest advice for venue work specifically: start with the 5x8. It will earn your trust in tight spaces faster than you expect. You can always add the 8x10 later when you know from real experience that you need the additional coverage.
Ceiling Height: The Constraint Nobody Plans For
Here's a practical issue that catches photographers off guard at least once before they learn to check for it.
Standard residential ceilings are 8 feet high. A C-stand at full extension with an adapter mount puts the top of your clamp at roughly 7.5 to 8 feet. Your 5x8 backdrop hangs 8 feet from that clamp point to the floor, which works perfectly in a standard room.
But many venue prep rooms, hotel rooms, and older buildings have ceilings below 8 feet. I walked into a basement getting-ready space at a vineyard in Paso Robles last summer where the ceiling was maybe 6 feet 10 inches. Not even close to standard. My C-stand at full extension would have pushed the adapter mount straight into the ceiling tiles.
The fix is simple once you know it: don't try to hang the backdrop at full height. Shorten your C-stand so the canvas hangs with about 6 inches of clearance above the floor instead of touching it. The bottom of the backdrop will be slightly elevated, which means you need to crop above your subject's feet. But the top of the canvas gets the clearance it needs to hang smoothly, and the visual quality of the portrait isn't affected because you weren't going to include the bottom 6 inches of canvas in a portrait composition regardless.
For extremely low ceilings (below 7 feet), abandon the hanging approach entirely. Lean the backdrop against the wall at a slight angle. The canvas is rigid enough from being rolled on its core that it holds a gentle lean without flopping, especially if the bottom edge is braced against the baseboard. You lose the floating look, but you gain the full coverage of the backdrop in a space that would otherwise be completely unusable.
In that Paso Robles vineyard basement, I leaned my SANDSTONE against the stone wall at about a 10-degree angle. The warm tones of the hand-painted canvas against the cool basement light created this beautiful, moody quality that I wouldn't have gotten from a standard hanging setup. The constraint became the creative advantage. That happens more often than you'd think.
When the Venue Is the Backdrop (and When It's Not)
I want to address something that deserves honest conversation: knowing when to leave your backdrop in the car.
Not every venue needs one. Some getting-ready spaces are genuinely beautiful. That Airbnb with the exposed brick wall and the giant industrial windows? Gorgeous. Use it. The historic estate with original crown molding and antique wallpaper? That's character you can't replicate with canvas.
I almost made this mistake at a wedding in San Juan Capistrano two years ago. The bridal suite was in a restored 1920s building with original plaster walls that had this incredible patina, soft variations of cream and blush from decades of aging. I walked in, started setting up my backdrop out of habit, and the bride's mom gently said, "Oh, I thought you'd use the walls. They're why we chose this room."
She was right. Those walls were better than anything I could have set up. I put the backdrop away and shot the entire portrait series against the venue's natural texture. The images were some of my strongest that year.
My rule now: if the venue's natural background tells a story that enhances the couple's wedding, use it. If the venue's background is neutral at best or distracting at worst, bring in your backdrop.
The grey area is where your instincts matter. Sometimes a space has one beautiful wall but three ugly ones. Use the beautiful wall for environmental portraits and your backdrop for everything else. Sometimes the light near the gorgeous architectural detail is terrible, but the light near a blank wall is perfect. Set up your backdrop near the good light and stop worrying about the beautiful wall that happens to be in shadow.
The goal isn't to use your backdrop at every single wedding. The goal is to always have the option so you're never at the mercy of whatever space you're handed. The photographers who show up with a backdrop and choose not to use it are in a fundamentally different position than photographers who show up without one and wish they had it.
The Mirror Trick: One More Setup Nobody's Teaching
I want to share one more technique because it's become one of my most reliable venue setups, and I've never seen another photographer write about it.
Most getting-ready spaces have at least one large mirror. Usually the vanity mirror where hair and makeup happens. That mirror is typically occupied during prep, but there's almost always a window of time (during the dress, right before the ceremony) when it's free.
Here's the setup: position your backdrop so it's reflected in the mirror, then photograph your subject with the mirror in frame. You now have the backdrop appearing twice in the image. Once as the actual background behind your subject, and once as a reflection in the mirror. The reflection adds depth, creates a frame-within-a-frame composition, and makes a single backdrop setup feel like a much more complex environment.
The key detail: angle matters enormously. If you're shooting straight into the mirror, you'll see yourself and your camera reflected. Move to about 30 degrees off the mirror's direct line and position your subject between you and the mirror, slightly off to one side. Now the mirror reflects the backdrop (and possibly a partial profile of your subject) without showing you.
I first tried this in a bridal suite at a resort in Laguna Beach. The room was small, the mirror was large, and I was looking for ways to create variety without moving my setup. The resulting image showed the bride fixing her earring in the foreground with the BENTONITE backdrop behind her, and in the mirror's reflection you could see the texture of the backdrop continuing, plus a glimpse of her profile from a different angle. One backdrop, one position, but the image had three layers of visual information.
Mirrors turn a single backdrop into a spatial experience. Look for them in every venue.
My Pre-Wedding Venue Checklist
I'm going to share the actual checklist I send to planners and couples before every wedding. It's five questions, and the answers tell me almost everything I need to know about my backdrop setup before I arrive.
1. Can you send a photo of the room where the bride will get ready? Not the venue's marketing photo. An actual phone photo of the room as it looks with furniture in place. This alone prevents most day-of surprises.
2. Roughly how large is the getting-ready room? I don't need exact dimensions. "About the size of a standard hotel room" or "it's pretty spacious, maybe 15 by 20 feet" gives me enough to plan my backdrop size and lens choices.
3. Are there windows in the getting-ready room? Which direction do they face? East-facing windows give me beautiful morning light for a morning timeline. West-facing windows are less helpful in the morning but gorgeous for afternoon sessions. North-facing windows give me consistent, soft light all day. South-facing can be harsh and direct, but workable with sheer curtains.
4. Is there parking close to the getting-ready room, or will I need to carry gear a distance? This determines whether I bring the 8x10 (heavier, needs two stands) or stick with the 5x8 (lighter, one stand). If I'm carrying gear across a field or up three flights of stairs, the 5x8 wins every time.
5. Will hair and makeup be happening in the same room where I'll do portraits? If yes, I need to plan my setup around other people's workstations, and I know the mirror might not be available for my mirror trick until later in the timeline. If the bride has a separate space for getting dressed, I have much more flexibility.
These questions take two minutes to answer and save real stress on the wedding day. Most planners appreciate the specificity because it signals professionalism and preparation. Couples notice too. When you arrive and set up confidently because you already know the room, that calm energy sets the tone for everything that follows.
Every photographer eventually walks into a room that looks impossible to shoot in. A simple backdrop turns it into a portrait space in minutes.
The Confidence That Comes From Preparation
Here's the truth behind everything in this post: the reason I can walk into a coat closet in Pasadena and create editorial portraits in 15 minutes isn't because I'm especially talented or lucky. It's because I've been in enough unpredictable spaces that I've built systems for reading them quickly and adapting without panic.
Your backdrop is the tool that makes that confidence possible. Without it, you're dependent on whatever the venue gives you. With it, you have a guaranteed professional surface that works regardless of what's behind it, underneath it, or around it. You just need to know how to put it in the right place.
And that skill comes from experience. But experience has to start somewhere. The 60-second room read, the five venue archetypes, the gear hierarchy, the mirror trick. These are frameworks you can use on your very next wedding day while you build your own instincts through real-world reps.
The photographers I know who consistently produce stunning getting-ready coverage aren't lucky with venues. They're prepared. They read the room in a minute, adapt their plan to the space, and set up with the kind of quiet efficiency that makes couples feel like everything is under control.
Because it is.
Ready to build your on-location backdrop kit? Start with our hand-painted canvas backdrops in the size that fits your venue work. Need help choosing? Our backdrop buying guide walks through every size option, and our setup guide covers the mechanical steps once you've chosen your position.

Creators of premium photography backdrops and styling surfaces
Trusted by thousands of discerning creatives worldwide
Every piece is handcrafted with intention in Orange County, California