
Wedding Flat Lay Props: The Styling Kit Photographers Actually Pack

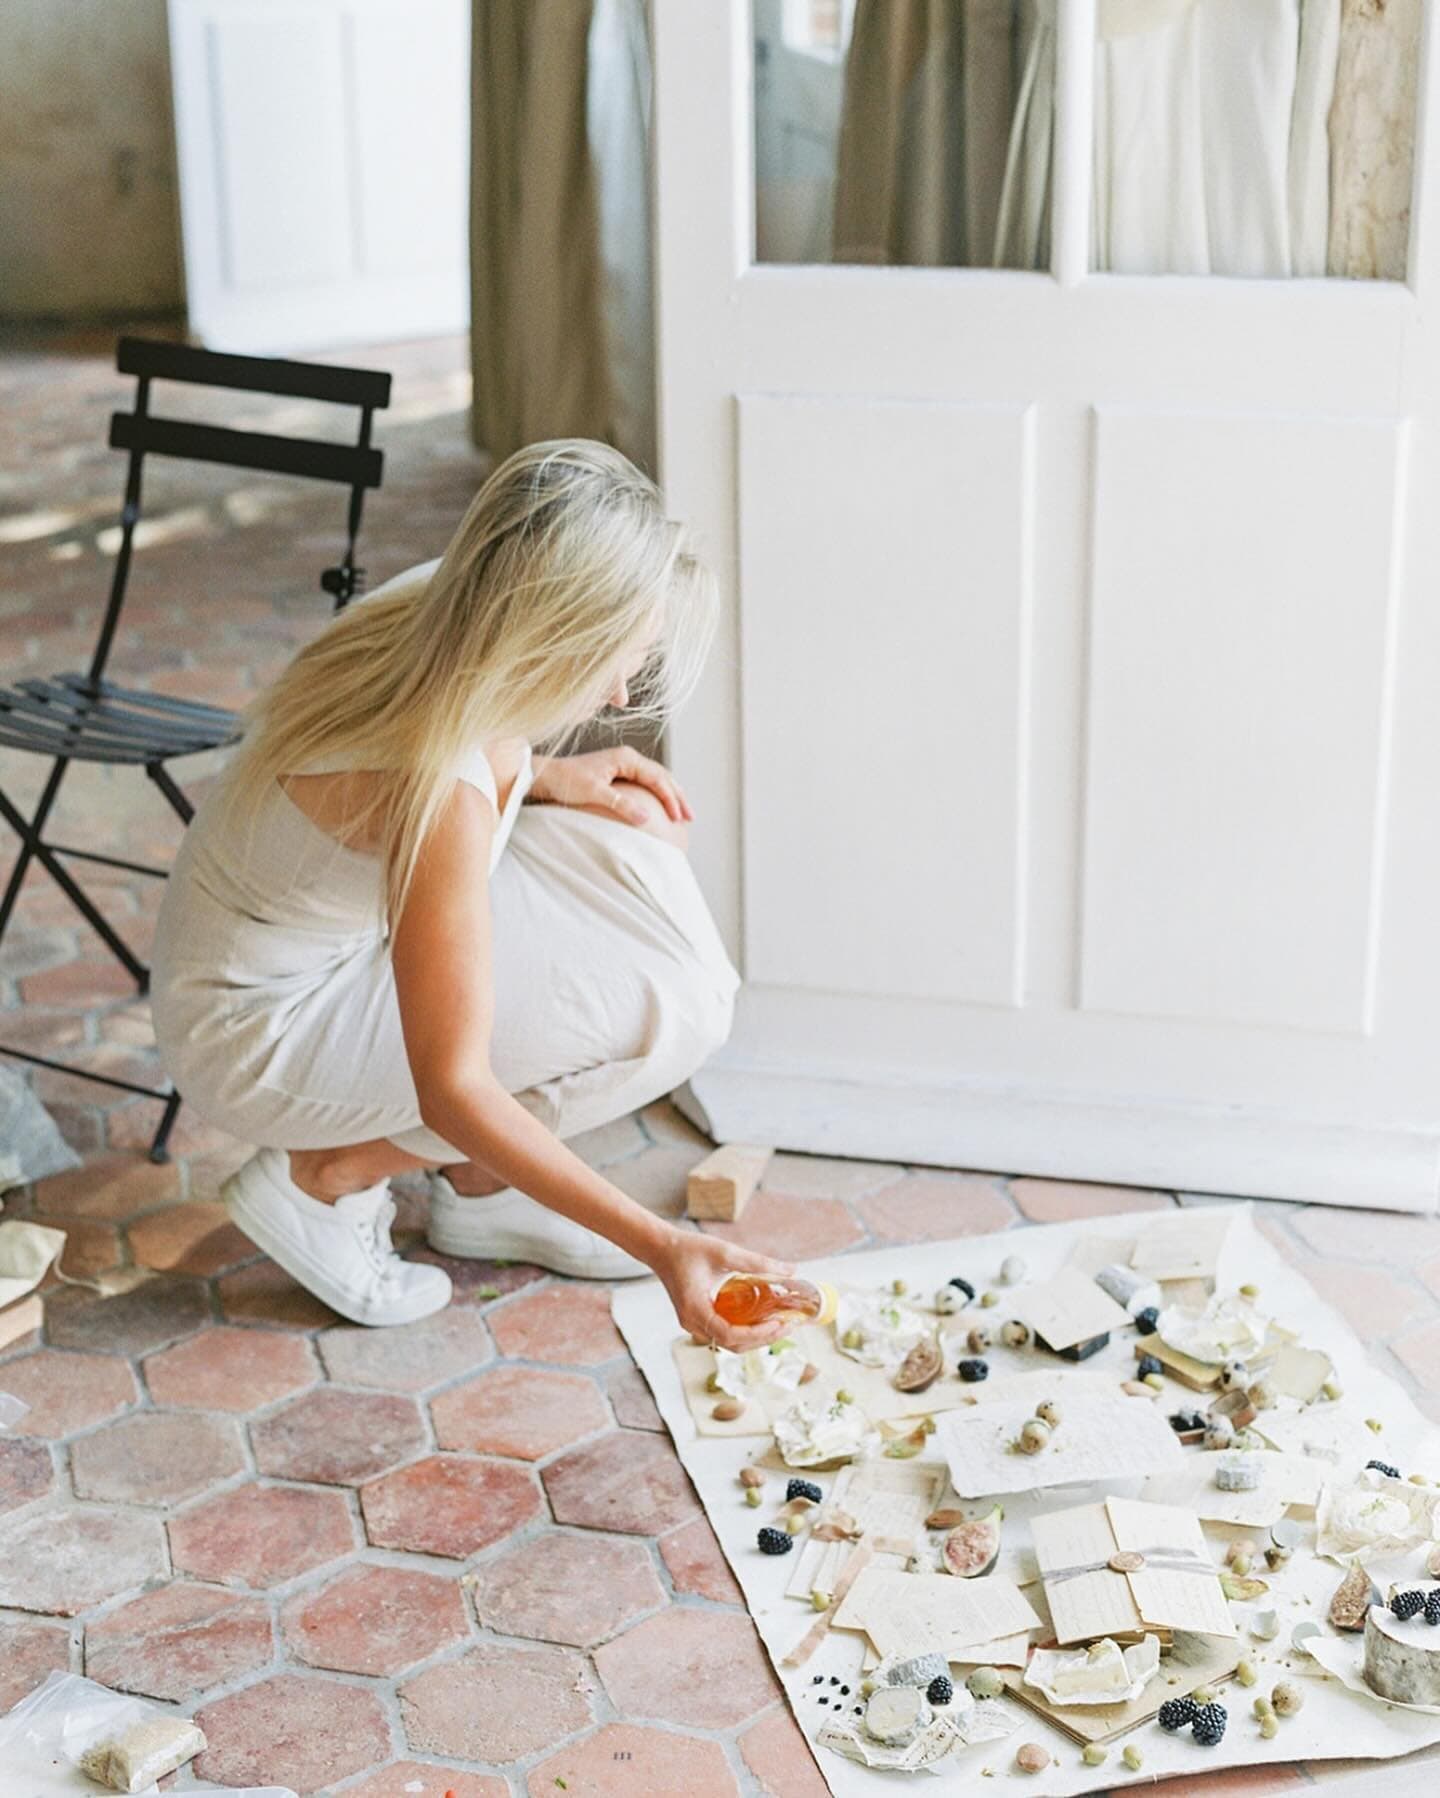
There is a moment on every wedding morning when the invitation suite, the rings, a grandmother's handkerchief and a few stems borrowed from the bouquet are laid out together for the first time, and the light from a hotel window falls across them as softly as it falls across a weathered stone wall in the late afternoon. I have always believed that small things deserve the same reverence we give to large landscapes, and when I began painting surfaces in 2018 it was because I needed a portable, textured, stone-like styling surface of my own, something with the feeling of old world plaster that I could roll up and carry wherever the work took me. The surface is only the beginning, though. What you bring along with it, the ribbon and the ring dish and the humble lump of putty that keeps a band standing upright, decides how calmly and beautifully those few minutes unfold, and I would love to walk you through the kit I would want beside you.
Quick Answer
A wedding flat lay styling kit holds one to three styling surfaces, a few neutral ring dishes or ring boxes, silk ribbon in two or three tones, loose wax seals, small scissors, tweezers, removable museum putty, low-residue gaffer tape, a pair of small clamps, a collapsible reflector with a black side, and a handheld steamer for fabric and ribbon. Florals, stamps and envelope liners are borrowed on the day from the florist and stationer. Pack the surfaces rolled, never folded, and keep the small props in one divided pouch so the whole kit sets up in minutes.
Why a Dedicated Flat Lay Kit Matters on the Wedding Morning
Detail photographs are usually made in the least forgiving part of the day. The suite is crowded with family and hair and makeup artists, the light is whatever the hotel happens to offer, and the couple's precious things arrive in a paper bag or a tote, sometimes still in the shipping envelope. In the middle of that gentle chaos you have a short window before the getting ready portraits begin to gather the details, compose several frames and return everything exactly as you found it. A kit that lives packed and ready makes that window feel spacious, because every decision about what to bring has already been made at home, with time and care, rather than in a hallway while the planner checks her watch.
There is also a quieter reason. When your props are consistent from one wedding to the next, your detail images begin to look like they belong to one body of work. A client scrolling your portfolio can feel a sensibility running through the rings and the stationery and the shoes, and that sense of authorship can be part of what draws a couple to your work in the first place. The kit is how you carry your own taste into a room that was decorated by someone else.
If you have read our guide to DIY flat lay styling props you already own, you will recognize some of the humble objects that follow. This guide is about assembling those pieces into a deliberate wedding kit, deciding which surfaces earn a place in it, and packing it so it survives airports, car trunks and the stairs of a historic venue.
Choosing One to Three Surfaces for Your Wedding Flat Lay Kit
The surface is the largest prop in every frame and the one that carries the most mood, so it deserves the most thought. I encourage most photographers to settle on one primary surface and one or two companions, rather than packing six and choosing on the day. Fewer options make faster decisions, and faster decisions leave more time for the careful work of arranging.
Hand painted flat lays
Our hand painted flat lays are painted by me on premium cotton canvas in two sizes, a Petite at 26" x 20" and a Standard at 35" x 28", and each is named for a place, from Matera to Santorini to Vik. Because they are painted, every one has the soft variation of real plaster and stone, with patches that catch the window light differently across the frame, and that variation gives a ring or an envelope something to rest against instead of floating on a flat field of color. They are rollable, which matters enormously for travel, and they are made to order, so each surface you receive is its own.
For a first surface, I usually suggest a light or mid-value neutral, because it will flatter the widest range of invitation suites and metals. Santorini is a natural white with a pink-toned grit, Matera is a warm taupe with slightly cooler undertones, and Chateau is a faint dove grey with subtle light blue highlights. Any one of those will hold cream paper, gold bands and white florals without stealing attention from them. A second surface can then lean toward color or depth: Havana is a classic soft blue with lightly textured patches of white that read like crumbling plaster, and Vik is a charcoal-black with graphite highlights and a heavy grit texture for couples whose details are moody, metallic or very modern.
The Standard size gives you room for a full invitation suite with its envelope, a ring dish and a few stems, all photographed from directly overhead with some breathing room at the edges. The Petite is lovely for rings, jewelry, fragrance and single cards, and it fits more easily on a hotel desk or a windowsill. If you only own one, the Standard is the more forgiving, since you can always crop in, but you cannot add surface that was never there.

Spill proof fabric flat lays
Our fabric flat lays are a different kind of tool, and I want to describe them accurately, because they are not painted at all. They are made of vegan wool or textured velvet, approximately 34" x 25.5", with an organic cotton canvas backing, and they are protected by the only patented GREENGUARD Gold Certified stain proofing compound, which is non-toxic and free of formaldehyde, PFAS and PFOAs. That protection is infused into each fiber rather than sitting on top as a coating, so spills roll off and can simply be blotted away. We were the first to bring spill proof fabric surfaces to the industry, and that resilience against stains and moisture is meant to last for the life of the fabric without ever harming you or our waterways.
On a wedding morning, the fabric surfaces earn their place whenever liquid or makeup is nearby: a fragrance bottle being styled, a champagne coupe beside the rings, a bridal party whose details include a compact or a lipstick. They also bring a soft, tactile texture that photographs beautifully under raking window light, and they can be steamed or ironed on high, which makes them easy to refresh after travel. If you are weighing whether one belongs in your kit, our honest look at whether spill proof photography mats are worth it walks through the practical tradeoffs, and you can browse the current range in our fabric flat lay collection.
A simple decision rule for your surfaces
If you photograph mostly classic, light and romantic weddings, a single light neutral painted surface will carry nearly every detail you meet, and a second painted surface in a soft color or deep tone gives you variety across a season. If your couples lean toward glamorous hotel weddings with fragrance, cocktails and bold jewelry, pair one painted neutral with one fabric surface so you always have a safe place for anything wet. If you travel by plane for most of your weddings, keep the total to two surfaces so the tube stays manageable. Our deeper flat lay surface guide for wedding photographers covers color and value choices in much more detail, so here I will simply say that the best kit is one you will actually carry to every wedding.
Ring Dishes, Ring Boxes and Small Vessels
Rings are the heart of most detail sets, and they rarely look their best lying flat. A ring dish or a ring box gives the band a stage, lifts the stone toward the light and creates a small shadow that adds depth to an overhead frame. I like to suggest two or three rather than a whole collection: one shallow ceramic dish in an off-white or pale stone tone, one small vintage brass or silver tray for warmth, and one ring box in velvet or linen whose color sits quietly against your main surface. Neutral tones are the wisest choice, because the couple's rings, invitation and florals will bring their own color, and your props should support those rather than compete with them.
Small vessels are worth a corner of the kit as well. A bud vase no taller than your hand can hold a single stem borrowed from the bouquet, and a tiny glass bottle or an antique thimble can sit beside the rings as a quiet supporting character. I would keep these deliberately few. Every object you add to a flat lay asks for a share of the viewer's attention, and wedding details are at their most moving when the couple's own things are clearly the subject.
It also helps to think about height. A flat lay photographed from directly overhead flattens everything, so a ring box with a lid propped open, a dish with a slight lip, or a ribbon allowed to curl gently gives the eye small changes in depth to wander across. Each of those small rises casts its own soft shadow, and together they keep the frame from reading as a single flat plane.
Ribbon, Wax Seals and Paper Accents
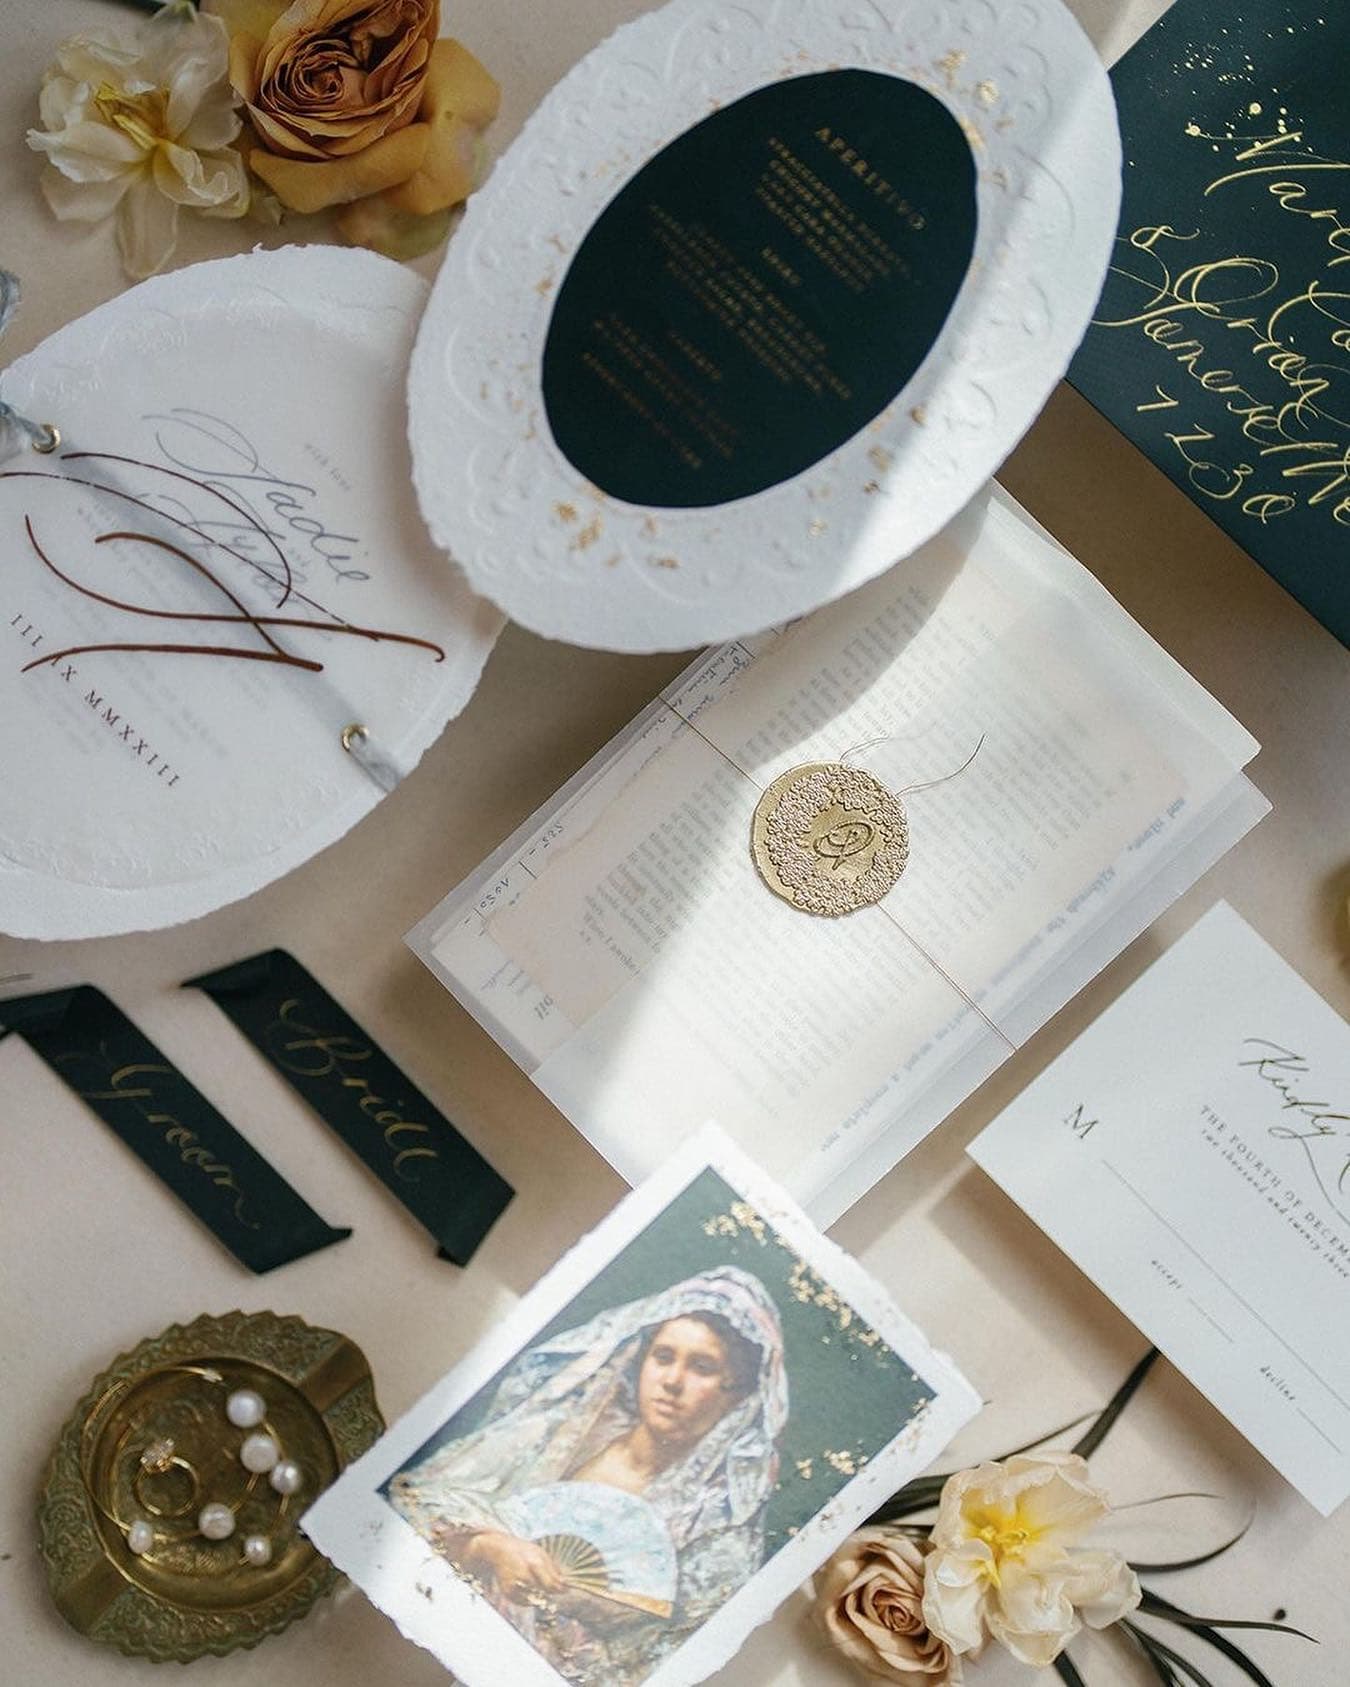
Silk ribbon is the most versatile soft prop I know. A length of hand dyed or raw edged silk can wrap an invitation suite, trail beneath a ring dish, tie a bundle of vow books or simply curve across an empty corner to lead the eye into the frame. I suggest carrying three tones: an ivory or cream that suits nearly every wedding, a neutral with a little warmth such as a soft taupe or blush, and one deeper accent that you can match to the season. Wind each length around a small card or a wooden spool so it arrives without hard creases, and keep a pair of sharp, small scissors with it so you can trim a fresh end when the original frays.
A handful of loose wax seals in neutral tones lets you add a finishing touch to an envelope when the stationer has not sealed one, and a few vintage postage stamps can sit along the edge of a suite when the couple's stationery arrived without them. I would always ask the stationer before the wedding whether they are sending extras, because their own seals and stamps will always be truer to the suite than anything we bring. Your own paper accents are the quiet backup, there for the morning when the couple hands you a single invitation in a plastic sleeve and nothing else.
A few sheets of handmade paper or a deckled envelope in a neutral color can also stand in as a layering element, giving an invitation something to sit on so it does not look adrift. Keep these flat in a folder at the back of your case. If you want to see how these layers come together around a full suite, our walkthrough of how to style a wedding invitation suite shows the process from envelope to final frame.

The Small Tools That Hold Everything Still
The tools that never appear in the photograph are often the ones that make it possible. These live together in one small pouch, and I would encourage you to keep that pouch packed permanently so you never leave without it.
Museum putty for rings and standing objects
A little removable museum putty is one of the most useful things you can carry for ring photography. A pea-sized piece, softened between your fingers and pressed beneath the band, lets a ring stand on its edge so the stone faces the camera. The manufacturer of QuakeHold museum putty, Ready America, describes it as removable, reusable and non-toxic, and says it lifts away cleanly when you twist the object free. Because heirloom rings and delicate settings deserve caution too, press the putty against the underside of the band where it cannot be seen, roll it off gently afterward, and check each piece before returning it to the couple.
Removable adhesive such as museum putty is safe to use directly on our hand painted flat lays, so you can stand a ring on its putty right on the painted face of the surface and let the brushwork and color sit close around the band. When you would like a vessel in the frame as well, the same small piece of putty will hold a ring upright inside a ring dish or on the open lid of a ring box.
Tweezers, scissors and a soft brush
Fine-tipped tweezers let you place a single petal, straighten a tiny ribbon end or nudge a ring by a millimeter without fingerprints on the metal. Small scissors trim ribbon and stems. A soft makeup brush or a small lint roller sweeps away pollen, glitter and fibers before each frame, and it is the same gentle tool we recommend for clearing debris from our painted backdrops. A clean microfiber cloth for wiping fingerprints from rings, watch faces and fragrance glass completes this corner of the kit.
Gaffer tape and small clamps
Gaffer tape is the photographer's tape for good reason. B&H Photo explains that it is cloth based, usually made in matte non-reflective colors, and leaves little or no residue when it is removed, which sets it apart from plastic coated duct tape. A few strips torn ahead of time and stuck to the inside of your pouch lid will tape a curling invitation corner from behind, hold a cable out of the way or anchor the edge of a reflector. I would keep it away from the painted face of a surface and from the couple's paper goods, using it only on backs and on your own equipment.
Two or three small spring clamps or A-clamps finish the set. They hold a reflector to a chair back, pin a length of ribbon while you work, or clip a black card to a lamp stand to block a stray reflection. They are inexpensive and they save you from asking a bridesmaid to hold something for ten minutes.

Light Shaping Tools and Soft Prop Care for Hotel Rooms
Most detail photographs on a wedding morning are made by window light, and that light is rarely perfect. A collapsible reflector is the single most useful light tool in a flat lay kit, because it can fill shadows, cut reflections and shape the mood of the frame in seconds. One compact option is a 22 inch 5-in-1 reflector; the Fotodiox version, for example, has silver, soft gold, black, white and translucent surfaces on a removable cover and folds to about a third of its size into a carrying bag, so a single disc gives you nearly every option a hotel window will ask of you.
In practice, I would use the white side most of all, held just outside the frame opposite the window, to lift the shadow side of a ring box or an invitation suite. The black side is just as valuable. Placed on the shadow side, it deepens contrast and brings out the texture of a painted surface, and held just beside the lens above a ring or a fragrance bottle, it removes the bright window reflection that otherwise sits on glass and polished metal. The translucent panel softens harsh direct sun when a hotel room faces the afternoon light, and it can be clamped between the window and your surface to turn a hard beam into gentle, even light. I would leave the gold and silver sides for rare occasions, since they shift color and add sparkle that can feel heavy on delicate stationery.
A sheet or two of black and white foam board, cut small enough to slip into your case, can serve the same purpose when you need a reflector to stand on its own against a vase. Some photographers also carry a small continuous light for dark suites, and our guide to the essential photography gear for wedding flat lays covers cameras, lenses and lighting in depth, so I will leave those decisions there.
A steamer and the care of soft props
A small handheld steamer is worth its space in any kit that includes ribbon, linen napkins, a veil corner for a detail frame or a fabric flat lay. Silk ribbon relaxes in a few seconds of steam, and a creased linen napkin softens into something that looks touched by hand instead of pressed in a factory. Our fabric flat lays can be steamed or ironed on high, so a steamer refreshes them after a day in a suitcase.
Painted surfaces ask for different care. For our hand painted flat lays, light dents are best relaxed by ironing the back on low to medium heat, and I would keep the steamer pointed away from the painted face. In cold weather a painted surface can stiffen, and rolling it gently in the opposite direction helps it lie flat again. A damp cloth spot cleans small marks and a white art gum eraser lifts scuffs, which is why a small eraser deserves a place in your pouch beside the tweezers.
What to Borrow From the Florist and Stationer on the Day
Some of the most beautiful props in a wedding flat lay are never packed at all. They are borrowed, with permission, from the vendors who made them, and they tie your detail images directly to the couple's day.
From the florist, the most generous gift is a small handful of loose blooms and greenery that match the bouquet: a few spare ranunculus or garden roses, a sprig of the same greenery, a single stem of whatever accent flower appears in the bridal bouquet. It is worth asking kindly ahead of time. I would reach out a week or two before the wedding with a short, warm note explaining that you photograph the invitation and rings with the couple's own florals, and asking whether a few loose stems might be left with the bridal party. On the day, keep the borrowed stems in a small water tube or a damp paper towel inside a sealed bag until you need them, and return or discard them as the florist prefers.
From the stationer, ask for a complete extra suite whenever one exists. An extra set means you can style freely, perhaps even tuck an envelope liner beneath the invitation, without worrying about creasing the couple's keepsake copy. If the stationer has extra envelopes, liners, ribbon, wax seals or menu cards to spare, any of those will make richer, truer props than anything you could bring. A brief note to the planner asking that the stationery extras be gathered with the rings and other details makes your morning far smoother, because it means everything arrives in one place.
The couple will often bring meaningful objects of their own: a parent's watch, a grandmother's brooch, a handkerchief, a small book of vows, a fragrance they have worn for years. It is worth asking about these gently in your planning questionnaire, because the details with a story attached are so often the ones couples return to years later.

Packing the Kit So It Travels Well
A styling kit is only useful if it arrives intact, and the way you pack it matters as much as what it holds. I think of the kit in three parts: the surfaces, the small props and the light tools.
Rolling and carrying your surfaces
Painted surfaces should always be rolled and never folded or creased, because a fold can crack or dent the paint. Ours ship rolled on a cardboard core with a retaining band and ribbon inside a branded tube, and that same core and tube are the ideal way to carry them to every wedding. Up to three painted surfaces of the same size can share one core, which keeps a two or three surface kit to a single tube. Roll them snugly without crushing, paint side in, so that when a surface is unrolled it rests on its durable, wipeable canvas back rather than on the painted face, and slide the retaining band back on before the surface goes into the tube. A linen bag is a lovely alternative for shorter trips, and we offer linen bags made for painted surfaces that help keep dust away between weddings.
When you arrive at the venue, unroll the surface on the bed or a clean table a few minutes before you need it so it can relax, and lay something light at each corner if it wants to curl. If it has been in a cold car, give it time to warm before you unroll it, and remember that rolling it gently in the opposite direction helps a stiff surface lie flat.

Organizing the small props
Small props travel best in a single divided pouch or a shallow case with soft dividers. I would give ring dishes and vessels their own padded sleeves, keep ribbon wound on cards in a zip pouch so it cannot tangle, and place the tools, putty, gaffer tape strips, eraser, brush and microfiber cloth together in one compartment you can reach without looking. A small notebook or a printed card with your detail shot list, tucked into the lid, reminds you of each frame you plan to make.
It helps to pack the pouch in the order you will use it: surfaces out first, then the ring dishes and ribbon, then tools as you refine, then the reflector as the last step before you shoot. When the morning is rushed, a kit that opens in the same sequence every time lets your hands work while your eye stays on the composition.
The light tools and the steamer
A folded reflector slides flat against the back of a camera bag or a rolling case, and foam board cut to the same footprint can travel beside it. A handheld steamer should go in with its water tank empty, and if you fly, it is wise to check your airline and the current TSA guidance before each trip rather than relying on what was allowed last season.
Setting Up the Kit in a Hotel Suite
When you walk into the getting ready room, the first decision is where to work. Look for the largest window with indirect light, ideally one that is not receiving direct sun, and find a flat place near it: a desk pushed toward the glass, a luggage bench, a clean patch of floor or a bed with a firm surface beneath the canvas. Lay the surface a few feet from the window, turned so the light rakes across it from one side, because side light is what reveals the texture of a painted surface and gives each object a soft shadow.
Gather all the details into one place before you style anything. Lay the invitation suite, rings, jewelry, shoes, fragrance and personal objects out on a towel or the bed so you can see everything at once and plan your frames. Then open the kit, choose the surface that best suits the palette of the stationery and florals, and begin with the largest element, usually the invitation suite, before placing the rings, the ribbon and the borrowed florals around it. Bring in the reflector last, once the arrangement is settled, and use it to make small refinements to the light.

When you finish, return every borrowed and personal item to the place the couple or planner asked, and do it with the same care you used to style them. Families notice when their things come back exactly as they were, and that trust is part of the work too.
Frequently Asked Questions
What props do you need for wedding flat lay photography?
A practical wedding flat lay kit includes one to three styling surfaces, two or three ring dishes or ring boxes, silk ribbon in a few neutral tones, loose wax seals, small scissors, tweezers, removable museum putty, gaffer tape, a few small clamps, a collapsible reflector with white and black sides, and a handheld steamer. Florals, extra stationery, envelope liners and stamps are best borrowed from the couple's florist and stationer on the day.
What is a flat lay mat or styling surface?
A flat lay mat, also called a styling surface or styling board, is a portable background laid flat beneath objects photographed from overhead. It gives rings, invitations and small products a consistent texture and color in any location. Styling surfaces come as painted canvas, fabric, vinyl, paper or rigid boards. Our hand painted flat lays are painted on cotton canvas and roll for travel, while our fabric flat lays are vegan wool or textured velvet with spill proof protection and are not painted at all.
How many flat lay surfaces should a wedding photographer own?
Most wedding photographers do well with one to three. A single light neutral surface covers the majority of classic weddings, and a second surface in a soft color or a deep, moody tone adds variety across a season. A third, often a spill proof fabric surface, is useful when fragrance, cocktails or makeup are part of the details. Keeping the number small makes decisions faster on a busy wedding morning.
How do you get a ring to stand up for a flat lay photo?
Press a small piece of removable museum putty beneath the band where it will not show, then stand the ring on its edge directly on the surface, inside a ring dish or on a ring box lid, so the stone faces the camera. Removable adhesive such as museum putty is safe on our hand painted flat lays. A dish with a slight lip or an open ring box can also hold a band upright on its own. Fine-tipped tweezers help you adjust its angle without leaving fingerprints. Remove the putty gently afterward and check the ring before returning it.
How do you travel with flat lay surfaces without damaging them?
Painted flat lays should always be rolled and never folded, since a fold can crack or dent the paint. Roll them snugly on a cardboard core, paint side in, secure them with a band, and carry them in a protective tube or linen bag. Up to three painted surfaces of the same size can share one core. Fabric flat lays can be steamed or ironed on high to refresh them after travel.
What should I borrow from the florist for wedding flat lays?
Ask the florist ahead of time for a small handful of loose blooms and greenery that match the bridal bouquet, such as a few spare roses or ranunculus and a sprig of greenery. These tie your detail images to the couple's actual flowers. A short, kind note a week or two before the wedding is usually all it takes. Keep the stems in a water tube or damp paper towel until you need them.
Can you use spill proof fabric flat lays near drinks and makeup?
Yes. Our fabric flat lays are protected by the only patented GREENGUARD Gold Certified stain proofing compound, infused into each fiber, so liquids roll off and can be blotted away. They are a good choice when champagne, fragrance or cosmetics are part of the detail set. For any stain that remains, a damp terry rag usually lifts it. They are made of vegan wool or textured velvet and are not hand painted.
Bringing Your Kit to the Next Wedding
A styling kit grows slowly, one ribbon and one small brass dish at a time, until it becomes a quiet extension of your own way of seeing. My hope is that yours becomes a small traveling studio, one that lets you honor the couple's treasures in any room the day happens to give you. If you are choosing the surface that will anchor it, you are warmly invited to explore our hand painted flat lay collection, where each piece is painted by hand and named for a place in the world whose texture I wanted to carry onto canvas.
What small, beautiful things will you carry with you to the next wedding morning?
Shop the look