
Creative Backdrop Techniques: Angles, Crops, and Compositions That Add Variety
Posted on Mar. 12, 2026
A photographer named Sarah sent me her portfolio last year asking for feedback. She'd bought three of our backdrops and was frustrated because she felt like all her images looked the same. "I love the surfaces," she wrote. "But my galleries feel repetitive. Every portrait is the subject standing centered with the backdrop filling the frame behind them."
I pulled up her work. She was right. Beautiful backdrops, beautiful subjects, beautiful light. And every single image was composed identically. Subject dead center. Backdrop edge to edge. Camera at eye level. Straight on.
She didn't need more backdrops. She needed more approaches to the ones she had.
I sent her back a challenge: take one backdrop, one subject, and shoot for 30 minutes. But every five minutes, change one variable. Angle. Crop. Distance. Camera height. Orientation. Composition. She sent me the results a week later. Twelve distinct images from a single backdrop that looked like they could have come from six different sessions.
That exercise became the foundation of how I teach photographers to think about backdrop work. And it's what this article is about.
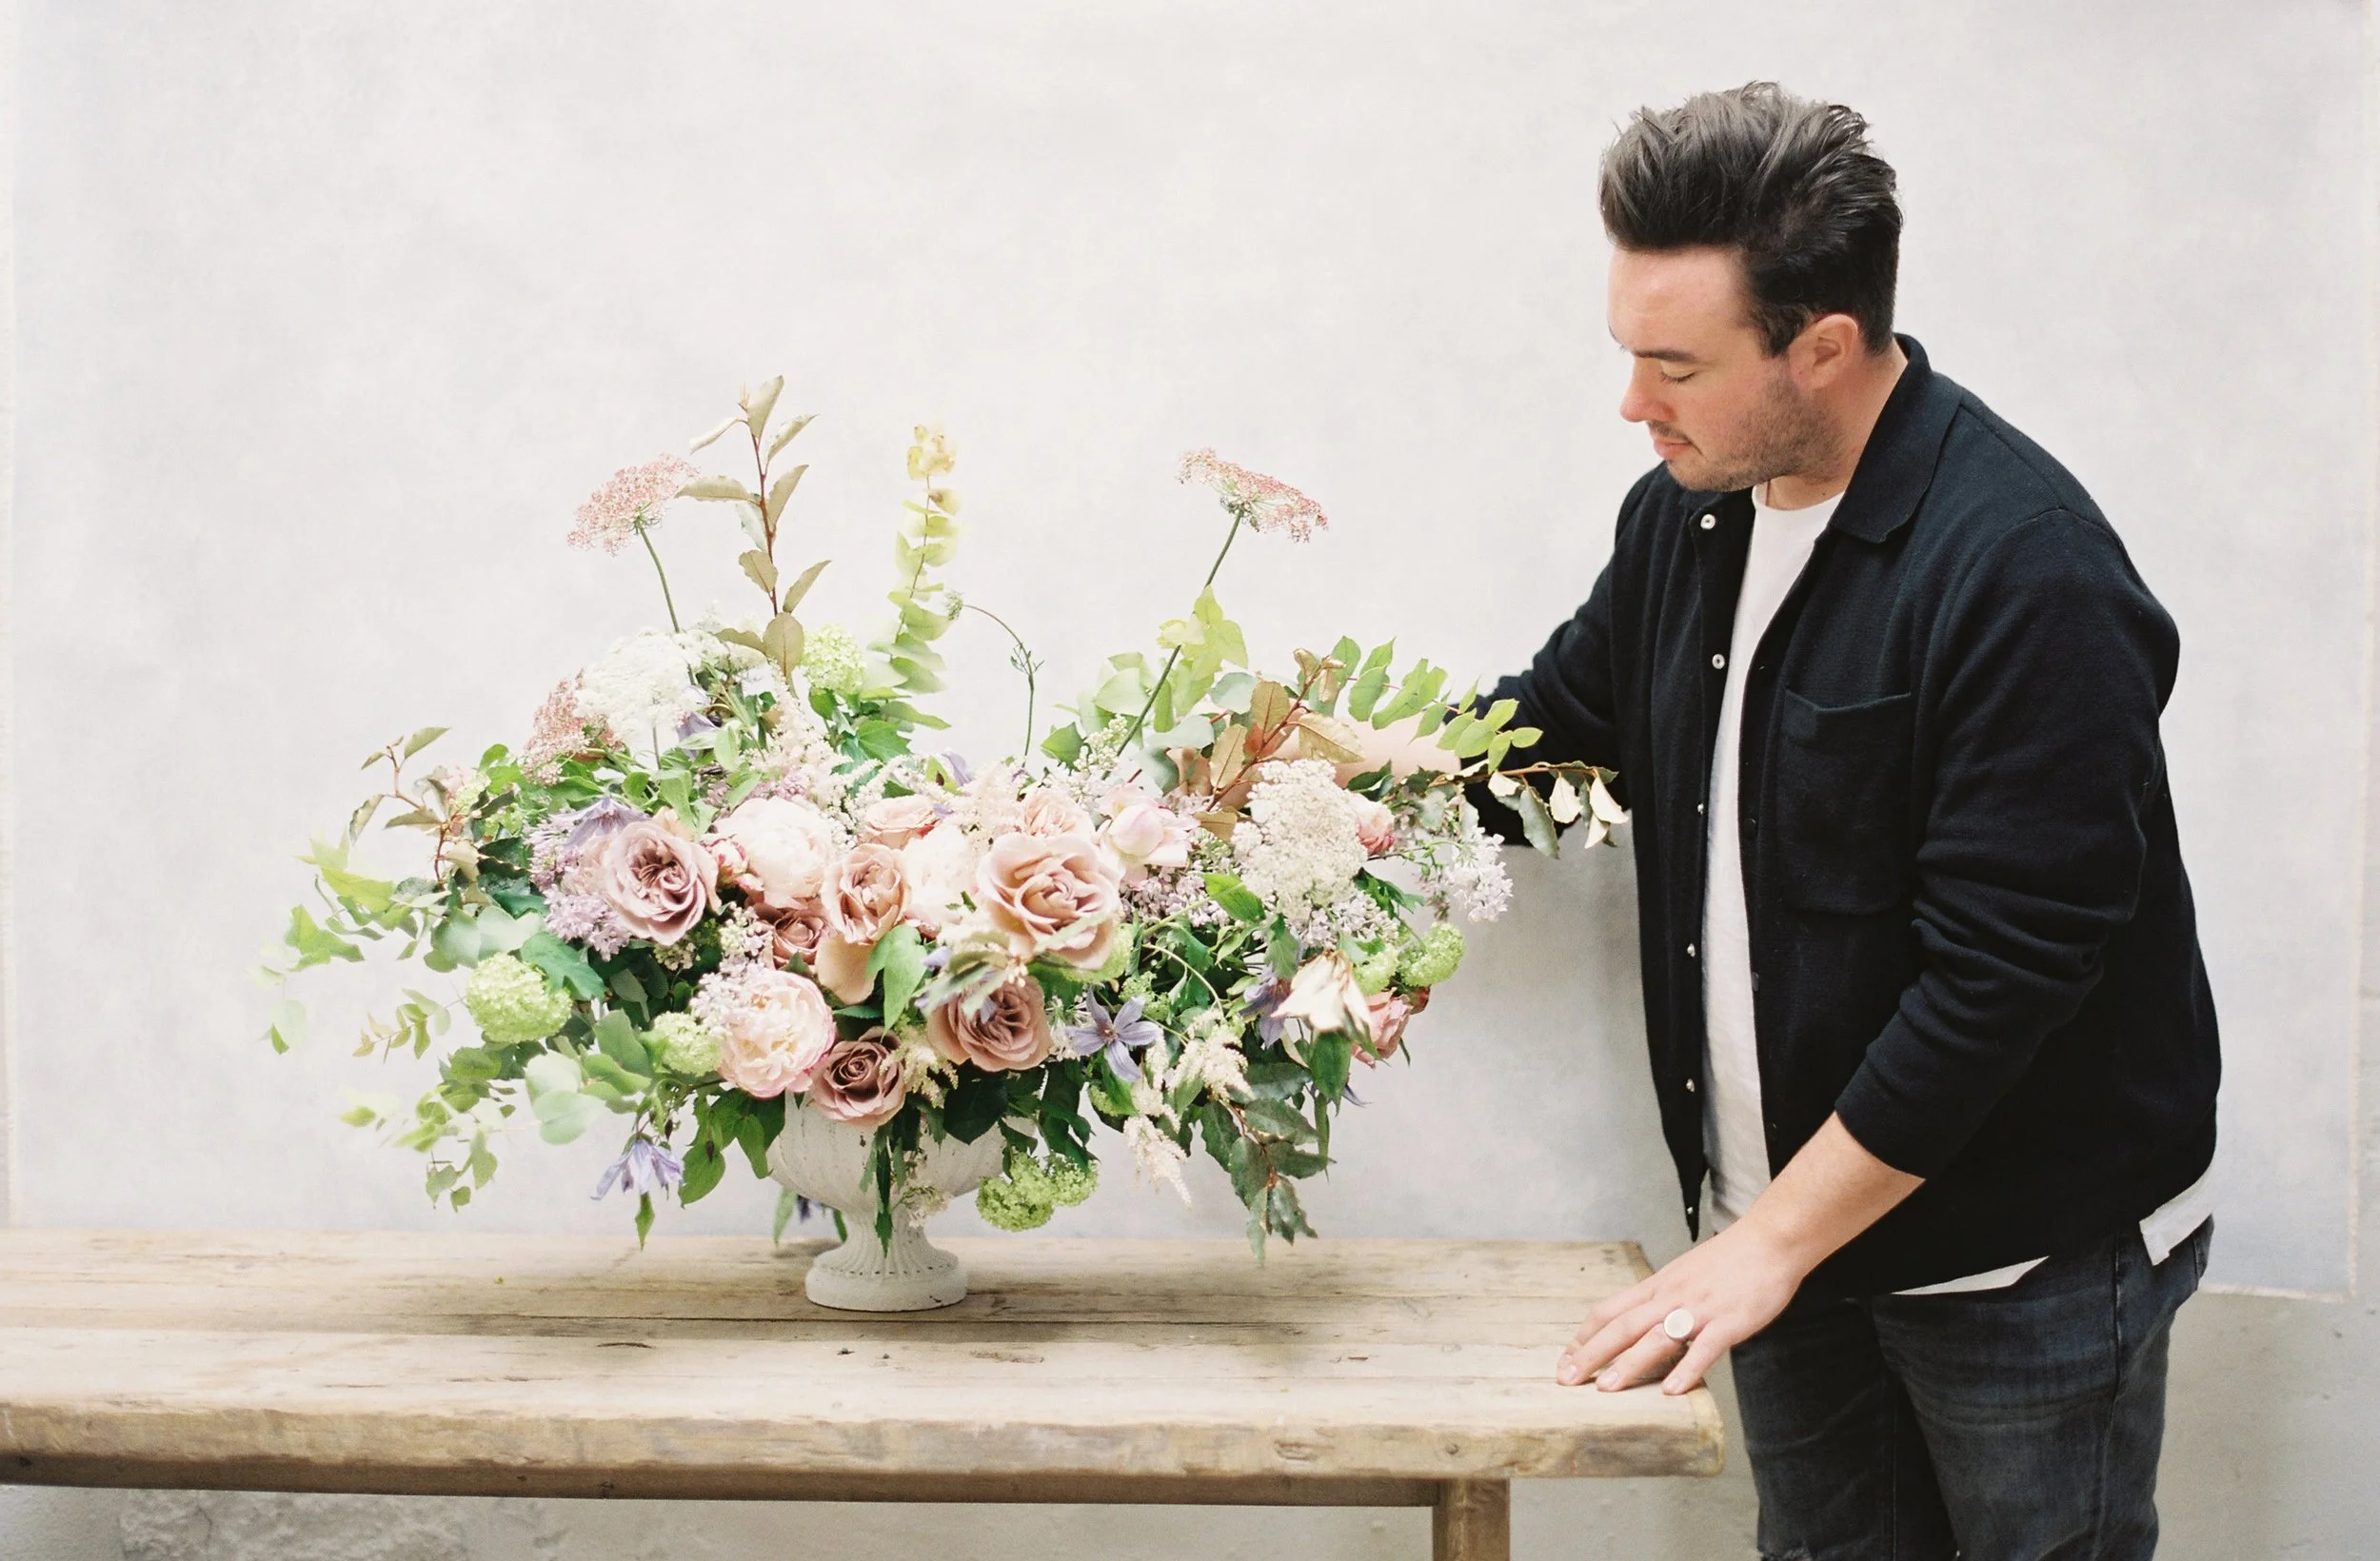
Feeling like every portrait session looks the same? Before you invest in another backdrop, try changing your angle, distance, or crop. One surface can create dozens of looks when you adjust your composition.
The One-Variable Rule
Here's the simplest framework for creating variety: change one thing at a time.
Most photographers set up their backdrop, find a composition that works, and then shoot the entire session from that position with minor adjustments to posing. The backdrop stays fixed. The camera stays fixed. The distance stays fixed. The only thing moving is the subject's hands and chin.
This produces consistent work. It does not produce varied work. And your clients can tell the difference when they flip through their gallery and feel like they're looking at the same photograph forty times with different facial expressions.
The one-variable rule forces you to move. After every three to five frames, change something about your shooting setup. Not the pose. Not the expression direction. Something about how you're interacting with the backdrop itself.
The variables you can control: your distance from the subject, your camera height, your horizontal angle relative to the backdrop, your focal length, your crop (how much backdrop appears in frame), and whether the backdrop fills the composition completely or partially. Each of these changes how the backdrop reads in the final image, even though the backdrop itself hasn't moved.
Distance: The Most Underused Variable
Your distance from the subject changes everything about how a backdrop photographs. Not just depth of field (though that matters), but the ratio of subject to background in your frame and how texture reads at different scales.
Close and tight (4 to 6 feet from subject, 85mm or longer). At this distance with a longer lens, you're filling the frame with your subject. The backdrop becomes a soft wash of color and texture behind them. Individual brushstrokes may not be distinguishable, but the organic variation of hand-painted canvas still reads as depth rather than flatness. This is your bread-and-butter headshot and tight portrait distance.
The backdrop's job here is to not distract. It provides color, tone, and subtle dimension without competing with the subject's face. Even a bold-colored backdrop like Lapis or Serpentine becomes manageable at this distance because you're seeing so little of it.
Mid-range (8 to 12 feet from subject, 70 to 100mm). This is three-quarter and full-length territory. Now the backdrop occupies a significant portion of your frame, and its texture becomes a visible compositional element. You can see the brushwork. The color variations across the surface become part of the story. The backdrop transitions from "background" to "environment."
This is where hand-painted canvas separates itself most dramatically from vinyl or paper. At mid-range, a flat surface reads as exactly that: flat. A painted surface with real physical texture reads as dimensional, as if your subject is standing in front of something that exists in the real world rather than something purchased from a photography supply catalog.
Far and environmental (15+ feet, 50 to 70mm). Pulling way back and shooting wider turns the backdrop into one element of a larger scene. Now you might see the edges of the canvas, the stands, the room itself. This sounds like a mistake, and for traditional portrait work it would be. But for behind-the-scenes content, editorial storytelling, and atmosphere-building images in a wedding gallery, showing the setup can be intentional and beautiful.
Some of the most compelling images I've seen from photographers using our backdrops are the wide environmental shots that show the backdrop as a deliberate creative choice within a real space. The bride preparing in front of a hand-painted canvas hung in a sunlit room. The photographer's setup visible at the edges. These images communicate intentionality to the viewer in a way that tightly cropped portraits don't.
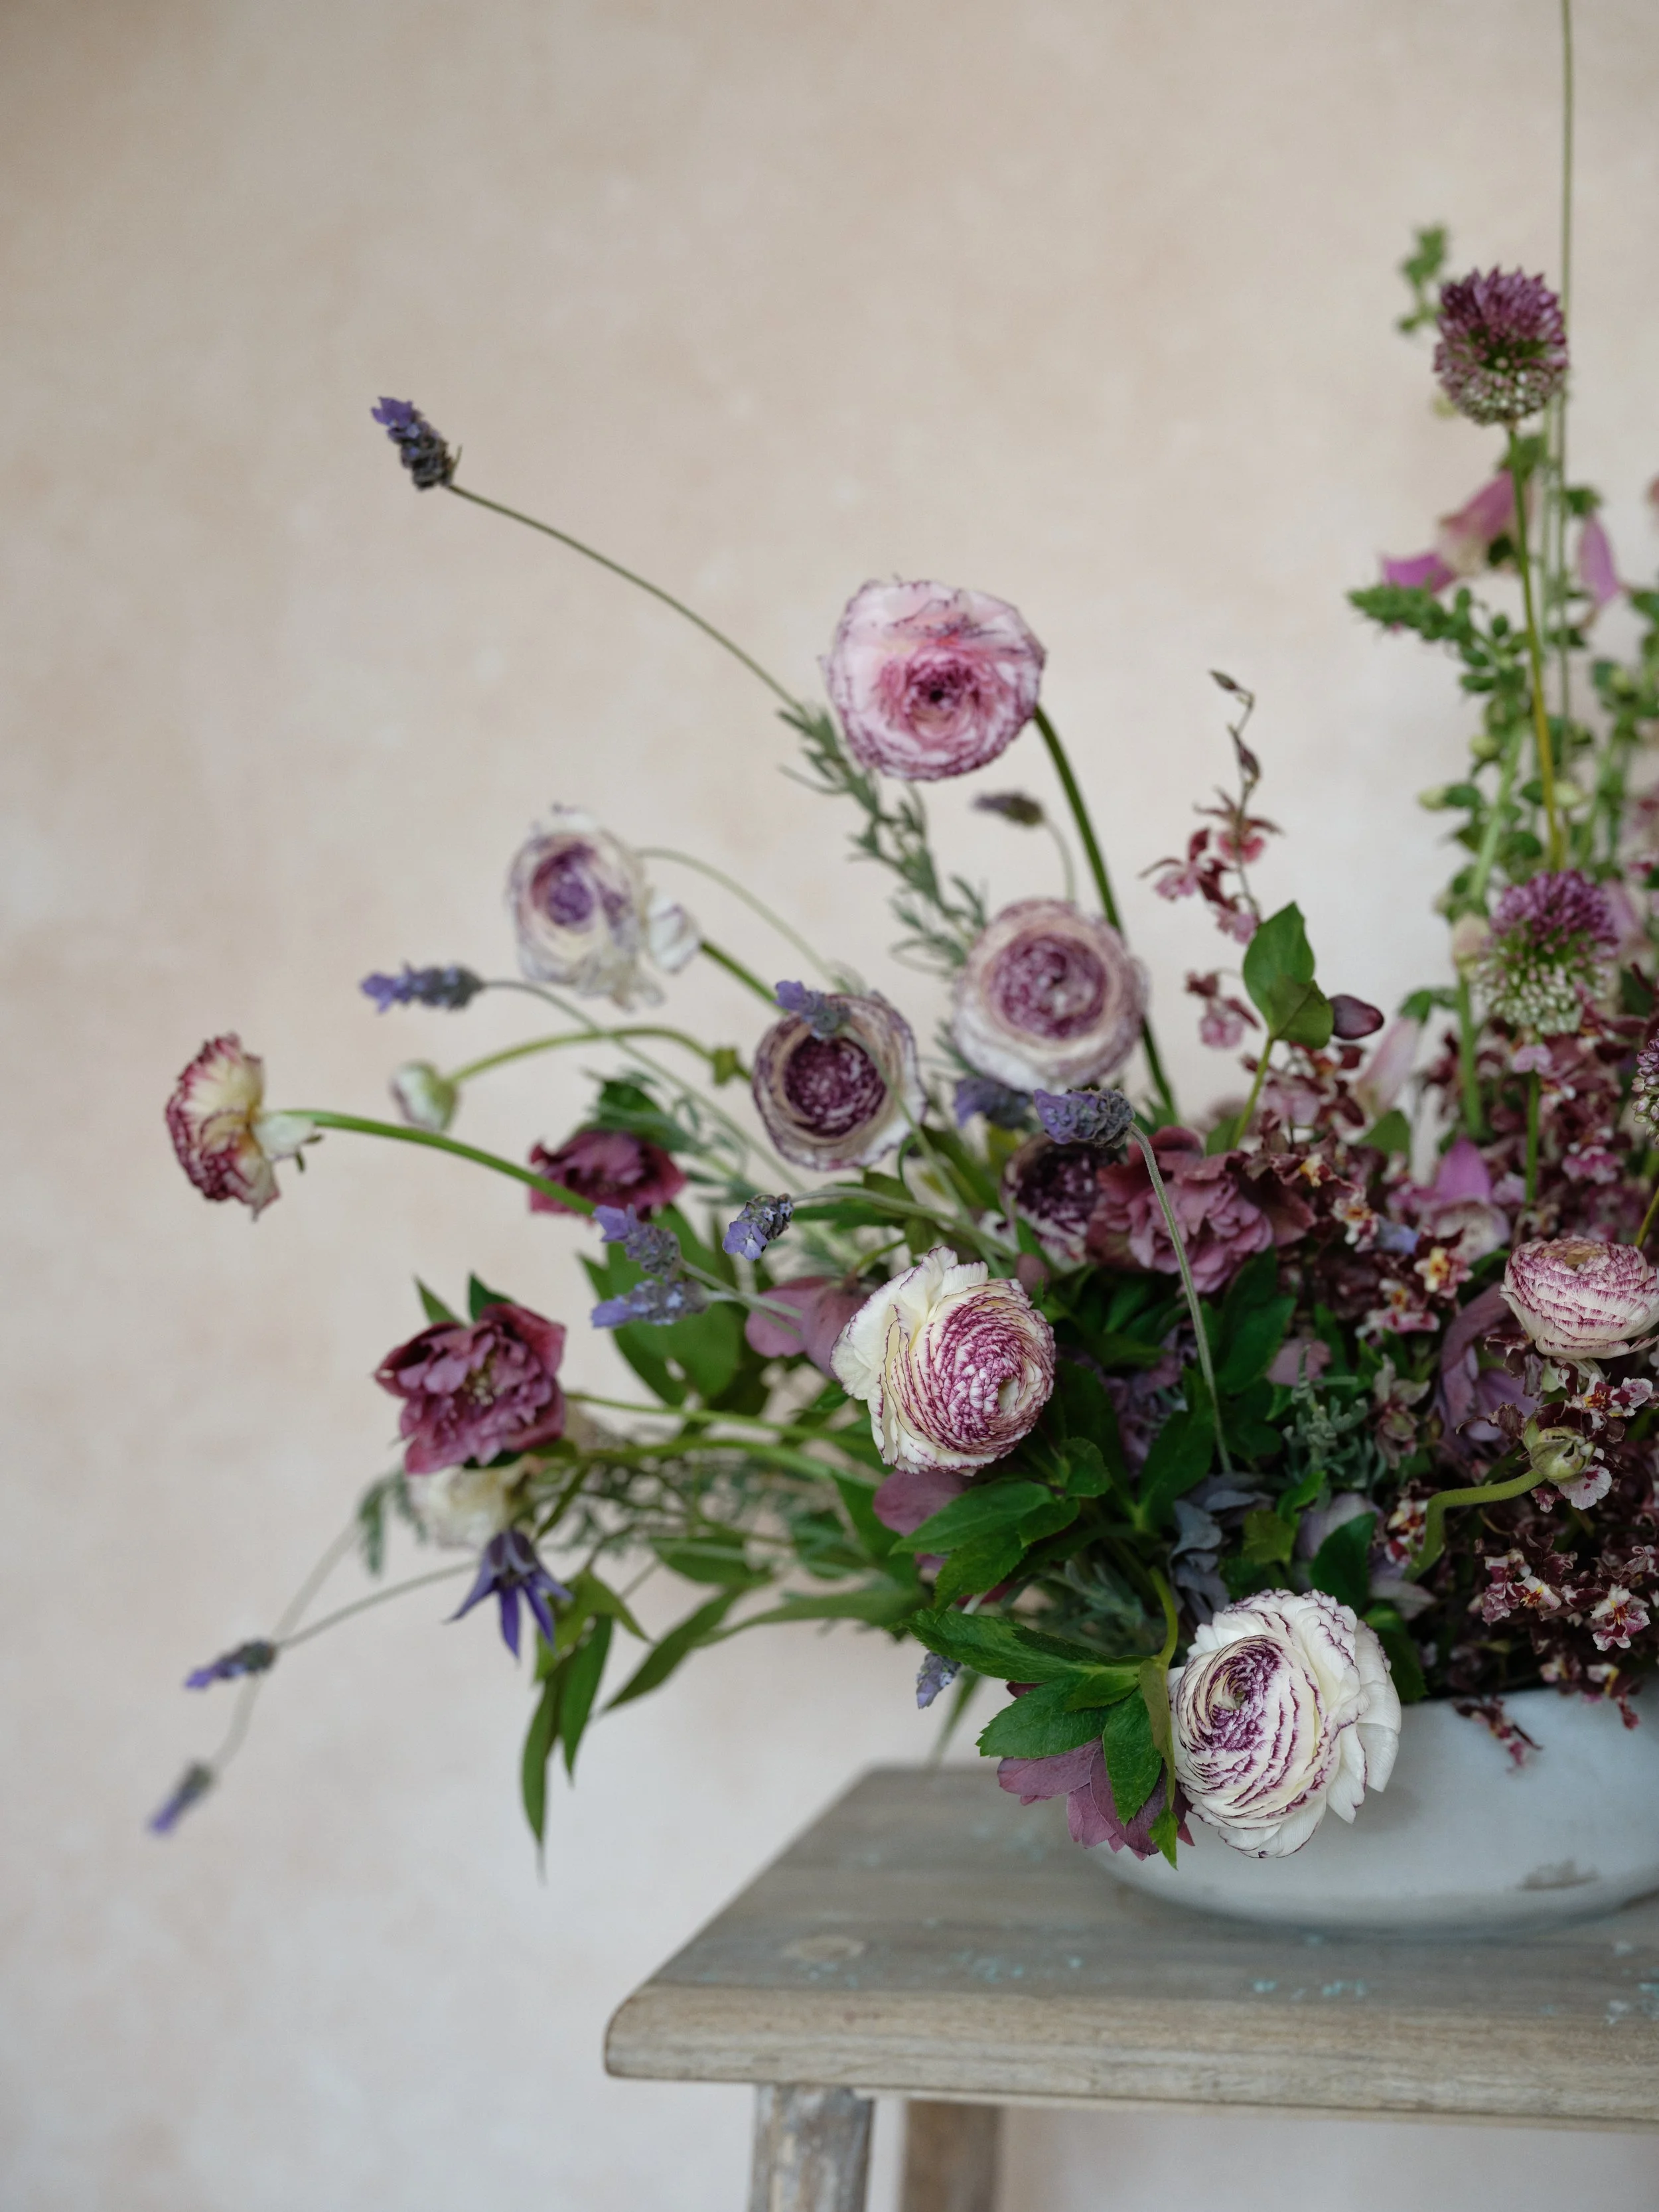
Backdrop composition variety comes from intentional placement. Off-centering your subject transforms a simple floral arrangement into editorial work.
Camera Height: Three Feet Changes the Whole Image
The 8x14 posing guide covers camera height as it relates to canvas coverage on larger backdrops. But height affects composition on every size, and it's one of the fastest ways to create variety during a session.
Most photographers default to standing height. Camera at 5 to 5.5 feet. Eye level or slightly above the subject. This is comfortable, familiar, and produces reliably good results. It's also why all your images have the same visual weight.
Drop to a knee (3 to 3.5 feet). Shooting from below changes the power dynamic of the portrait. The subject feels elevated, confident, present. More of the vertical backdrop fills your frame behind their upper body and head. The backdrop texture reads differently because you're seeing it at a steeper angle. Light catches the surface differently from this perspective, often revealing more dimension in the painted texture.
This angle is particularly effective for editorial work and for subjects who want to feel powerful in their images. A bride shot from slightly below, with a textured backdrop rising behind her, looks like she belongs in a magazine rather than a photo booth.
Get on the floor (1 to 2 feet). Lying flat or propping yourself on your elbows produces a dramatic upward perspective. The subject towers over the camera. The backdrop becomes a monumental surface behind them. This is high-impact, edgy, and not appropriate for every session. But for fashion, editorial, and creative portraiture, it produces images that look completely different from anything shot at standing height.
On a practical level, floor-level angles show almost no floor canvas even on larger backdrops. Your frame is filled with the vertical surface. This means you can get dramatic full-length environmental portraits even on a 5x8 backdrop because you're not fighting to include the ground plane.
Climb a step stool (6.5 to 7 feet). Looking slightly down at your subject is inherently flattering. It slims the body and emphasizes the face. But from this height, you also bring more floor into frame and see less of the upper backdrop. For seated compositions, flat lay transitions, or any setup where you've styled elements on the ground around your subject, this elevated perspective ties everything together.
Try this during a bridal session: position the bride seated on the floor with her gown fanned around her, then shoot from a step stool looking down. The backdrop canvas on the floor becomes the entire visual environment. It's one of the most striking compositions you can create with a single surface.
Horizontal Angle: Stop Shooting Straight On
The default instinct is to position yourself directly in front of the backdrop and shoot perpendicular to its surface. This gives you the most even coverage and the simplest composition. It also gives you the same composition every single time.
The 30-degree shift. Move roughly 3 to 4 feet to either side of center while keeping your camera pointed at the subject. Now you're seeing the backdrop at a slight angle. One side of the canvas appears closer and larger in your frame. The other side recedes. This creates a subtle depth gradient across the background that adds visual interest without being obvious.
From this angle, the painted texture responds to light differently across the frame. The side closer to your light source shows more highlight and dimension. The receding side falls into softer tones. You've created a natural vignette effect just by shifting your shooting position.
The 45-degree angle. This is where things get interesting. At 45 degrees, you're seeing the backdrop in profile rather than face-on. The canvas compresses visually, and the texture becomes much more prominent because you're looking across the surface rather than straight at it. Brushstrokes that are invisible from straight on become bold, visible lines of dimension.
This angle also means the backdrop doesn't fill your entire background. One side of your frame might show the edge of the canvas, the stand, or the room beyond. You can treat this as a compositional choice: the subject exists partially in the "backdrop world" and partially in the real environment. It feels cinematic. It feels intentional. And it looks nothing like a standard portrait setup.
The 90-degree profile. Shooting parallel to the backdrop surface (so the backdrop runs across your frame from foreground to background rather than behind the subject) creates a completely different image. The subject stands in front of the backdrop's edge, with painted canvas visible on one side and the venue or studio on the other. This composition works beautifully for editorial storytelling and creative bridal work.
Crop Strategy: How Much Backdrop Belongs in Your Frame
Most photographers think of cropping in terms of the subject: headshot, waist-up, three-quarter, full-length. But cropping also determines how much backdrop appears in the composition, and that ratio fundamentally changes the image.
Backdrop-dominant (subject small in frame). Pull back and let the canvas fill 70 to 80 percent of your frame with the subject occupying the remaining space. This treats the backdrop as the primary visual element and the subject as a figure within it. It's a fine art approach that works for editorial spreads, artistic portfolios, and images where atmosphere matters more than facial detail.
A subject positioned in the lower third of the frame with painted canvas stretching above and around them creates a sense of scale and environment that tight portraits never achieve. The texture and color of the backdrop become the story. The subject lives within that story.
Subject-dominant (backdrop as accent). Shoot tight enough that the backdrop is merely a strip of color and texture behind or beside your subject. Maybe you see only 20 percent backdrop and 80 percent subject. The canvas provides just enough visual information to establish tone and mood without becoming a feature.
This is effective when you're using a bolder backdrop color that might overwhelm in a wider composition. A sliver of Umber or Carbon peeking from behind a subject creates drama without dominating the frame.
50/50 split. Positioning the subject at the edge of the backdrop so that half the frame shows painted canvas and the other half shows the venue or natural environment behind them creates a diptych effect within a single image. One world meets another. It's visually striking and immediately communicates that the backdrop is a deliberate artistic choice rather than a studio necessity.
You don’t need a new surface to create interest. A shift in crop and composition can completely change how your backdrop works.
Negative Space: The Technique That Elevates Everything
Negative space is the area around your subject that contains no focal information. In backdrop photography, it's the uninterrupted canvas surrounding your subject.
Most photographers instinctively minimize negative space. They fill the frame with the subject, crop tight, and use every inch of their canvas for coverage. This is practical, especially on smaller backdrops where you're managing edges carefully. But intentional negative space transforms portraits from documentation into art.
Top-heavy negative space. Position the subject in the lower portion of your frame with two-thirds or more of painted canvas above their head. This creates breathing room. The image feels calm, open, spacious. The viewer's eye enters from the top, travels through the texture and color of the backdrop, and arrives at the subject. It's a journey rather than an immediate confrontation.
This works exceptionally well with lighter neutrals where the backdrop reads as atmospheric rather than heavy. A bride positioned low in the frame with warm, textured canvas stretching above feels like she's standing beneath an open sky, even in a cramped hotel room.
Side-heavy negative space. Place the subject on the far left or far right of your frame, looking or facing toward the open canvas beside them. This is the classic "looking into space" composition from filmmaking, and it works as well in portraiture as it does in cinema. The backdrop becomes the space the subject is gazing into. It implies a future, a direction, a narrative.
Bottom-heavy negative space. Less common but powerful for specific applications. The subject appears in the upper third of the frame with painted canvas filling the lower portion. This works for elevated or step-stool perspectives and creates a grounding effect. The subject rises above the canvas like it's a landscape beneath them.
Layering: Adding Foreground to Your Backdrop Work
A backdrop is one layer of your composition. Adding foreground elements creates depth that no amount of post-processing can replicate.
Floral foreground. Position a loose arrangement of flowers, branches, or greenery between the camera and the subject. Shoot at a wide aperture (f/1.8 to f/2.8) so the foreground goes into soft, colorful blur while the subject and backdrop remain in focus. This adds organic texture to the image and visually connects the subject to their wedding day styling.
The interplay between foreground blur, a sharply rendered subject, and the painted texture of the backdrop creates three distinct visual layers. This reads as dimensional, professional, and intentional.
Fabric foreground. A sheer veil, a piece of tulle, or a flowing ribbon held near the lens creates a dreamy wash of color in the foreground. Combined with the organic texture of a hand-painted backdrop behind the subject, this produces images that look like paintings. The technique requires practice (it's easy to obscure too much of the subject), but when it works, the results are portfolio centerpieces.
Architectural foreground. On location, doorframes, window edges, columns, or furniture partially visible in the foreground ground the backdrop within the real environment. This tells the viewer that the photographer deliberately brought this surface into the space. It combines the controlled quality of studio work with the authenticity of location shooting.
Putting It Into Practice: A 30-Minute Exercise
Here's the challenge I gave Sarah, adapted for anyone reading this. You need one backdrop, one subject (or a mannequin or dress form), one light source (a window works perfectly), and 30 minutes.
Set up your backdrop and position your subject at the standard distance. Your lighting setup should follow the perpendicular principle for maximum texture.
Minutes 1 through 5: Shoot your default composition. The one you always shoot. Center frame, eye level, backdrop filling the background. Get it out of your system. These will probably be solid images. They'll also look like everything else in your portfolio.
Minutes 6 through 10: Change only your distance. Step way back and shoot wide. Then move in close and shoot tight. Note how the backdrop transforms from environment to accent.
Minutes 11 through 15: Change only your camera height. Shoot from a knee, from the floor, from a stool. Same subject position. Same backdrop. Completely different images.
Minutes 16 through 20: Change only your horizontal angle. Move to 30 degrees. Then 45. Then profile. Watch how the texture shifts and how the backdrop's role in the composition changes at each position.
Minutes 21 through 25: Experiment with negative space. Put the subject on the far edge of the frame. Put them tiny in a sea of canvas. Give them room to breathe. See what happens when you let the backdrop become the dominant visual element.
Minutes 26 through 30: Add a foreground layer. Hold flowers near the lens. Drape fabric. Shoot through a doorway. Create depth.
When you pull those 30 minutes of images onto your screen, you'll have more variety from a single backdrop than most photographers get from three.
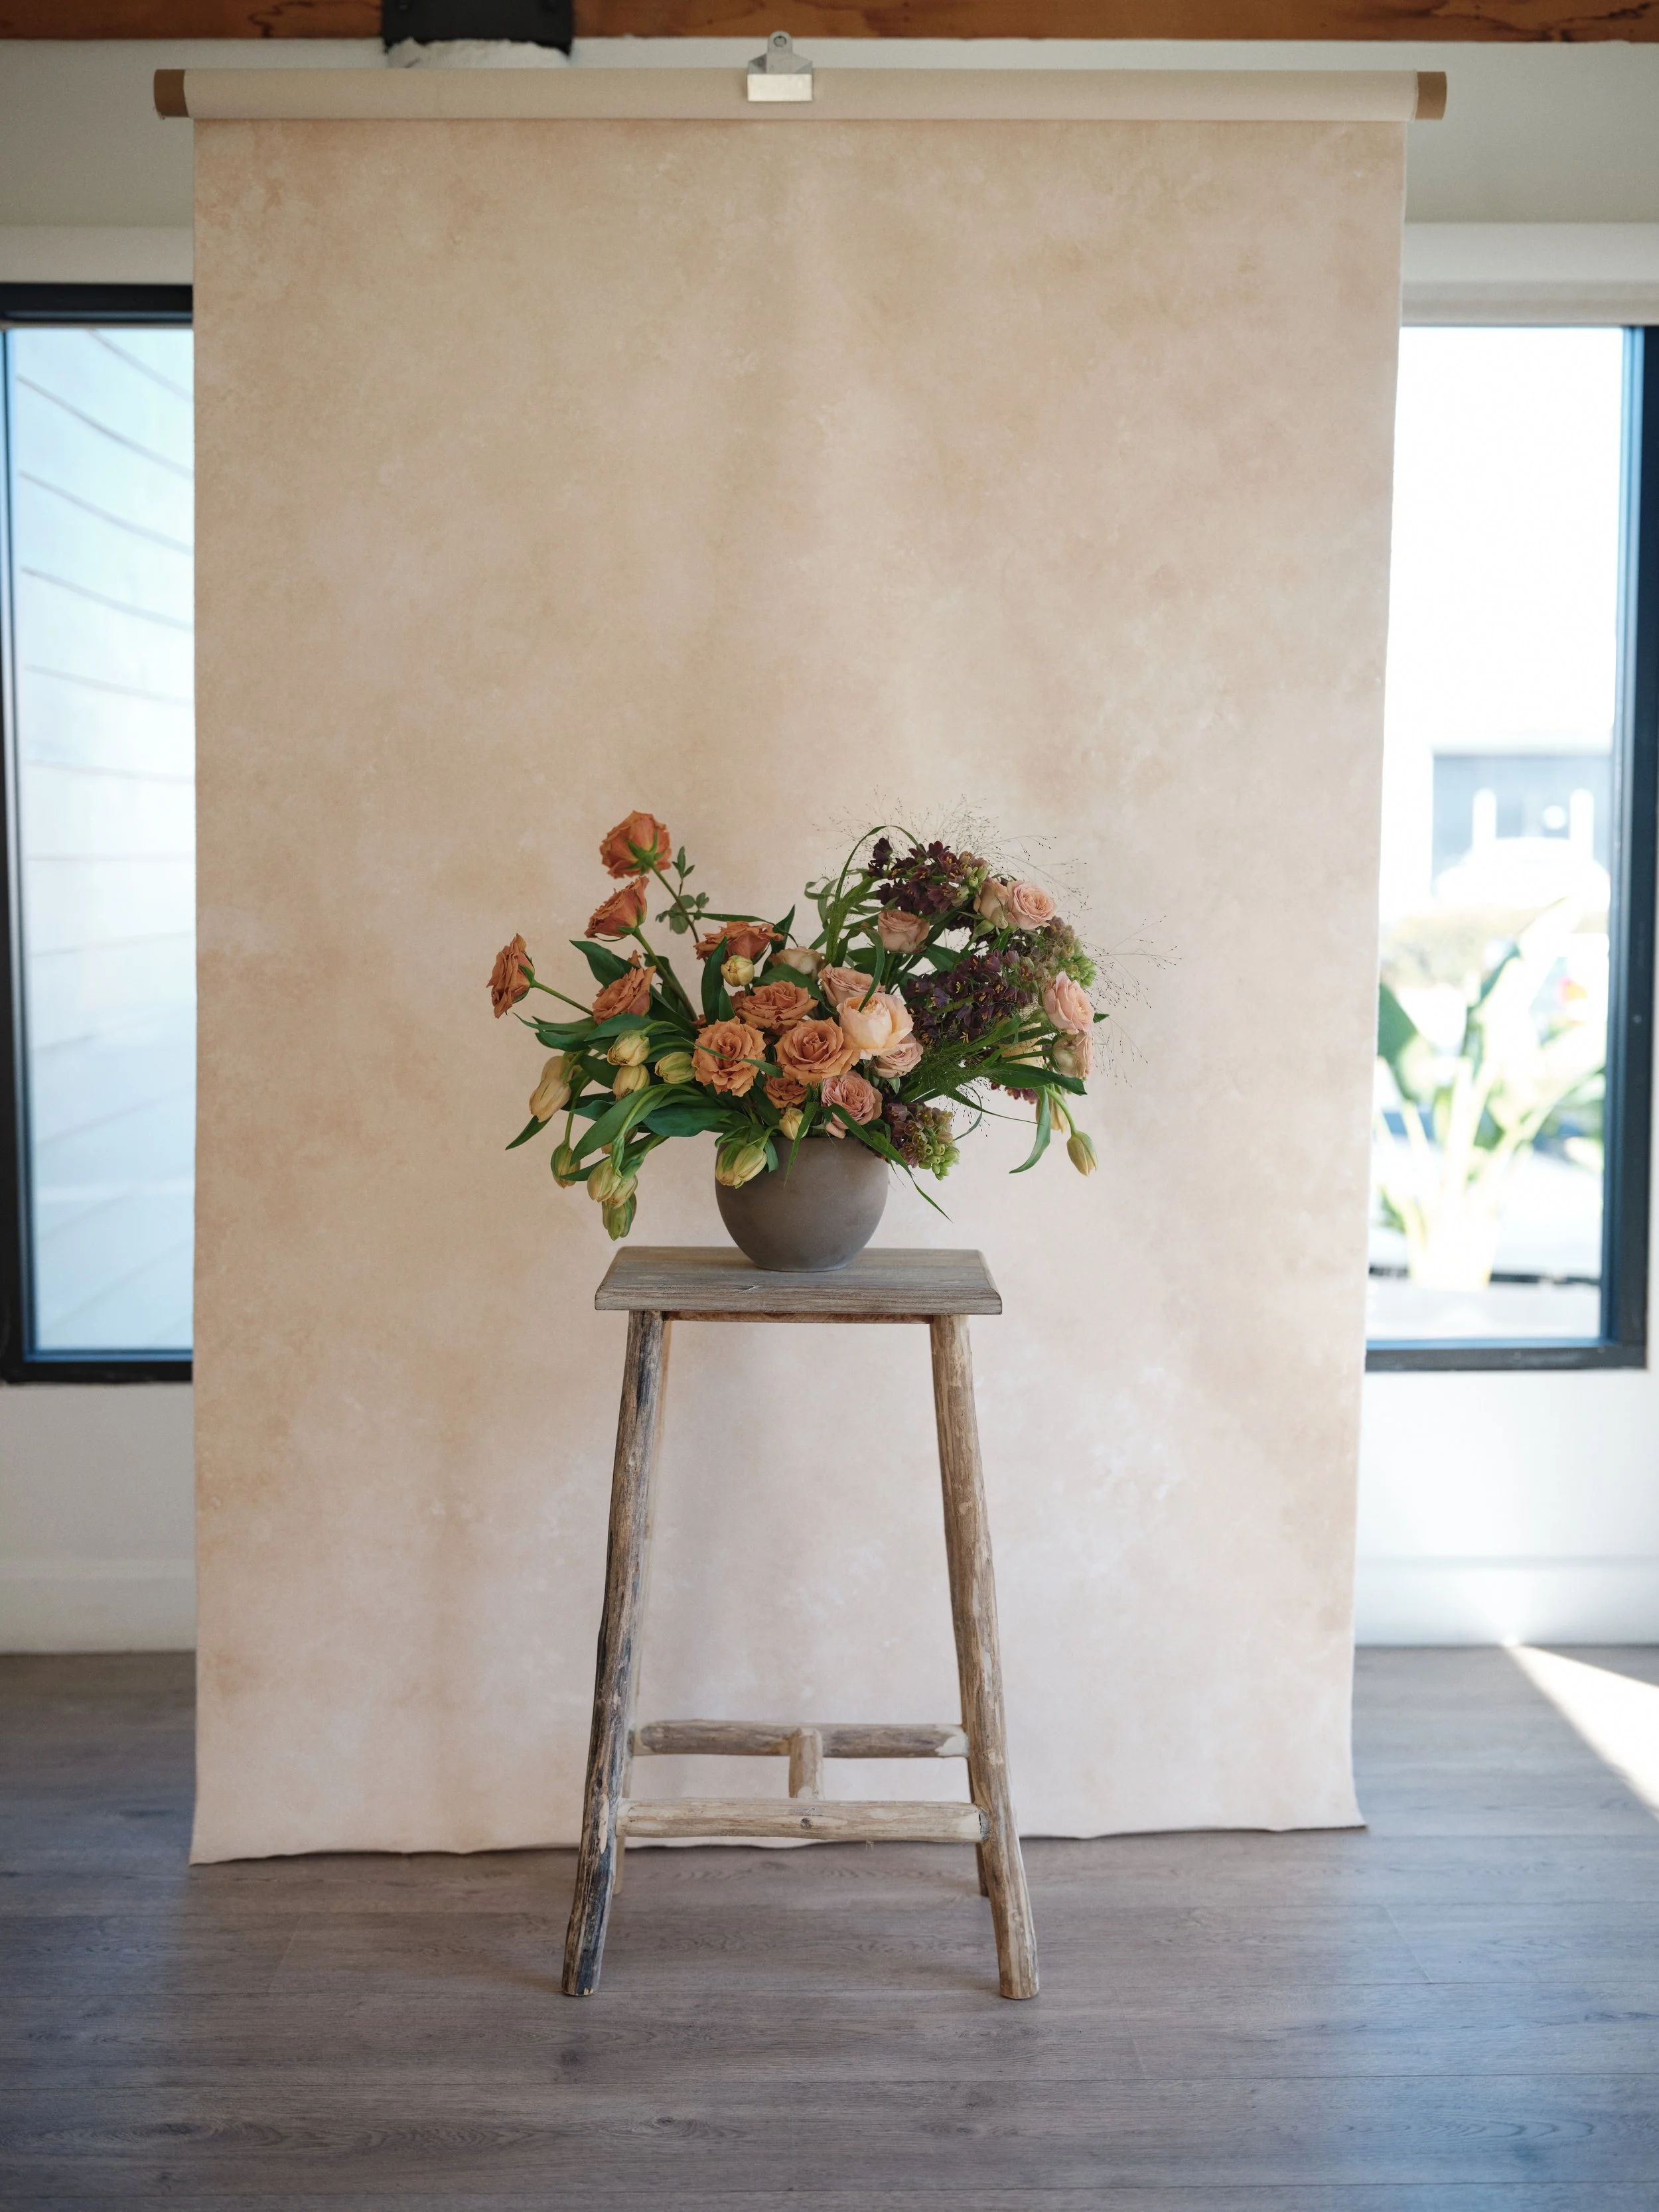
Before switching backdrops, experiment with distance and negative space. A full-length composition transforms how your canvas reads.
Why This Matters for Your Business
Variety isn't just a creative exercise. It's a booking strategy.
When a couple scrolls through your portfolio, they're forming a judgment about what their gallery will look like. If every portrait has the same composition against the same backdrop at the same angle, they'll assume that's what they're getting: one look, repeated. Some couples want that. Most want to see range.
A portfolio that shows the same Bentonite backdrop photographed from five different angles in five different compositions signals something important to prospective clients. It signals that you're a photographer who thinks creatively within a cohesive aesthetic. That you'll find variety in their wedding day rather than defaulting to the same setup at every venue. That their gallery will feel dynamic rather than repetitive.
This is also why investing in fewer, higher-quality backdrops and mastering technique on each one produces better portfolio results than buying a dozen cheap options and shooting each one the same way. One hand-painted canvas that you know intimately (how it responds to light from every angle, how the texture reads at different distances, which compositions bring out its best qualities) will outperform five backdrops you've barely explored.
The photographers commanding the highest rates aren't necessarily the ones with the biggest backdrop collections. They're the ones who've developed a creative vocabulary for how they use each surface. They see a single backdrop not as one option, but as twenty.
That shift in perspective costs nothing. It just takes 30 minutes and the willingness to move your feet.
Ready to build your creative vocabulary? Explore hand-painted canvas backdrops built with the texture and dimension that reward technique. See the full collection at chasingstone.com.

Creators of premium photography backdrops and styling surfaces
Trusted by thousands of discerning creatives worldwide
Every piece is handcrafted with intention in Orange County, California