
Full-Length Posing on 8x14 Backdrops: Maximizing Your Canvas Coverage
Posted on Apr. 2, 2026
The first time I shot on an 8x14, I treated it exactly like my 8x10. Same distance from the subject. Same framing. Same compositions I'd been using for two years.
I got the images home, pulled them up on my monitor, and immediately saw the problem. Two feet of extra canvas hanging below my subject's feet, just sitting there doing nothing. The bride's cathedral train was still bunched up because I'd posed her the same way I always had. The extra four feet of height? Completely wasted.
I'd spent $1,197 on a larger canvas and photographed it like a smaller one.
That shoot taught me something important: the 8x14 isn't just a bigger backdrop. It requires a different approach to posing, composition, and camera positioning. When you understand how to actually use those additional 32 square feet of painted surface, the 8x14 becomes the most versatile tool in your portrait kit. When you don't, you're carrying extra weight for no reason.
Here's everything I've learned about making this format work.
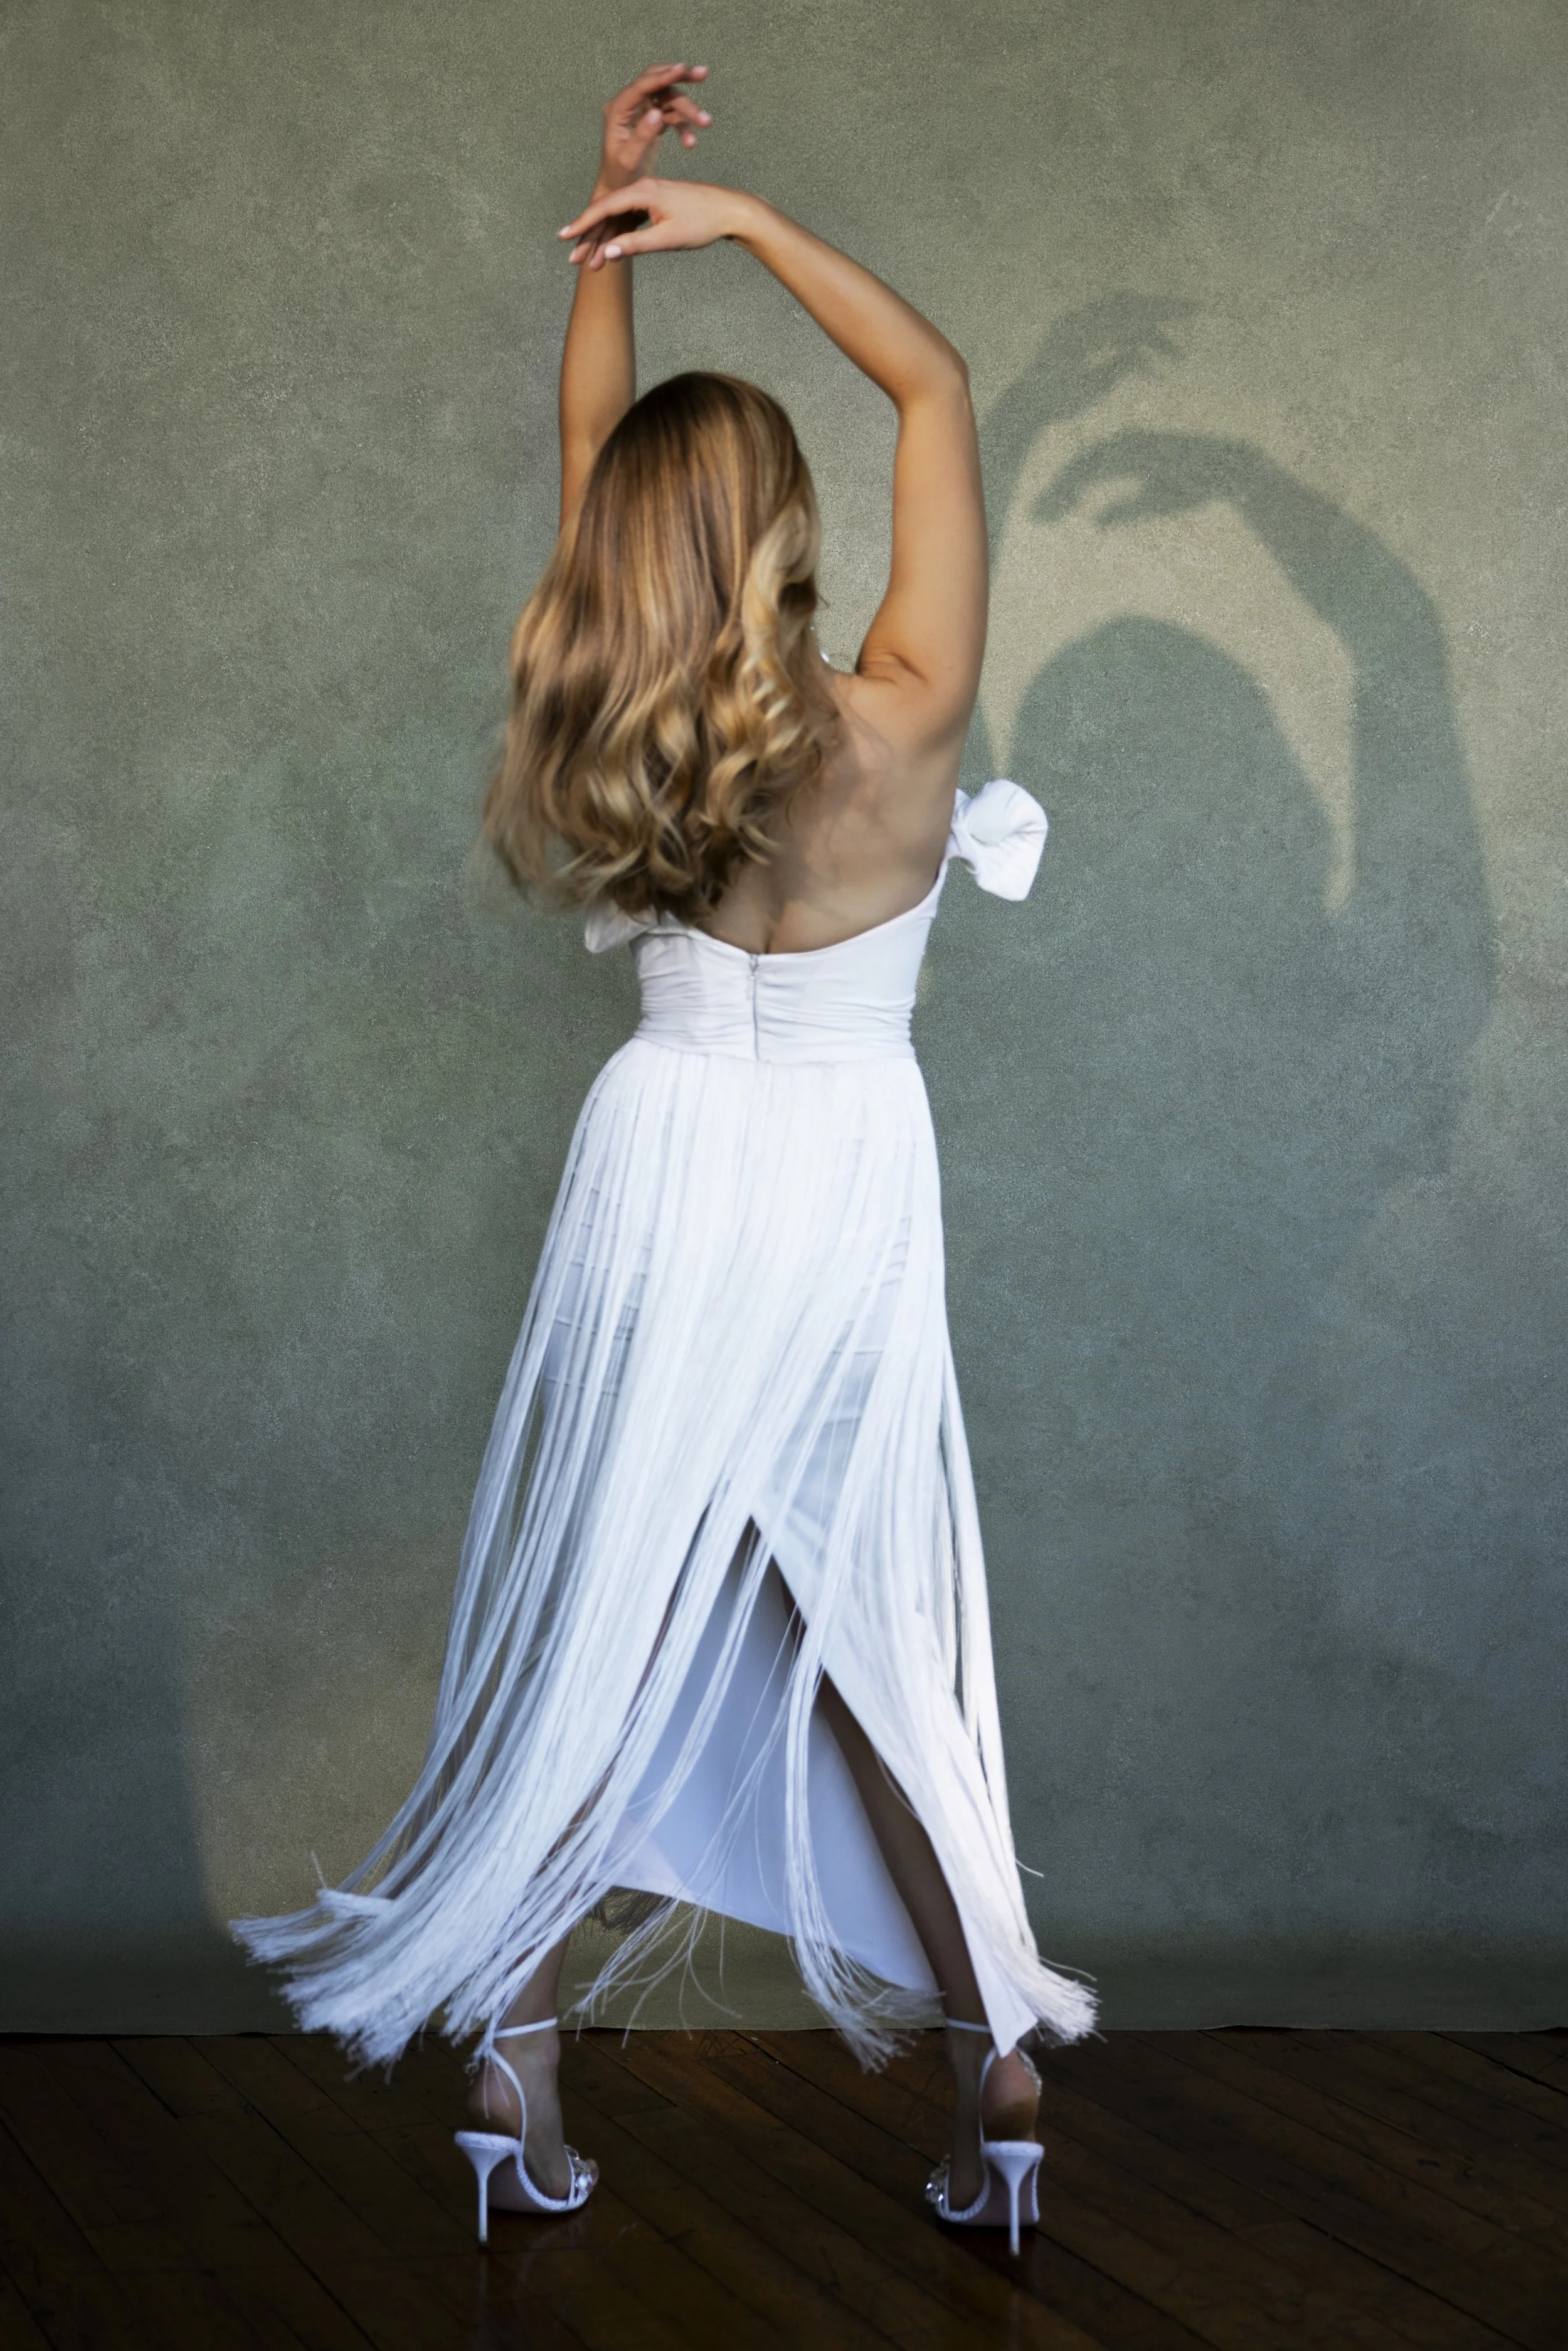
Still posing full-length portraits on an 8x10? An 8x14 backdrop gives bridal gowns and movement the space they need for dramatic full-length compositions.
Why the 8x14 Exists (And Who Actually Needs It)
Let's be direct about this. Not every photographer needs an 8x14 backdrop.
If you primarily shoot headshots, tight portraits, or detail work, the 5x8 and 8x10 sizes will serve you better. They're lighter, easier to transport, and give you more than enough canvas for those compositions.
The 8x14 was built for specific scenarios that the smaller formats struggle with. Full-length bridal portraits where the gown needs room to spread. Couples who want to move and breathe without you worrying about frame edges. Bridal party groups of four or more people standing side by side. Seated or floor-level compositions where you need canvas extending below your subject. Movement-based posing where your subject walks, turns, or lets fabric flow.
If any of those describe your regular shooting situations, the 8x14 changes what's possible. If they don't, save your money and invest in a second color instead. Our Ultimate Photography Backdrop Guide breaks down the full sizing comparison if you're still deciding.
The Geometry of 8x14: Understanding Your Working Area
Before we get into specific poses, you need to understand the physical space you're working with. This sounds basic, but it's where most photographers go wrong with this format.
An 8x14 backdrop gives you 8 feet of width and 14 feet of height. That's 112 square feet of painted surface. When hung from a two-stand system, you'll lose roughly 6 to 12 inches of height to the mounting hardware at the top, leaving you with approximately 13 feet of visible canvas dropping to the floor.
Here's the part that matters for posing: if your subject is standing 4 to 5 feet in front of the backdrop (which is the ideal distance for proper lighting and separation), the canvas that pools on the floor behind them becomes your ground plane. You're not just shooting against a wall anymore. You're shooting inside an environment where the backdrop wraps from behind the subject down onto the floor.
This ground coverage is what makes full-length work possible without seeing venue flooring in your frame. It's also what allows seated poses, kneeling compositions, and flowing fabric to exist entirely within the painted surface.
The key number to remember: with 14 feet of height, approximately 6 to 7 feet hangs as your vertical background, and the remaining 7 feet extends forward along the floor. That floor coverage is the whole reason the 8x14 format exists. Use it.
Setting Up for Full-Length Work
The 8x14 requires a two-stand system. A single C-stand won't support the width or weight properly. You need two C-stands with floating backdrop adapter mounts, positioned roughly 7 feet apart to support the full 8-foot width.
Height matters more than you'd think. Set your crossbar (or mount points) as high as your stands allow. The higher the mounting point, the more canvas falls to the floor, and the more floor coverage you get. If you mount too low, you end up with plenty of vertical background but not enough canvas reaching forward on the ground, which defeats the purpose.
I set mine at about 8 feet from the floor. This gives me a clean vertical backdrop behind my subject and roughly 6 feet of canvas sweeping forward along the ground. That's enough for a bride to stand 4 feet from the backdrop with her train extending another 2 feet toward camera and still have painted surface underneath all of it.
One setup detail that took me an embarrassingly long time to figure out: the transition from vertical to floor needs to curve, not crease. If your canvas goes from hanging straight down to lying flat on the floor with a hard angle, that corner shows up as a visible line in your images. Let the weight of the canvas create a natural, gradual curve where it meets the floor. This reads as a seamless surface in your photos rather than a backdrop propped against a wall.
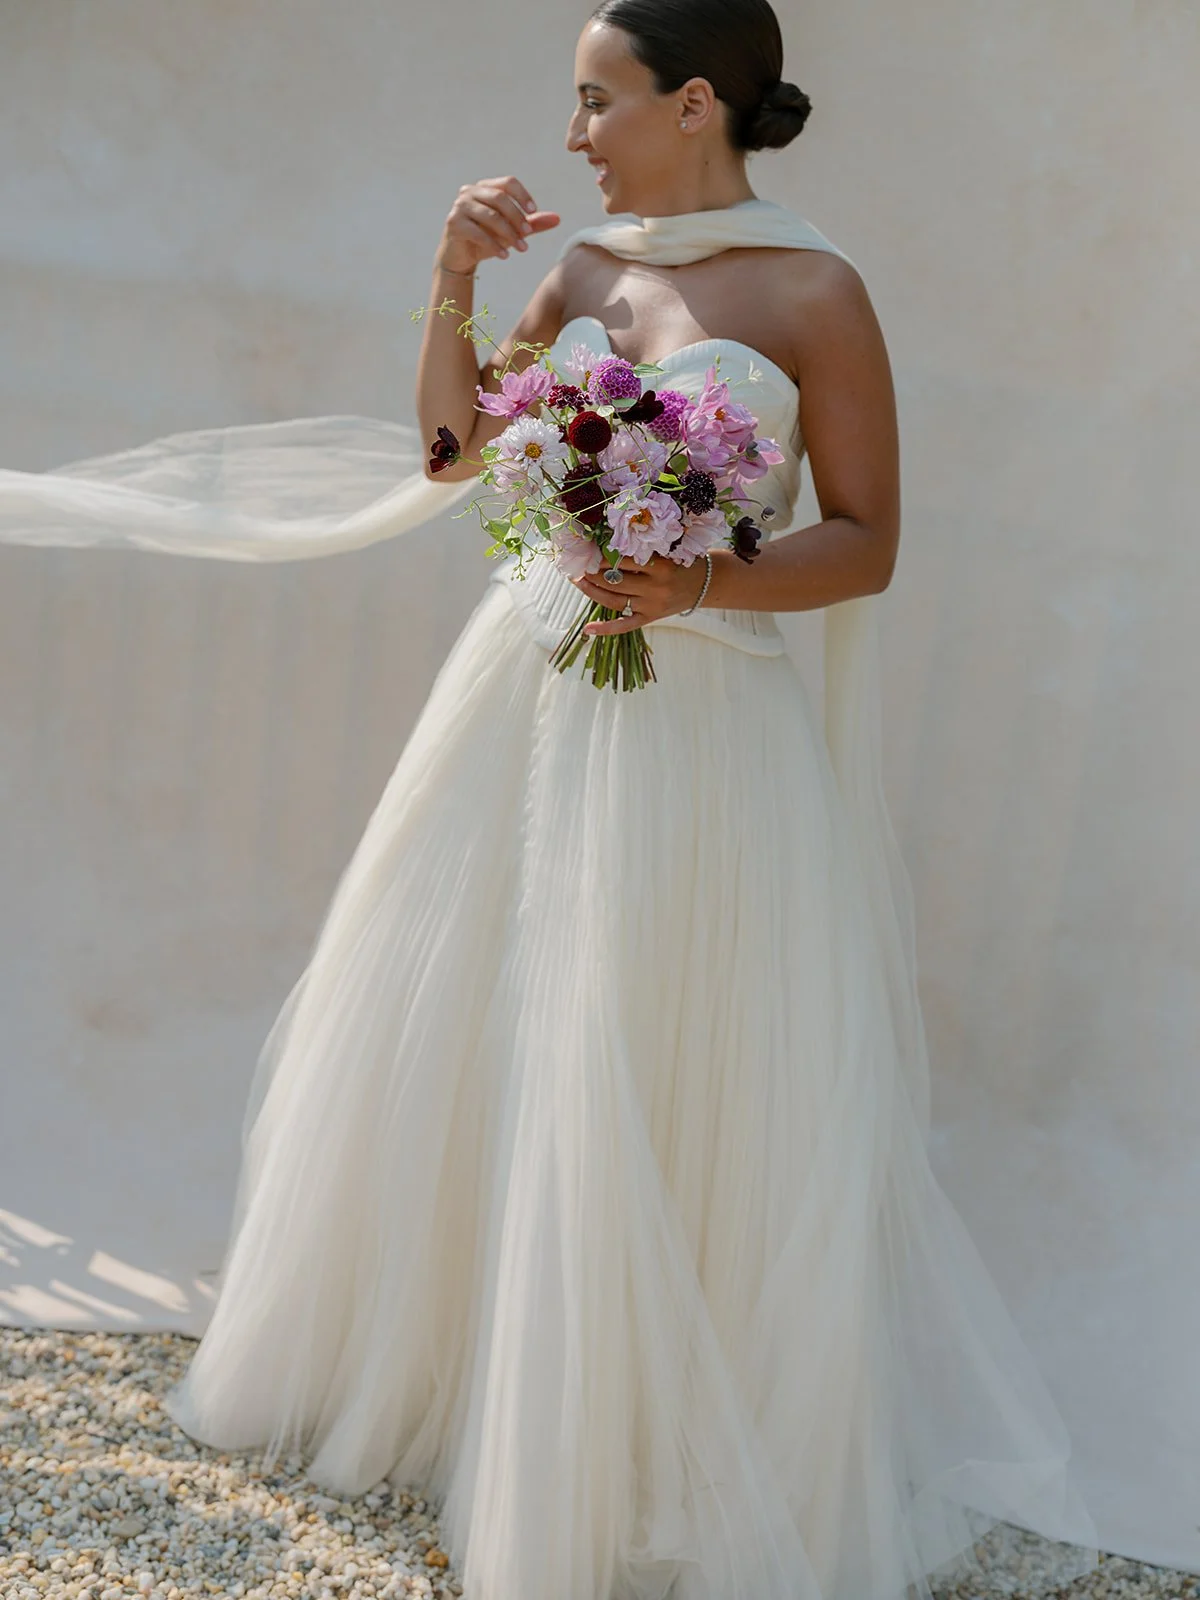
Posing for Full-Length Bridal Portraits
Full-length bridal portraits are where the 8x14 earns its investment back. Here's how to think about subject placement for the compositions brides actually want.
The centered full-length. Position the bride in the center of the canvas, about 4 feet from the vertical surface. Her entire body should be framed by painted canvas on all sides, with the floor beneath her feet being backdrop rather than venue flooring. Shoot at roughly chest height (your camera at about 4 feet off the ground) and use a 70-200mm in the 85 to 135mm range. This compression keeps proportions flattering while capturing head to toe.
The mistake here is shooting too wide or standing too close. If you use a 35mm or 50mm at this distance, you'll introduce distortion that elongates feet and shortens the torso. Step back, zoom in, and let the lens do the work. The 8-foot width gives you plenty of canvas even when you're compressing from further away.
The gown spread. This is the composition that simply cannot happen on a smaller backdrop. Have the bride stand slightly forward of center (closer to camera) and arrange her train or skirt behind and around her. On an 8x14, a cathedral-length train can extend 3 to 4 feet behind the bride and still be entirely on painted canvas. On an 8x10, you'd be fighting to keep the train in frame without showing floor edges.
For this pose, shoot from a slightly higher angle. Step up on a small stool or step ladder so your camera is at about 5.5 to 6 feet. This elevated perspective shows off the gown spread without distorting the bride's face, and it pulls more of the floor canvas into your frame.
The turned profile. Position the bride at roughly a 45-degree angle to the backdrop, turned so you see her profile or three-quarter view. This creates depth in the composition and shows the silhouette of the gown. The 8-foot width is critical here because a turned subject occupies more horizontal space than a straight-on pose. A dress with volume or a veil catching air can easily fill 5 to 6 feet of horizontal space.
Shoot this from a standard standing height, directly at eye level. A 135mm focal length creates beautiful separation between the subject and the painted surface behind.
Movement in the veil and dress becomes easier to capture when posing full-length portraits on a large 8x14 backdrop.
Working with Movement
Static poses are reliable, but the images that stop couples in their tracks when scrolling through a gallery are the ones with movement. The 8x14 makes movement-based posing possible in ways that smaller backdrops simply don't allow.
The walk toward camera. Position the bride at the back of the canvas (close to the vertical surface) and have her walk slowly toward you. Shoot continuously in burst mode. She'll move through about 3 to 4 feet of floor space, and every step creates a different composition. Her gown moves differently with each stride. The fabric catches air. The veil shifts. You get 15 to 20 frames from a single walk, and several of them will be portfolio pieces.
The 8x10 can handle a step or two of this. The 8x14 gives you a full walkway.
The veil toss. A bridesmaid or assistant stands just outside the frame and tosses the veil upward and behind the bride. With 13 feet of visible vertical height, even a dramatic cathedral veil has room to arc through the air without leaving the canvas. On a shorter backdrop, the veil disappears above the edge and you're left retouching sky or ceiling into your frame.
Time this with a wider composition (pull back to capture the full arc) and a faster shutter speed. 1/500 or faster freezes the fabric mid-air while keeping everything sharp.
The twirl. The bride spins, and you capture the dress at full extension. A ball gown at full twirl can easily reach 4 to 5 feet in diameter. On an 8x14, that's comfortably within the canvas. On an 8x10, you're gambling on whether the dress stays in frame.
Shoot at waist height for the twirl. This angle captures the full skirt movement while keeping the bride's upper body proportioned correctly.
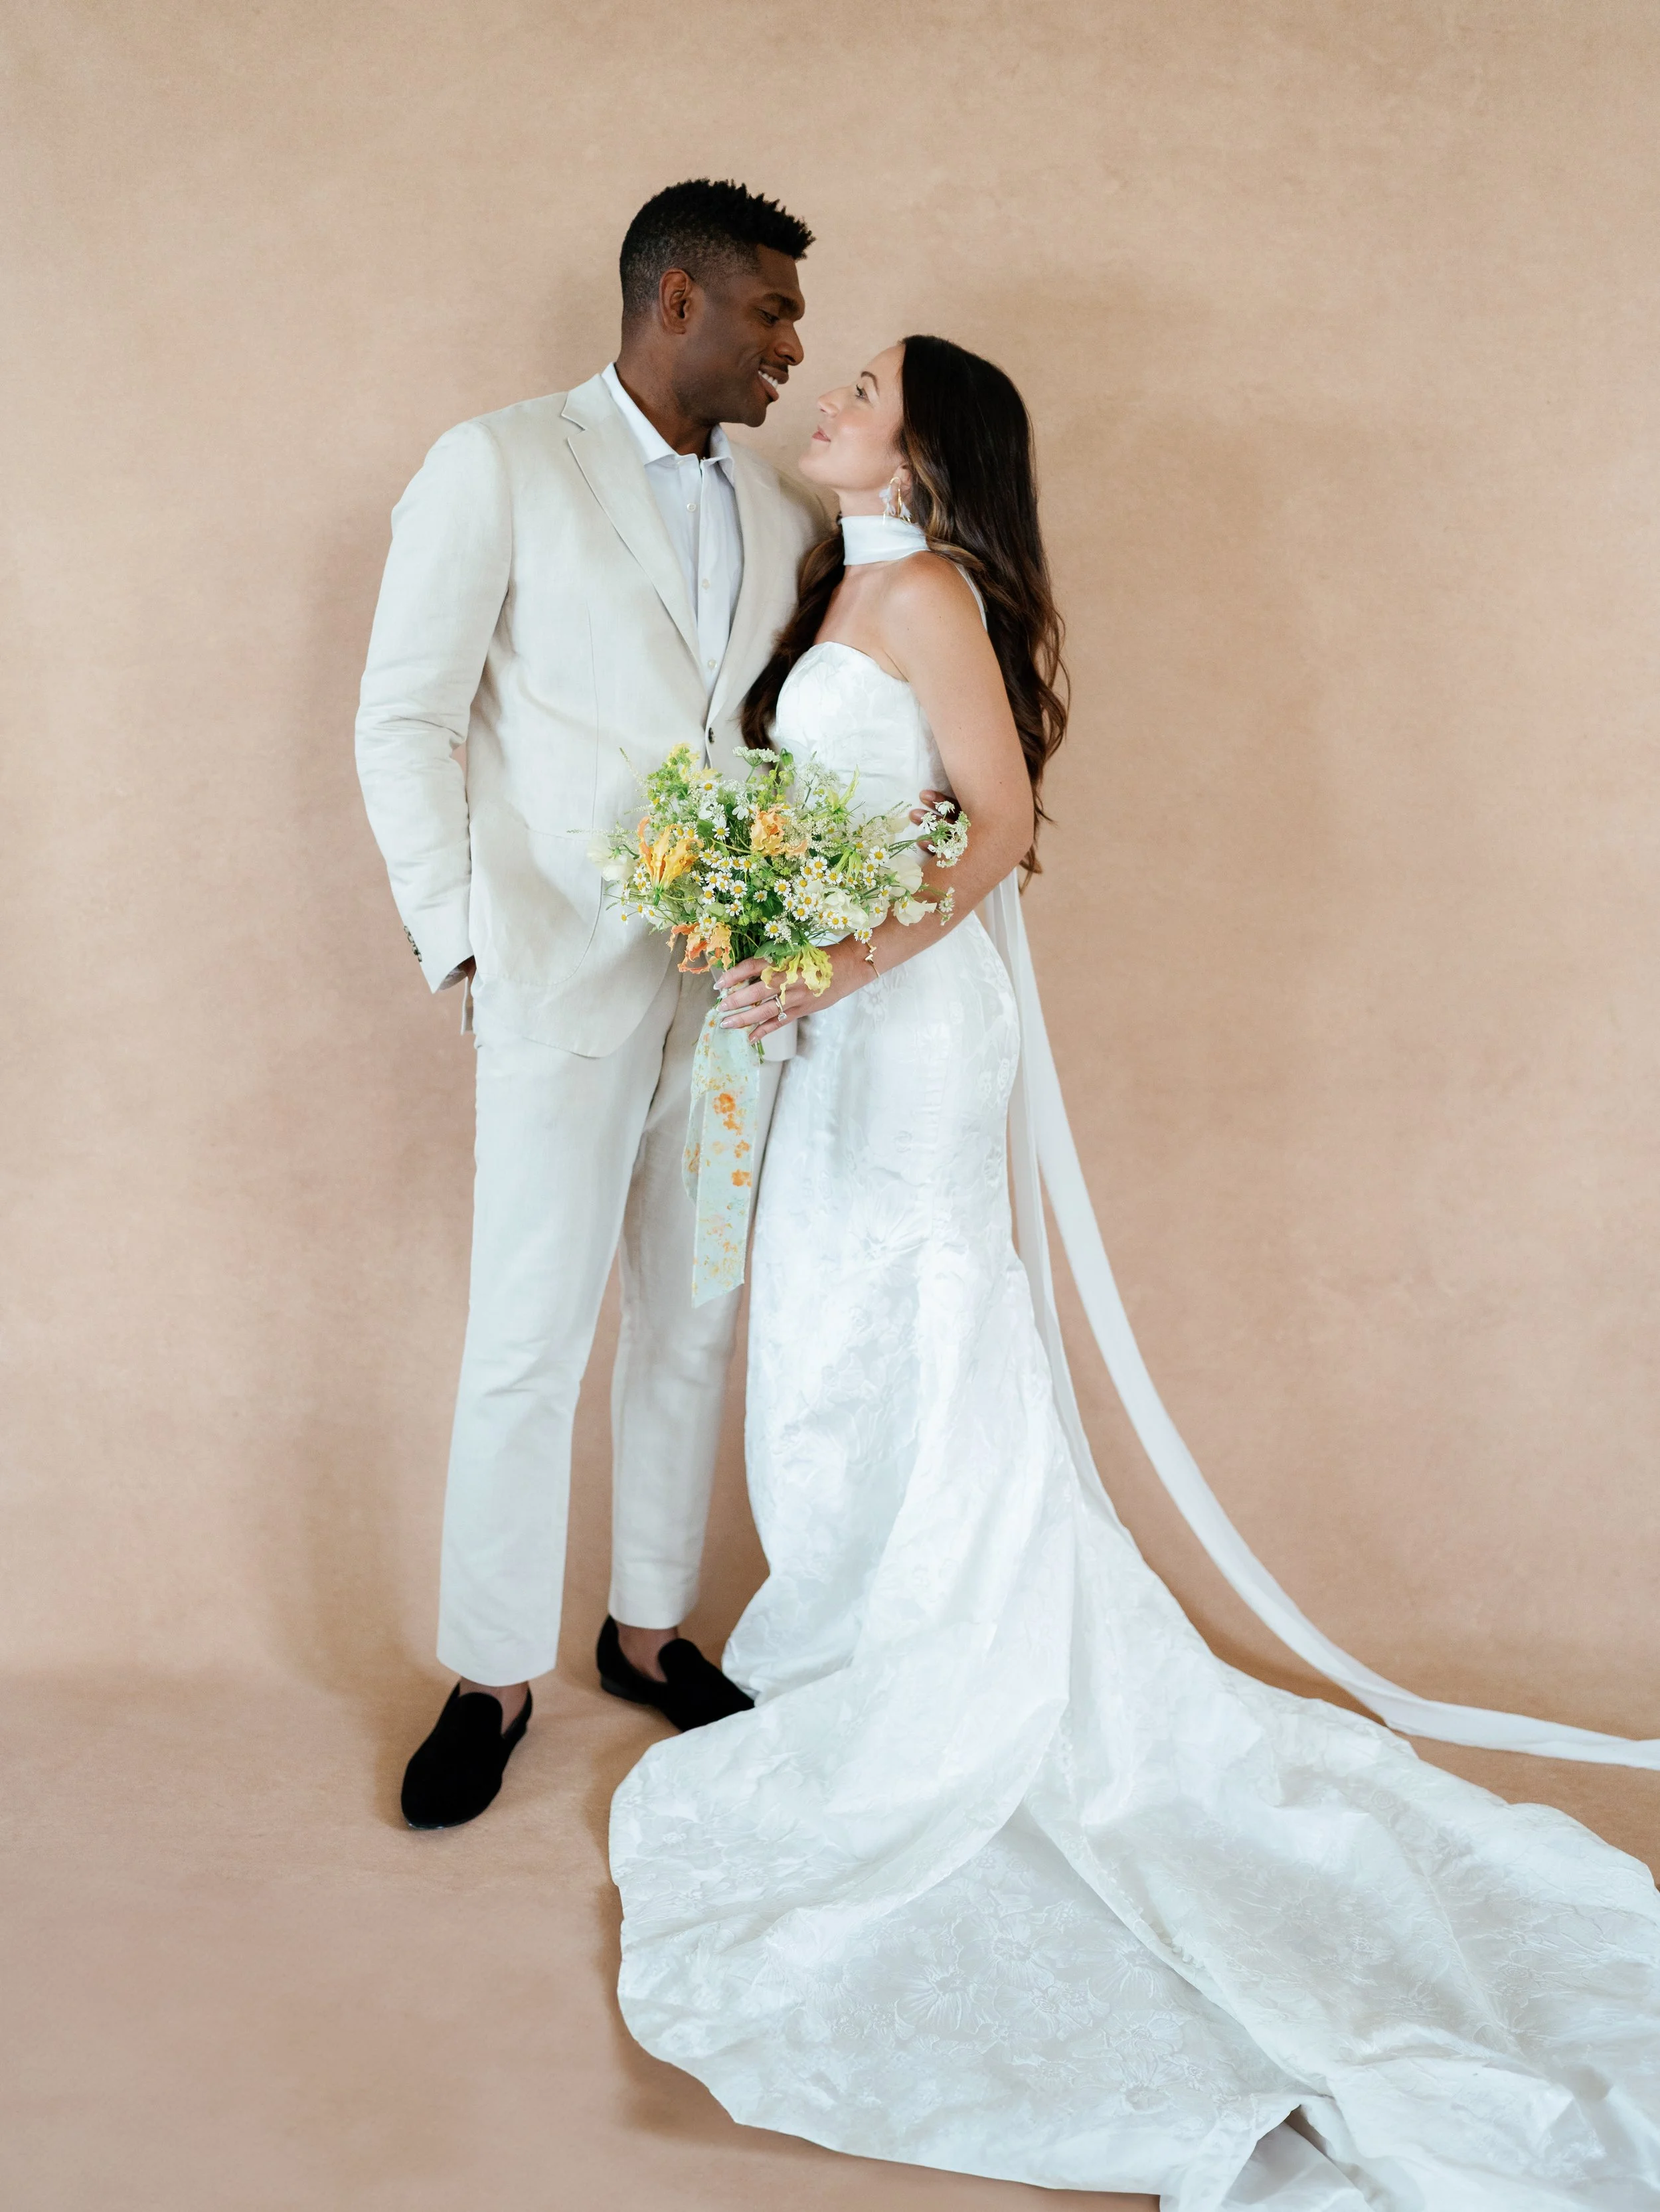
Couples Posing on the 8x14
Two people in frame changes the geometry entirely. Where a single subject leaves you plenty of margin, a couple fills space quickly.
Side by side. Two people standing naturally with shoulders touching occupy about 3.5 to 4 feet of horizontal space. With 8 feet of width, you have comfortable margins on both sides. But the moment you add any space between them (hands held at arms' length, a dip pose, any kind of lean), that width usage increases fast. The 8x14 gives you room for these wider compositions without the constant edge anxiety that comes with an 8x10 for couples work.
The dip. Classic, romantic, and spatially demanding. A good dip requires one partner leaning back at about 45 degrees while the other supports them. This pose can span 5 to 6 feet horizontally. On the 8x14, it fits. On a 5x8, it's physically impossible. On an 8x10, it's tight.
Position the couple in the center of the backdrop, facing parallel to the canvas (not perpendicular), so the dip moves laterally across the width. Shoot from a slight crouch to capture the full body line without cutting off feet.
Walking together. Same principle as the solo bride walk, but now you need 4 to 5 feet of horizontal clearance for two people walking in sync. Have them start at the back of the canvas and walk toward you. The extra floor coverage of the 8x14 gives them 6 to 7 steps of usable runway compared to 3 to 4 on the 8x10.
Couples posing on an 8x14 photography backdrop allows full-length compositions without losing space for movement or gown details.
Group Posing: Bridal Parties on Canvas
This is where the 8x14 goes from "nice to have" to "only option that works."
A bridal party of four people standing side by side needs approximately 6 to 7 feet of width. That already exceeds the 5x8 and pushes the limits of the 8x10. Five or six people? You need all 8 feet, and you need everyone positioned carefully.
The staggered arrangement. Rather than lining everyone up shoulder to shoulder (which reads as stiff and uses width inefficiently), stagger the group. Place the bride or couple slightly forward of center. Position bridal party members at varying depths, some slightly behind and to the side, others angled in from the edges. This creates a more editorial composition that uses depth as well as width, making the backdrop feel larger than it is.
The seated group. Two or three people seated on the floor with one or two standing behind them is a composition that reads as relaxed and editorial. The 8x14 excels here because you have floor canvas extending forward and vertical canvas rising behind the standing subjects. The entire composition exists within the painted surface.
For group work, shoot from slightly further back than you would for singles. A 70mm focal length gives you enough width to capture the full group while maintaining flattering compression. Avoid going wider than 50mm, as edge distortion will stretch the people on the sides.
Camera Height and Angle: The Variable Nobody Talks About
Your camera height relative to the subject changes how much canvas reads in the frame. This is one of the most practical skills to develop with the 8x14.
Shooting from standing height (5 to 5.5 feet). This is your default. It captures the subject at eye level or slightly below, which is flattering for faces and shows a natural amount of floor and background canvas. Good for most portrait compositions.
Shooting from low (3 feet or below). Crouching or kneeling creates a dramatic upward perspective. The subject feels powerful, and more vertical canvas fills your background. You see less floor. This works beautifully for editorial fashion work and dramatic bridal portraits where you want the backdrop to tower behind the subject.
Shooting from elevated (6 to 7 feet). Standing on a step stool gives you a downward perspective that shows more floor canvas and less vertical. This is your angle for gown spreads, seated poses, and any composition where the floor is a major visual element. It also naturally slims the body, which many subjects appreciate.
The 8x14 gives you the flexibility to work from all three positions without running out of canvas. On smaller backdrops, a low angle might show the ceiling above the canvas edge, or an elevated angle might reveal venue flooring beyond the canvas reach. The extra four feet of height on the 8x14 provides margin at every angle.
Common Mistakes That Waste Canvas
After shooting on the 8x14 for over a year and reviewing the work of photographers who bought this size, a few patterns keep showing up.
Mistake: Posing too far from the backdrop. If your subject stands 8 feet from the vertical canvas, you've used nearly all your floor coverage just getting them to that position. There's barely any canvas in front of their feet. Pull them back to 4 to 5 feet. That's the sweet spot for separation and floor coverage.
Mistake: Shooting only tight crops. If you bought an 8x14 and only shoot waist-up portraits on it, you spent an extra $400 for canvas you never use. At least part of every session on the 8x14 should include full-length compositions that justify the format. You can absolutely shoot tight crops too, but mix in the compositions that only this size makes possible.
We see this often: photographers buy a larger backdrop but still pose like they're shooting tight portraits. The 8x14 really shines when you give the composition room to breathe.
Mistake: Forgetting the floor canvas exists. The most underused part of the 8x14 is the floor. Photographers hang it, shoot standing portraits, and never take advantage of the ground plane. Try seated poses. Shoot a bride adjusting her shoes. Capture a couple sitting together on the canvas, leaning into each other. The floor surface is half the reason you own this backdrop.
Mistake: Not adjusting focal length. Shooting the 8x14 with a 35mm lens from 6 feet away puts the entire canvas in frame, but it also distorts your subject beyond what's flattering. The 8x14 is meant to be shot from further back with longer lenses. Step back to 10 to 15 feet and shoot at 85 to 135mm. You'll fill your frame with subject and canvas in proper proportion.
The Weight and Transport Reality
The 8x14 is the largest backdrop in the Chasing Stone collection, and there's no getting around the fact that it's heavier than the smaller sizes. We're talking about 30 to 35 pounds of hand-painted cotton canvas.
That's manageable for one person, but it's not casual. You won't be tossing this under your arm and jogging into a venue. It requires a deliberate carry, and you'll want to plan your parking situation so you're not hauling it across a quarter mile of gravel.
Setup requires two C-stands and two adapter mounts. Budget about 7 to 10 minutes for a full setup the first few times. With practice, you'll get it down to 5. The canvas rolls tightly on its shipping core (keep that core), and the rolled diameter is larger than the 8x10, so make sure your vehicle has the cargo space.
For storage and transport best practices, our backdrop care guide covers everything from rolling technique to protecting the painted surface between shoots.
Is this more work than setting up a 5x8? Absolutely. But the compositions it enables are worth the extra effort for photographers who regularly need full-length and group coverage.
Color Selection for Full-Length Work
Color choice takes on a different dimension (literally) at the 8x14 size because you're seeing more of it in every frame. A bold color that works beautifully behind a tight headshot can feel overwhelming when it fills 112 square feet of your composition.
For full-length work, colors that read as environments rather than statements tend to photograph best. Warm neutrals like Limestone and Bentonite create a space that wraps around the subject without competing with gowns, florals, or wardrobe. Earth tones like Sandstone and Clay add warmth that reads as intentional and organic across the full frame.
Bolder colors absolutely work in this format, but they require more intentional styling. A deep Lapis blue filling 112 square feet becomes a dramatic statement. That's powerful for editorial work but may overwhelm a more understated wedding aesthetic. Muted options like Celadonite or Olivine offer color personality while staying soft enough for large-format coverage.
If you're purchasing your first 8x14, go neutral. You can always add a second color in a bolder direction once you understand how much canvas shows in your typical compositions. Our color theory guide covers the interaction between backdrop color, skin tones, and styling elements if you want to go deeper.
A Practical Session Workflow
Here's how I structure a portrait session when I'm shooting on the 8x14, from setup through final frame.
I arrive 15 minutes before the session starts and set up the backdrop first. Two stands, mount the canvas, adjust height, let the curve form naturally at the floor. While the canvas settles, I set up lighting and take a few test frames to confirm the texture reads properly. (Perpendicular to your light source. Always.)
I start the session with tighter compositions. Headshot, waist-up, three-quarter length. These are warmups for both me and the subject, and they ensure I get the reliable, "safe" images before I start asking for bigger movements.
Then I open up to full-length. This is where I slow down and think about the canvas. I check my viewfinder for edge creep. I adjust the subject's position based on what I'm seeing. I shoot a test frame, review it, and make corrections before committing to a full sequence.
Movement poses come last. By this point, the subject is comfortable, I've dialed in my settings, and I know exactly how the canvas is performing. The walk, the twirl, the veil toss. These are the high-risk, high-reward frames that close out the session. Some of them will be the best images in the gallery.
The whole thing takes about 45 minutes of shooting time, plus 15 minutes of setup and 10 of breakdown.
Deciding Between 8x10 and 8x14
I want to be honest about this rather than defaulting to "bigger is always better."
The 8x10 remains the most versatile size for most wedding photographers. It handles individual full-length portraits, couples, and tight to mid-range compositions beautifully. It's lighter, easier to set up solo, and fits in more vehicles. If you shoot primarily solo bridal portraits and couples without extensive train work or large group coverage, the 8x10 is the smarter investment.
The 8x14 is for photographers who have already identified specific, recurring needs that the 8x10 can't fully serve. You're regularly shooting cathedral-train gowns. You photograph bridal parties of five or more. You offer editorial-style sessions where movement and drama are central to your work. You've been shooting on the 8x10 and find yourself cropping around edges more often than you'd like.
The backdrop buying guide has the full comparison of all three sizes. But when it comes to the 8x14 specifically, the question is simple: do you regularly shoot compositions that need more canvas than 8x10 provides? If yes, the upgrade transforms your work. If you're not sure, spend another season on the 8x10 and keep notes on the moments where you wished for more room. Those notes will make the decision for you.
Ready to go full-length? Explore hand-painted canvas backdrops in all three sizes, including the 8x14 format built for bridal portraits, groups, and compositions that need room to breathe. See the full collection at chasingstone.com.

Creators of premium photography backdrops and styling surfaces
Trusted by thousands of discerning creatives worldwide
Every piece is handcrafted with intention in Orange County, California