
Flat Lay Photography Tips: 15 Techniques the Pros Use
Posted on Feb. 17, 2026
The difference between a flat lay that stops someone mid-scroll and one they barely register usually comes down to a handful of decisions made before the camera ever fires. Not talent. Not expensive gear. Decisions about where the light falls, what goes where, and what gets left out entirely.
I've spent years refining the flat lay process here at Chasing Stone, both for our own product photography and while working alongside the thousands of photographers who use our surfaces every week. The patterns are remarkably consistent. The photographers producing stunning flat lay work aren't doing anything mysterious. They've just internalized a set of techniques that most people never learn systematically.
These fifteen techniques work whether you're photographing wedding invitation suites, product launches, food, or lifestyle content. They're the same principles that separate forgettable flat lays from the ones that end up on magazine covers and brand campaigns. And every single one of them is something you can start applying today.
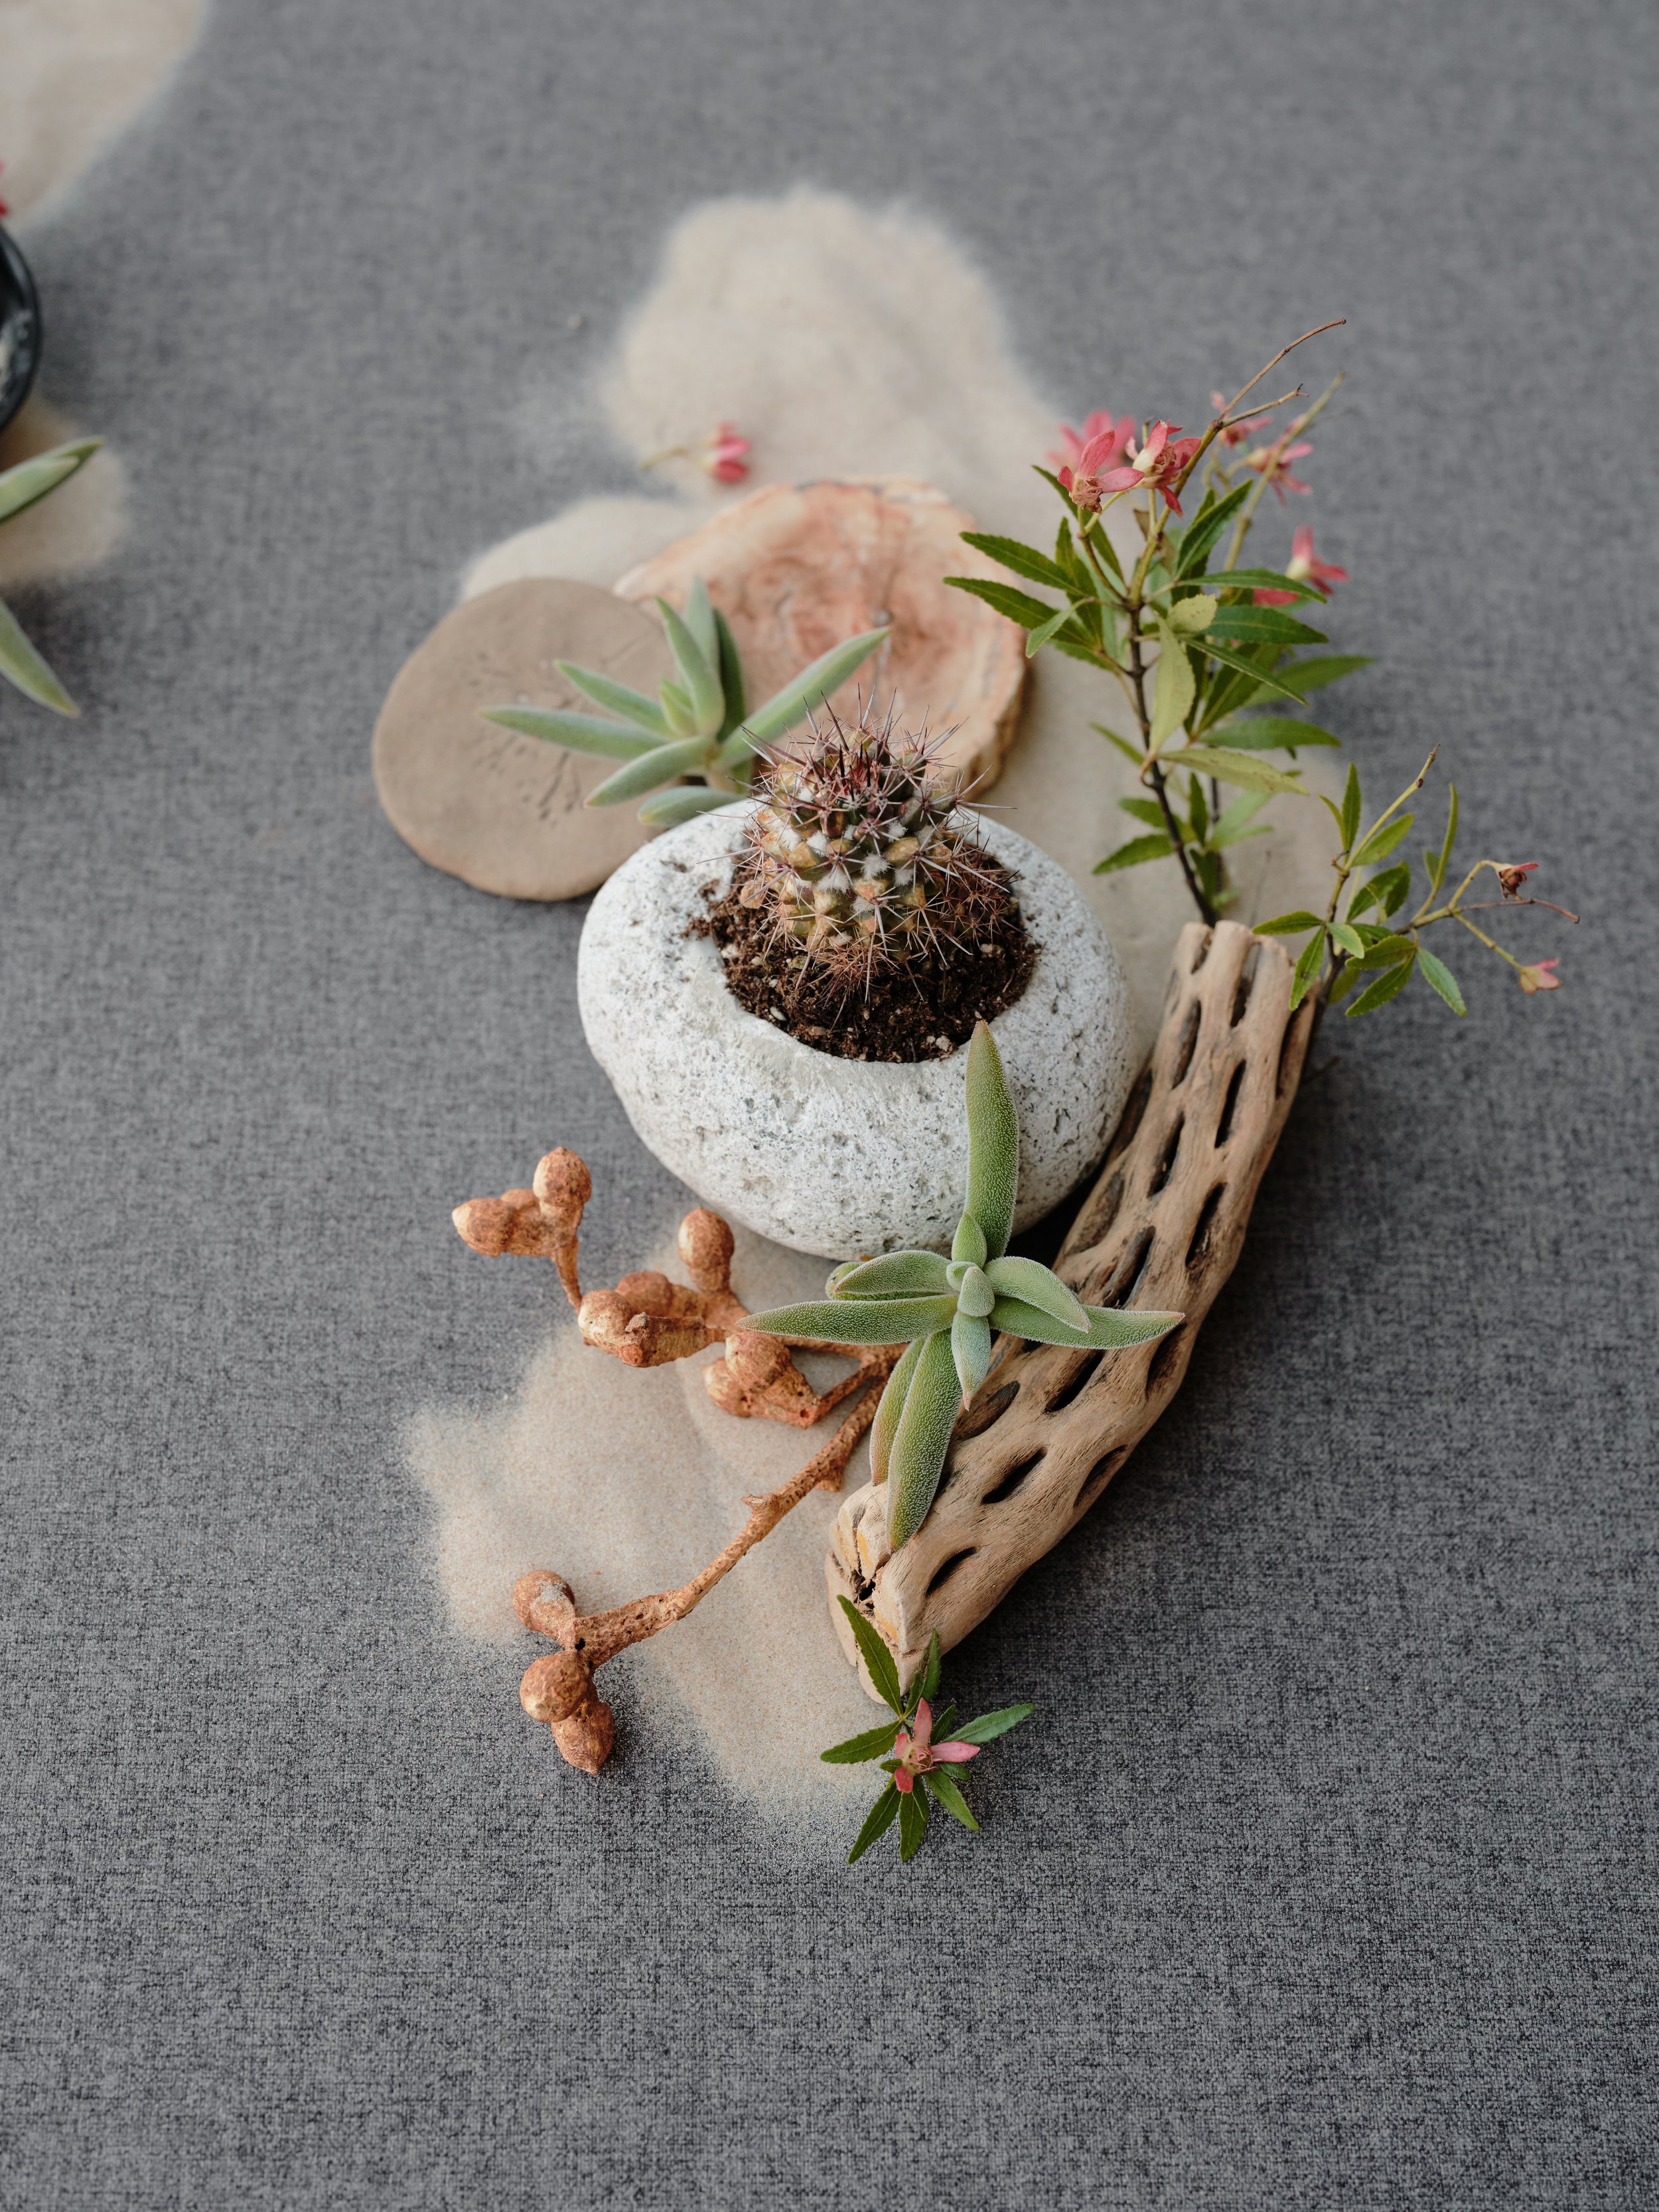
Ever spend twenty minutes rearranging props and nothing feels right? It's almost always the surface. Once we swapped in a textured hand-painted backdrop, everything else fell into place. Natural props, diagonal flow, breathing room. That's it.
1. Choose Your Surface Before You Choose Your Subject
Most photographers start with the objects and then scramble for a background. Professionals work in the opposite direction. The surface sets the entire mood of your flat lay before a single prop enters the frame.
A warm, textured surface reads completely differently than a cool marble slab or a stark white tabletop. That tonal foundation influences every styling decision that follows, from prop color to the mood of your final edit. When your surface fights your subject, no amount of rearranging fixes it. When your surface supports your subject, even a simple arrangement looks intentional.
This is why working photographers invest in dedicated styling surfaces rather than relying on whatever table or countertop happens to be available. Hotel bedspreads, rental venue tables, and kitchen counters introduce variables you can't control. Wrinkles, stains, busy patterns, and competing textures all undermine the work you're putting into your composition. Professional styling surfaces remove those variables completely and give you a consistent foundation that photographs beautifully every time. If you're building a flat lay kit from scratch, our Complete Flat Lay Surface Guide breaks down every surface type, material, and color option in detail.
The practical takeaway: before your next flat lay session, choose your surface first. Let it dictate the palette and mood. Everything else falls into place more easily when the foundation is right.
2. Establish a Single Hero Element
Every flat lay needs a focal point. One item that your viewer's eye lands on first and returns to repeatedly. Without a clear hero, compositions feel scattered and the viewer doesn't know where to look.
Your hero element should be the largest or most visually prominent item in the frame. For wedding work, that's usually the invitation suite. For product photography, it's the product itself. For food, it's the finished dish. For lifestyle content, it's whatever object anchors the story you're telling.
Place your hero element first, slightly off-center using the rule of thirds as a starting guide. Then build everything else around it. Supporting props should lead the eye toward the hero, not compete with it. If you find yourself arranging and rearranging without anything clicking, chances are you haven't clearly defined which item is the star. Strip everything back, commit to one hero, and rebuild from there.
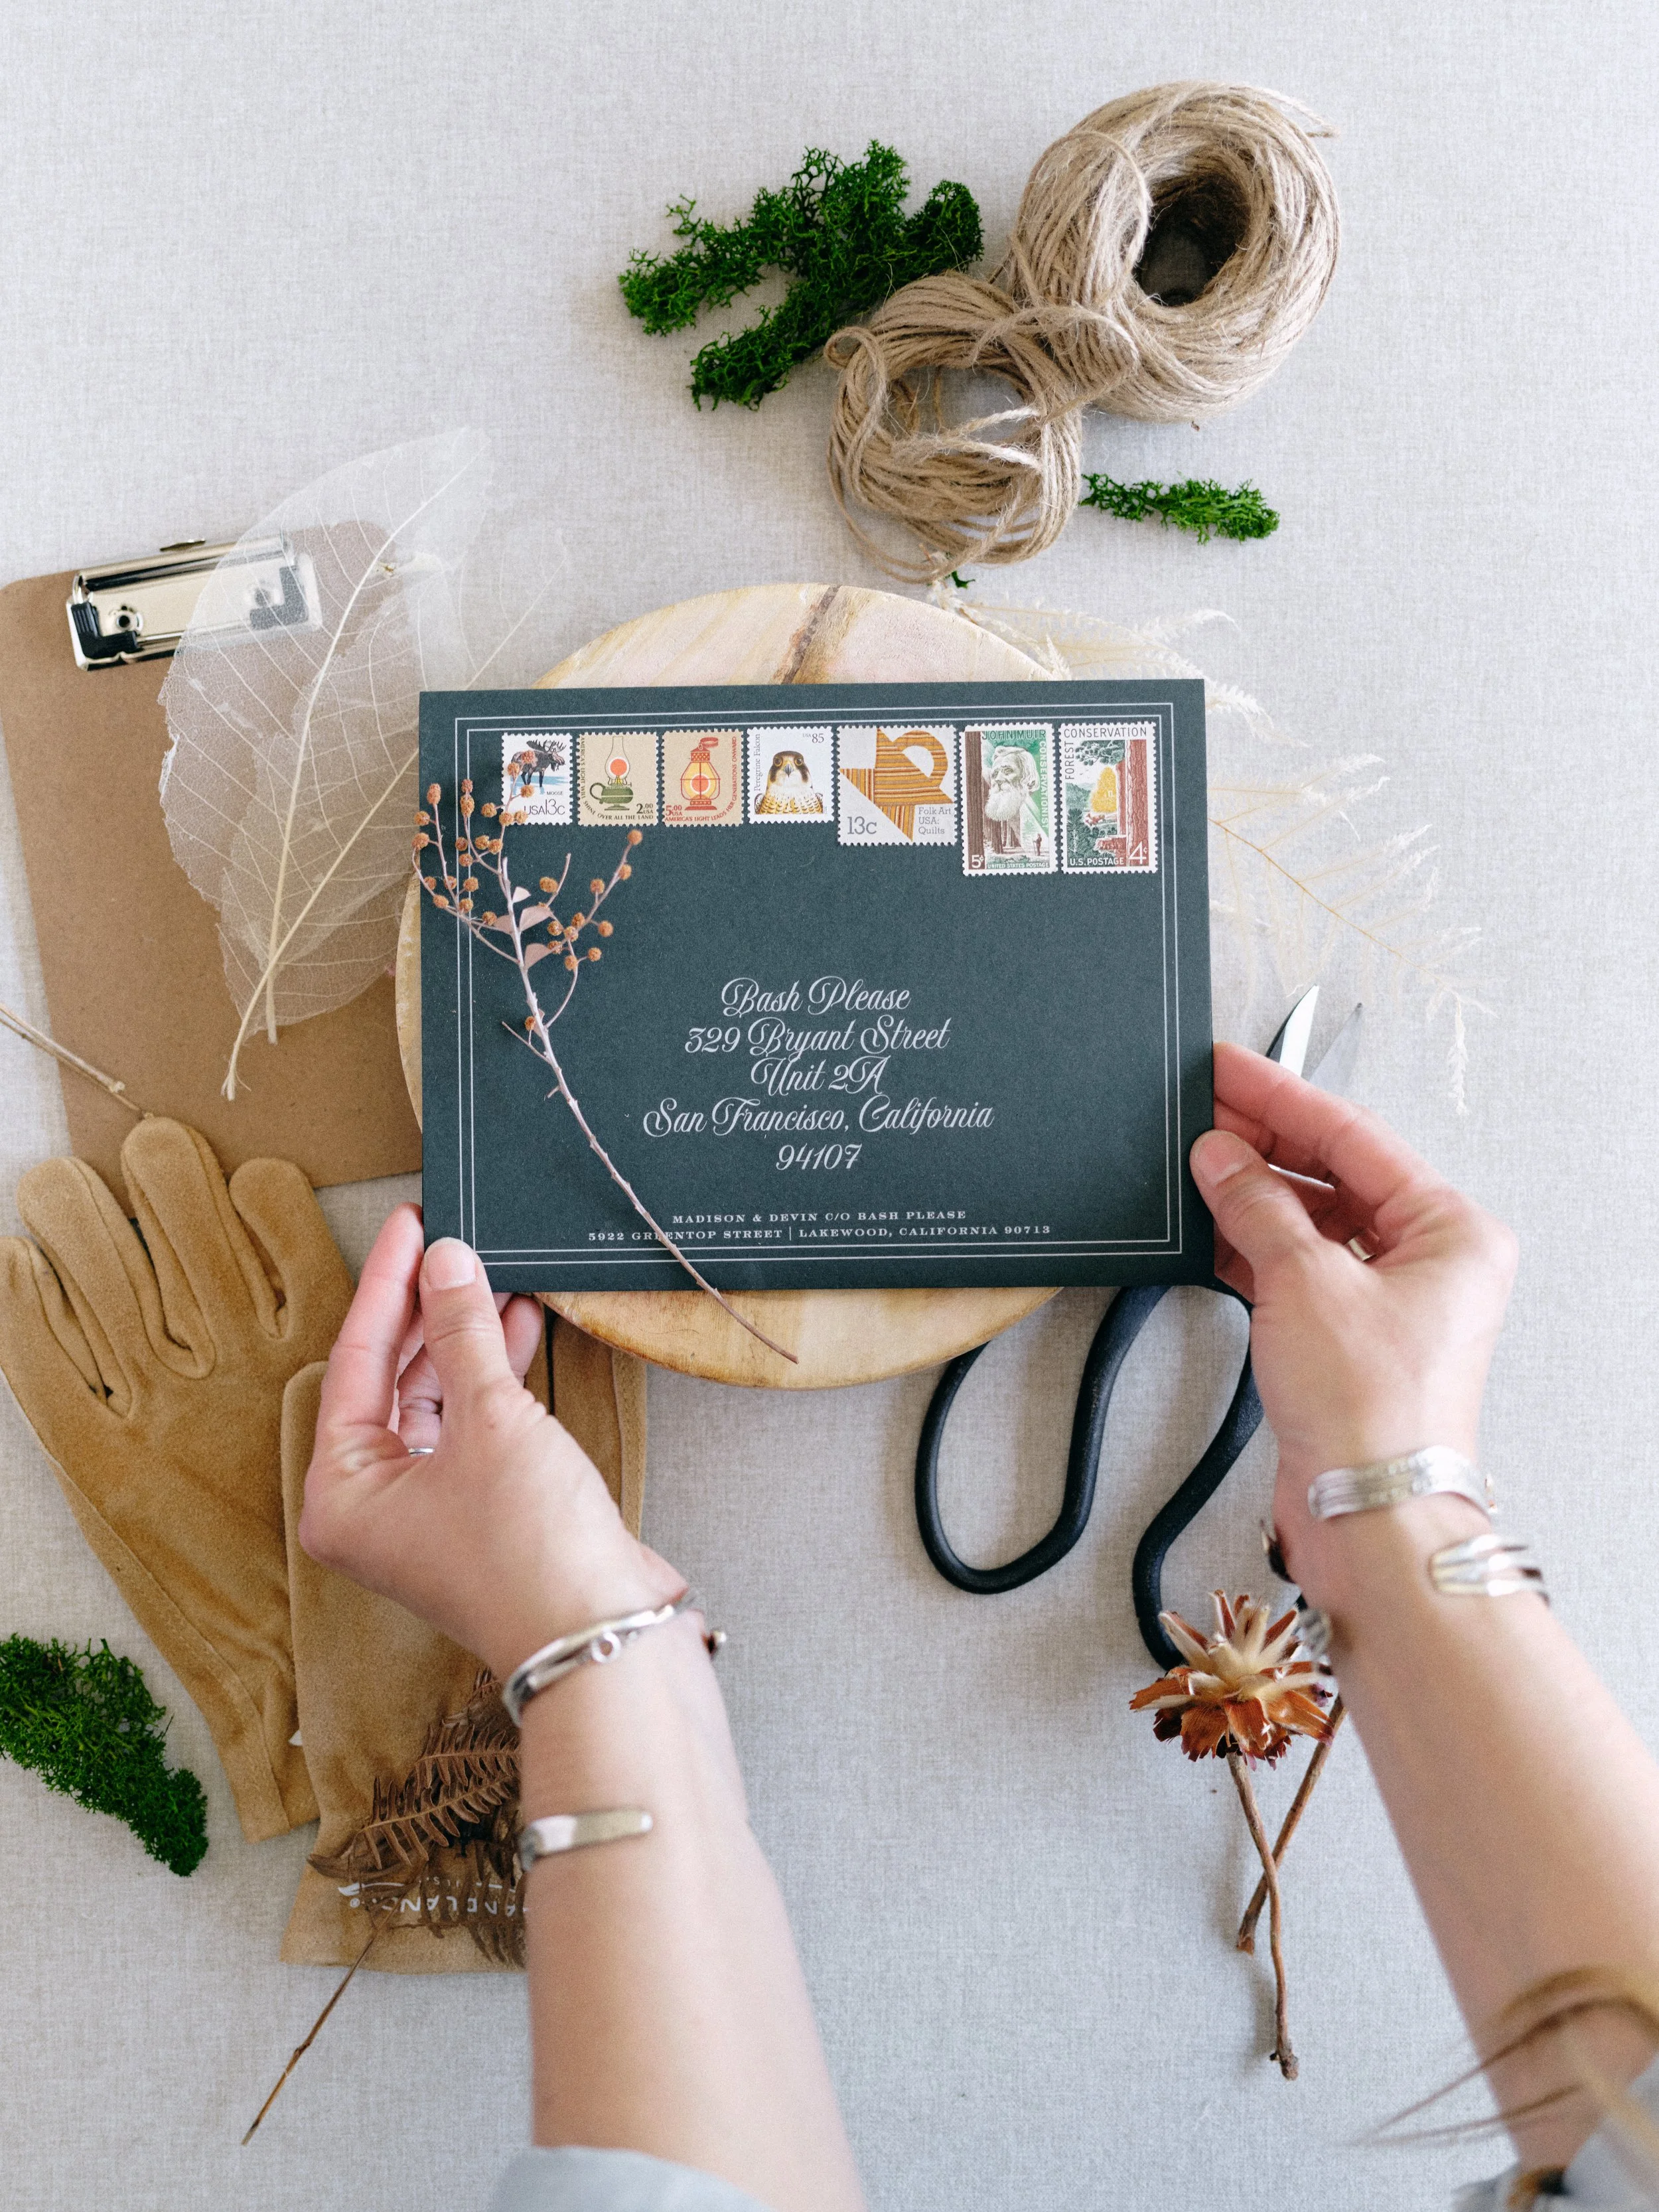
Hero element front and center. Supporting props around it. Surface doing the rest. That's the formula. Explore flat lay surfaces at chasingstone.com.
3. Control Your Light Source to One Direction
The single most common flat lay lighting mistake is shooting under overhead room lights or mixed light sources. Overhead light flattens everything. Mixed sources create conflicting color casts that are a nightmare to correct in post.
Professional flat lay photography uses one dominant light direction. Window light from one side is the gold standard. Position your surface perpendicular to a large window so light falls across your arrangement from a single angle. This creates subtle shadows that give objects dimension and separation from the surface, which is exactly the depth that makes flat lays look professional rather than clinical.
On overcast days, window light works beautifully without modification. On sunny days, diffuse it with a sheer white curtain or a dedicated diffusion panel between the window and your setup. Direct sun creates harsh shadows and blown highlights on reflective objects like jewelry, glass, and metallic surfaces.
Place a white foam core board or reflector on the shadow side of your arrangement to bounce light back and soften the contrast. This fill technique is subtle but transforms the quality of your lighting. The difference between a flat lay with harsh one-directional shadows and one with soft, filled shadows is the difference between amateur and professional results. For a deeper look at natural light techniques specifically for textured surfaces, see our guide to lighting hand-painted backdrops and surfaces.
And one more thing: turn off overhead room lights. Always. Even when they seem dim, they add a warm color cast underneath your daylight that creates muddy, inconsistent color. Your white balance will thank you.
4. Shoot Perfectly Parallel to Your Surface
This sounds basic, and it is. But even a slight tilt of two or three degrees is immediately visible in the final image, especially with rectangular objects like books, cards, phones, and invitation suites. Edges that should be parallel to the frame suddenly converge. Surfaces that should appear flat develop a subtle but distracting perspective warp.
A tripod with a horizontal center column or a boom arm is the easiest way to guarantee your camera stays perfectly parallel. If you're hand-holding (which works in a pinch), shoot at a slightly wider focal length than you need and plan to crop. This gives you margin to straighten in post without losing critical elements at the edges.
Use your camera's built-in level indicator if it has one. Many mirrorless cameras display a digital level in the viewfinder or on the rear screen. Enable it and use it for every single frame. The few seconds it takes to check your level saves significant time in post-production and produces cleaner, more professional results.
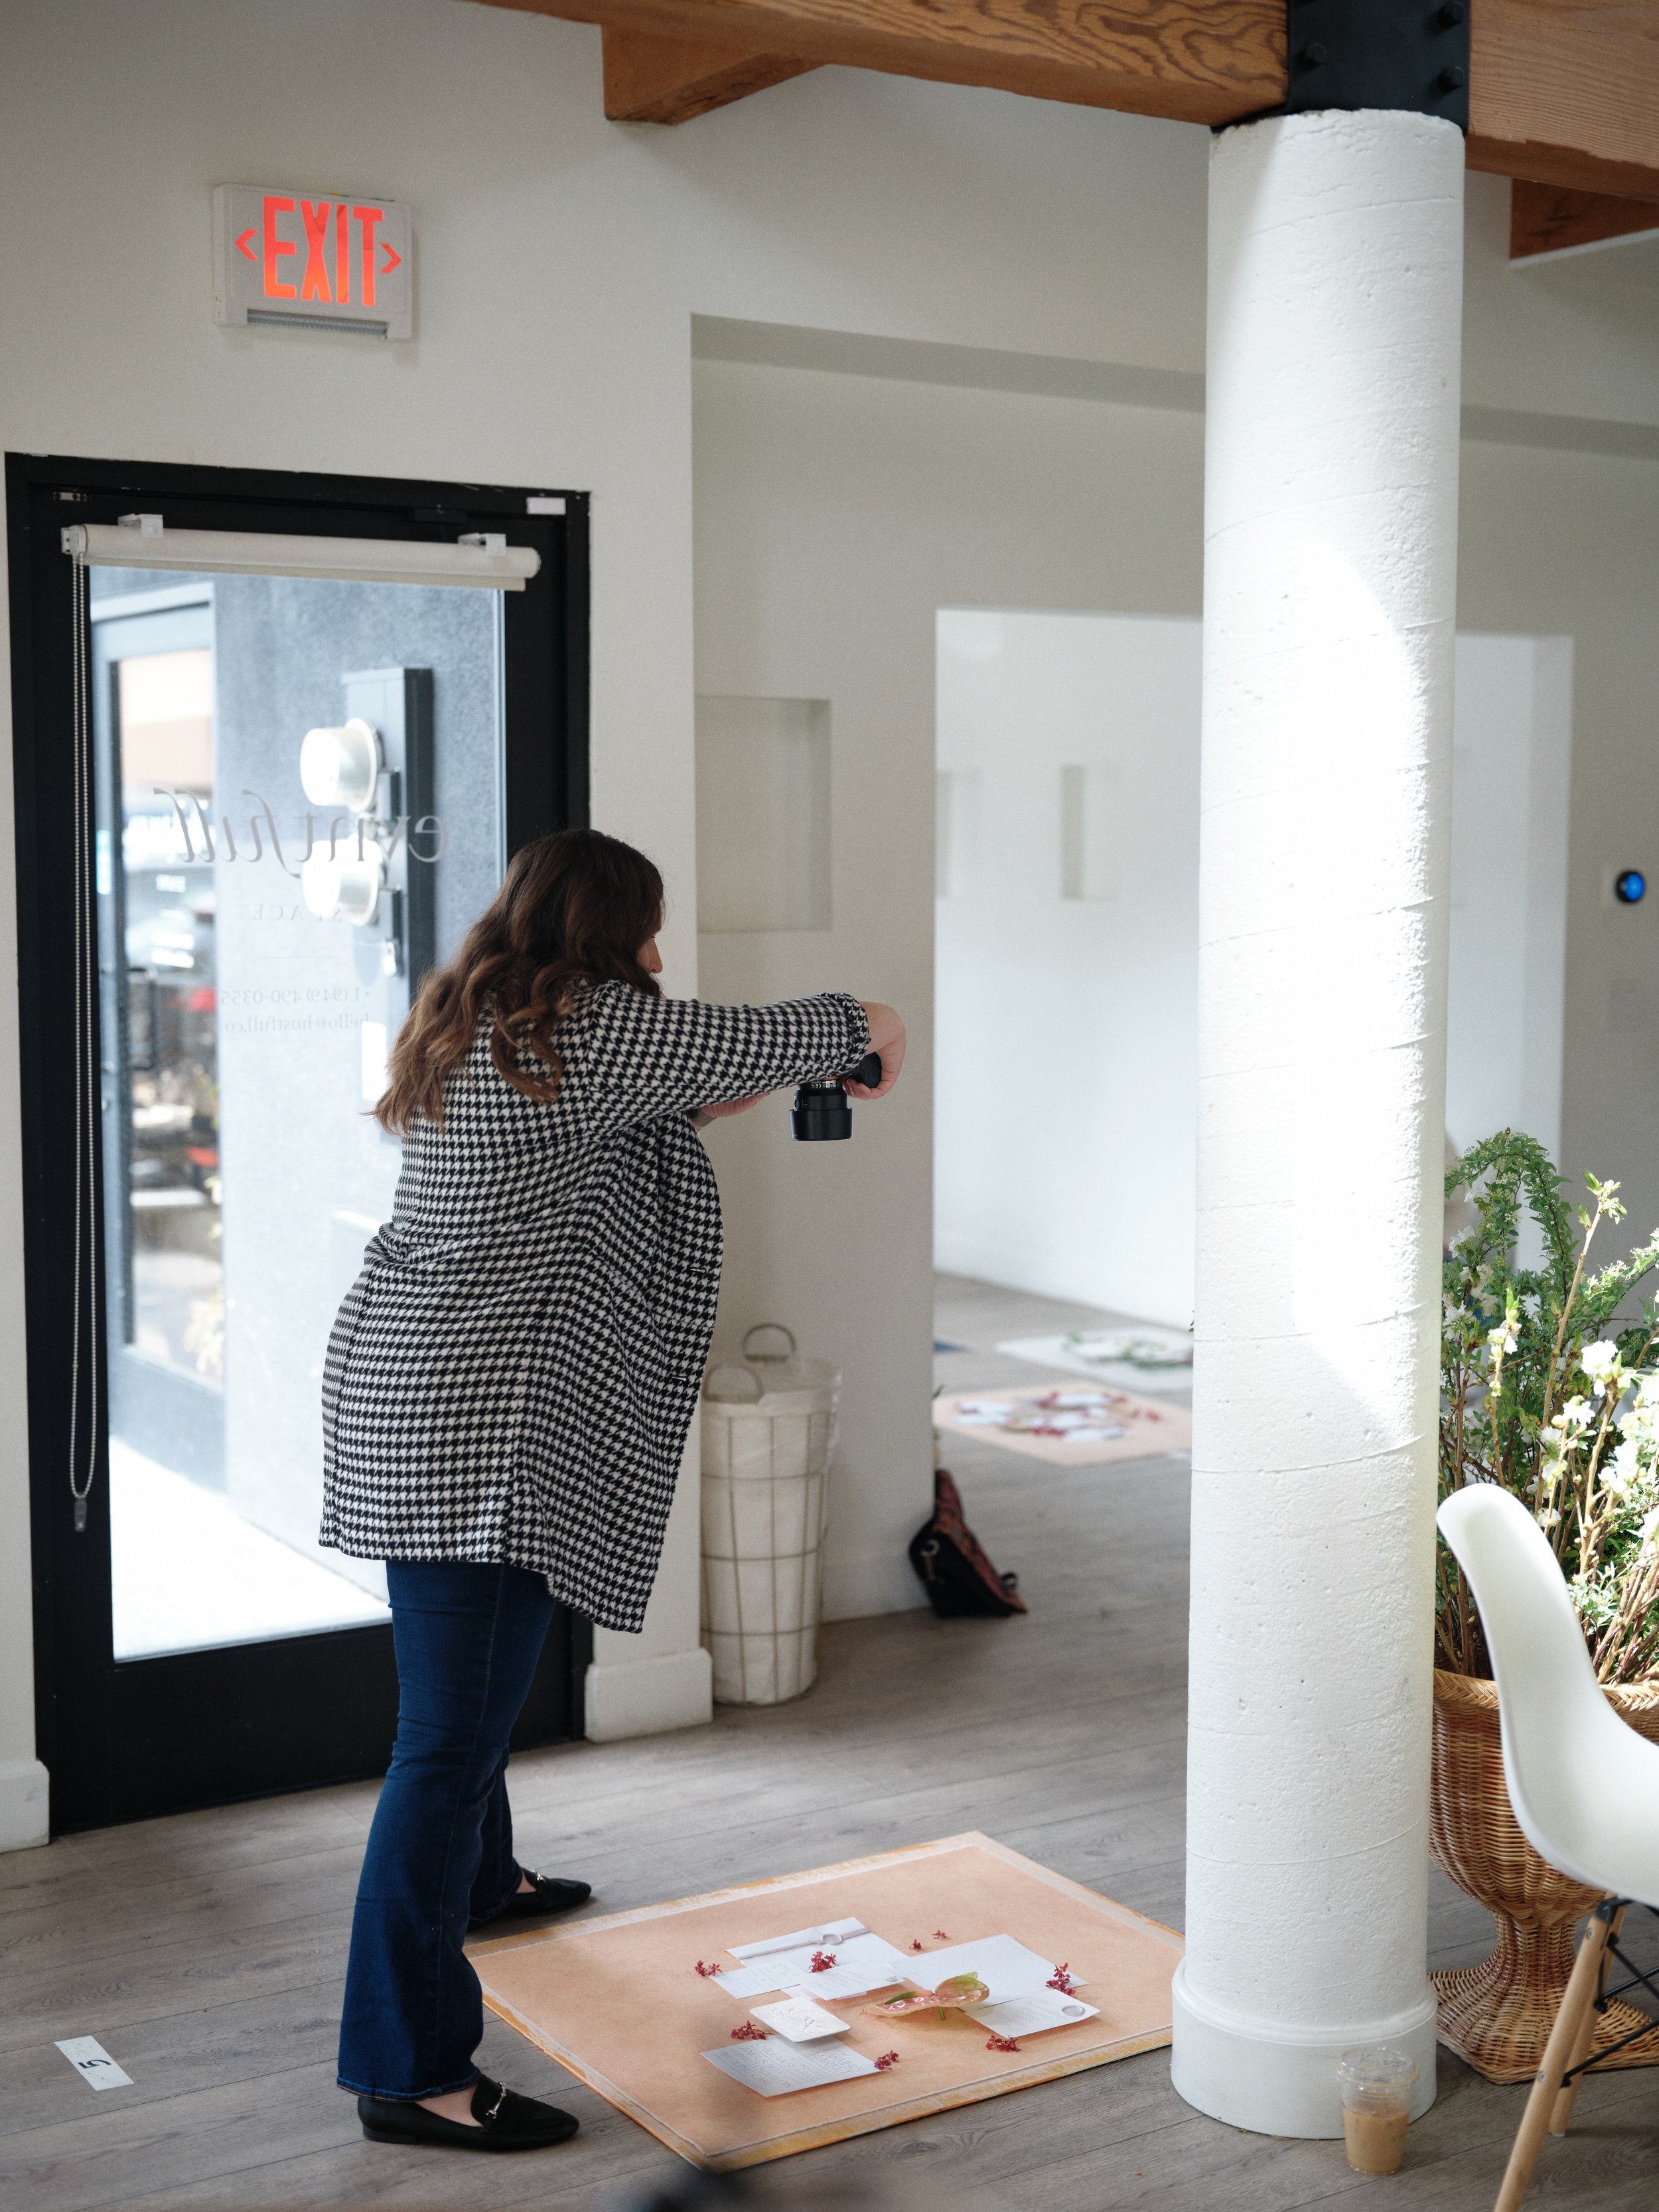
This is what flat lay photography actually looks like behind the scenes. A styling surface on the floor, natural light from a nearby window, and a camera held parallel overhead. No fancy studio required, just solid technique and the right foundation.
5. Apply the 60/40 Negative Space Ratio
New flat lay photographers almost always overstuff their compositions. More props, more items, more visual information crammed into every corner. It feels counterintuitive, but pulling elements out of your frame is almost always more effective than adding them.
The 60/40 approach is a reliable starting framework: let your objects occupy roughly 60% of the frame and leave the remaining 40% as open surface. That breathing room does critical compositional work. It gives the viewer's eye a place to rest. It makes your hero element more prominent. It creates a sense of calm intentionality rather than visual chaos. And it lets your surface texture contribute to the image rather than disappearing entirely behind props.
This ratio isn't a rigid rule. Some compositions benefit from tighter framing and more visual density. Others look best when objects occupy even less than half the frame. But when you're stuck and something feels off about your arrangement, the answer is almost always "remove something" rather than "add something." We cover this principle in detail along with other compositional pitfalls in our 10 Common Flat Lay Mistakes guide, and it remains the single most impactful adjustment most photographers can make.
6. Build Triangular Arrangements
The human eye naturally finds triangular compositions pleasing and balanced. Three anchor points create visual stability while still feeling dynamic, which is why triangles show up constantly in professional flat lay work whether the photographer planned them consciously or not.
Identify your three most important elements and position them in a triangular pattern. Your invitation suite in the upper left, rings in the lower center, and a perfume bottle in the right third, for example. Then fill in supporting elements along the lines connecting those three points. The result feels organized without looking rigid.
This technique scales beautifully. A minimal three-object flat lay uses one triangle. A more complex arrangement might layer multiple triangles, with larger objects forming one triangle and smaller accent pieces forming another within the same composition. The underlying geometry keeps everything feeling intentional even when the arrangement looks casual and organic on the surface.
7. Create Depth Through Layering and Overlap
Flat lay photography is, by definition, flat. Everything exists on a single plane. But the best flat lays create an illusion of depth that makes them feel dimensional and rich rather than like objects stuck to a board.
Overlapping is the simplest way to achieve this. Let a ribbon trail across an invitation. Position a ring box so it sits partially on top of an envelope. Tuck greenery underneath other elements so it peeks out from behind them. Each overlap creates a visual layer, and those layers communicate depth even in a perfectly overhead image.
You can also introduce literal dimension. Small risers, stacked books, or draped fabric create gentle elevation changes that catch light differently across the composition. A folded piece of silk ribbon sitting slightly above the surface creates a tiny shadow that reads as dimensional. A ring placed inside a slightly open box sits at a different height than the flat invitation next to it, and that height difference translates to visual richness.
The key is subtlety. You're not building a sculpture. You're adding small moments of dimension that reward closer inspection.
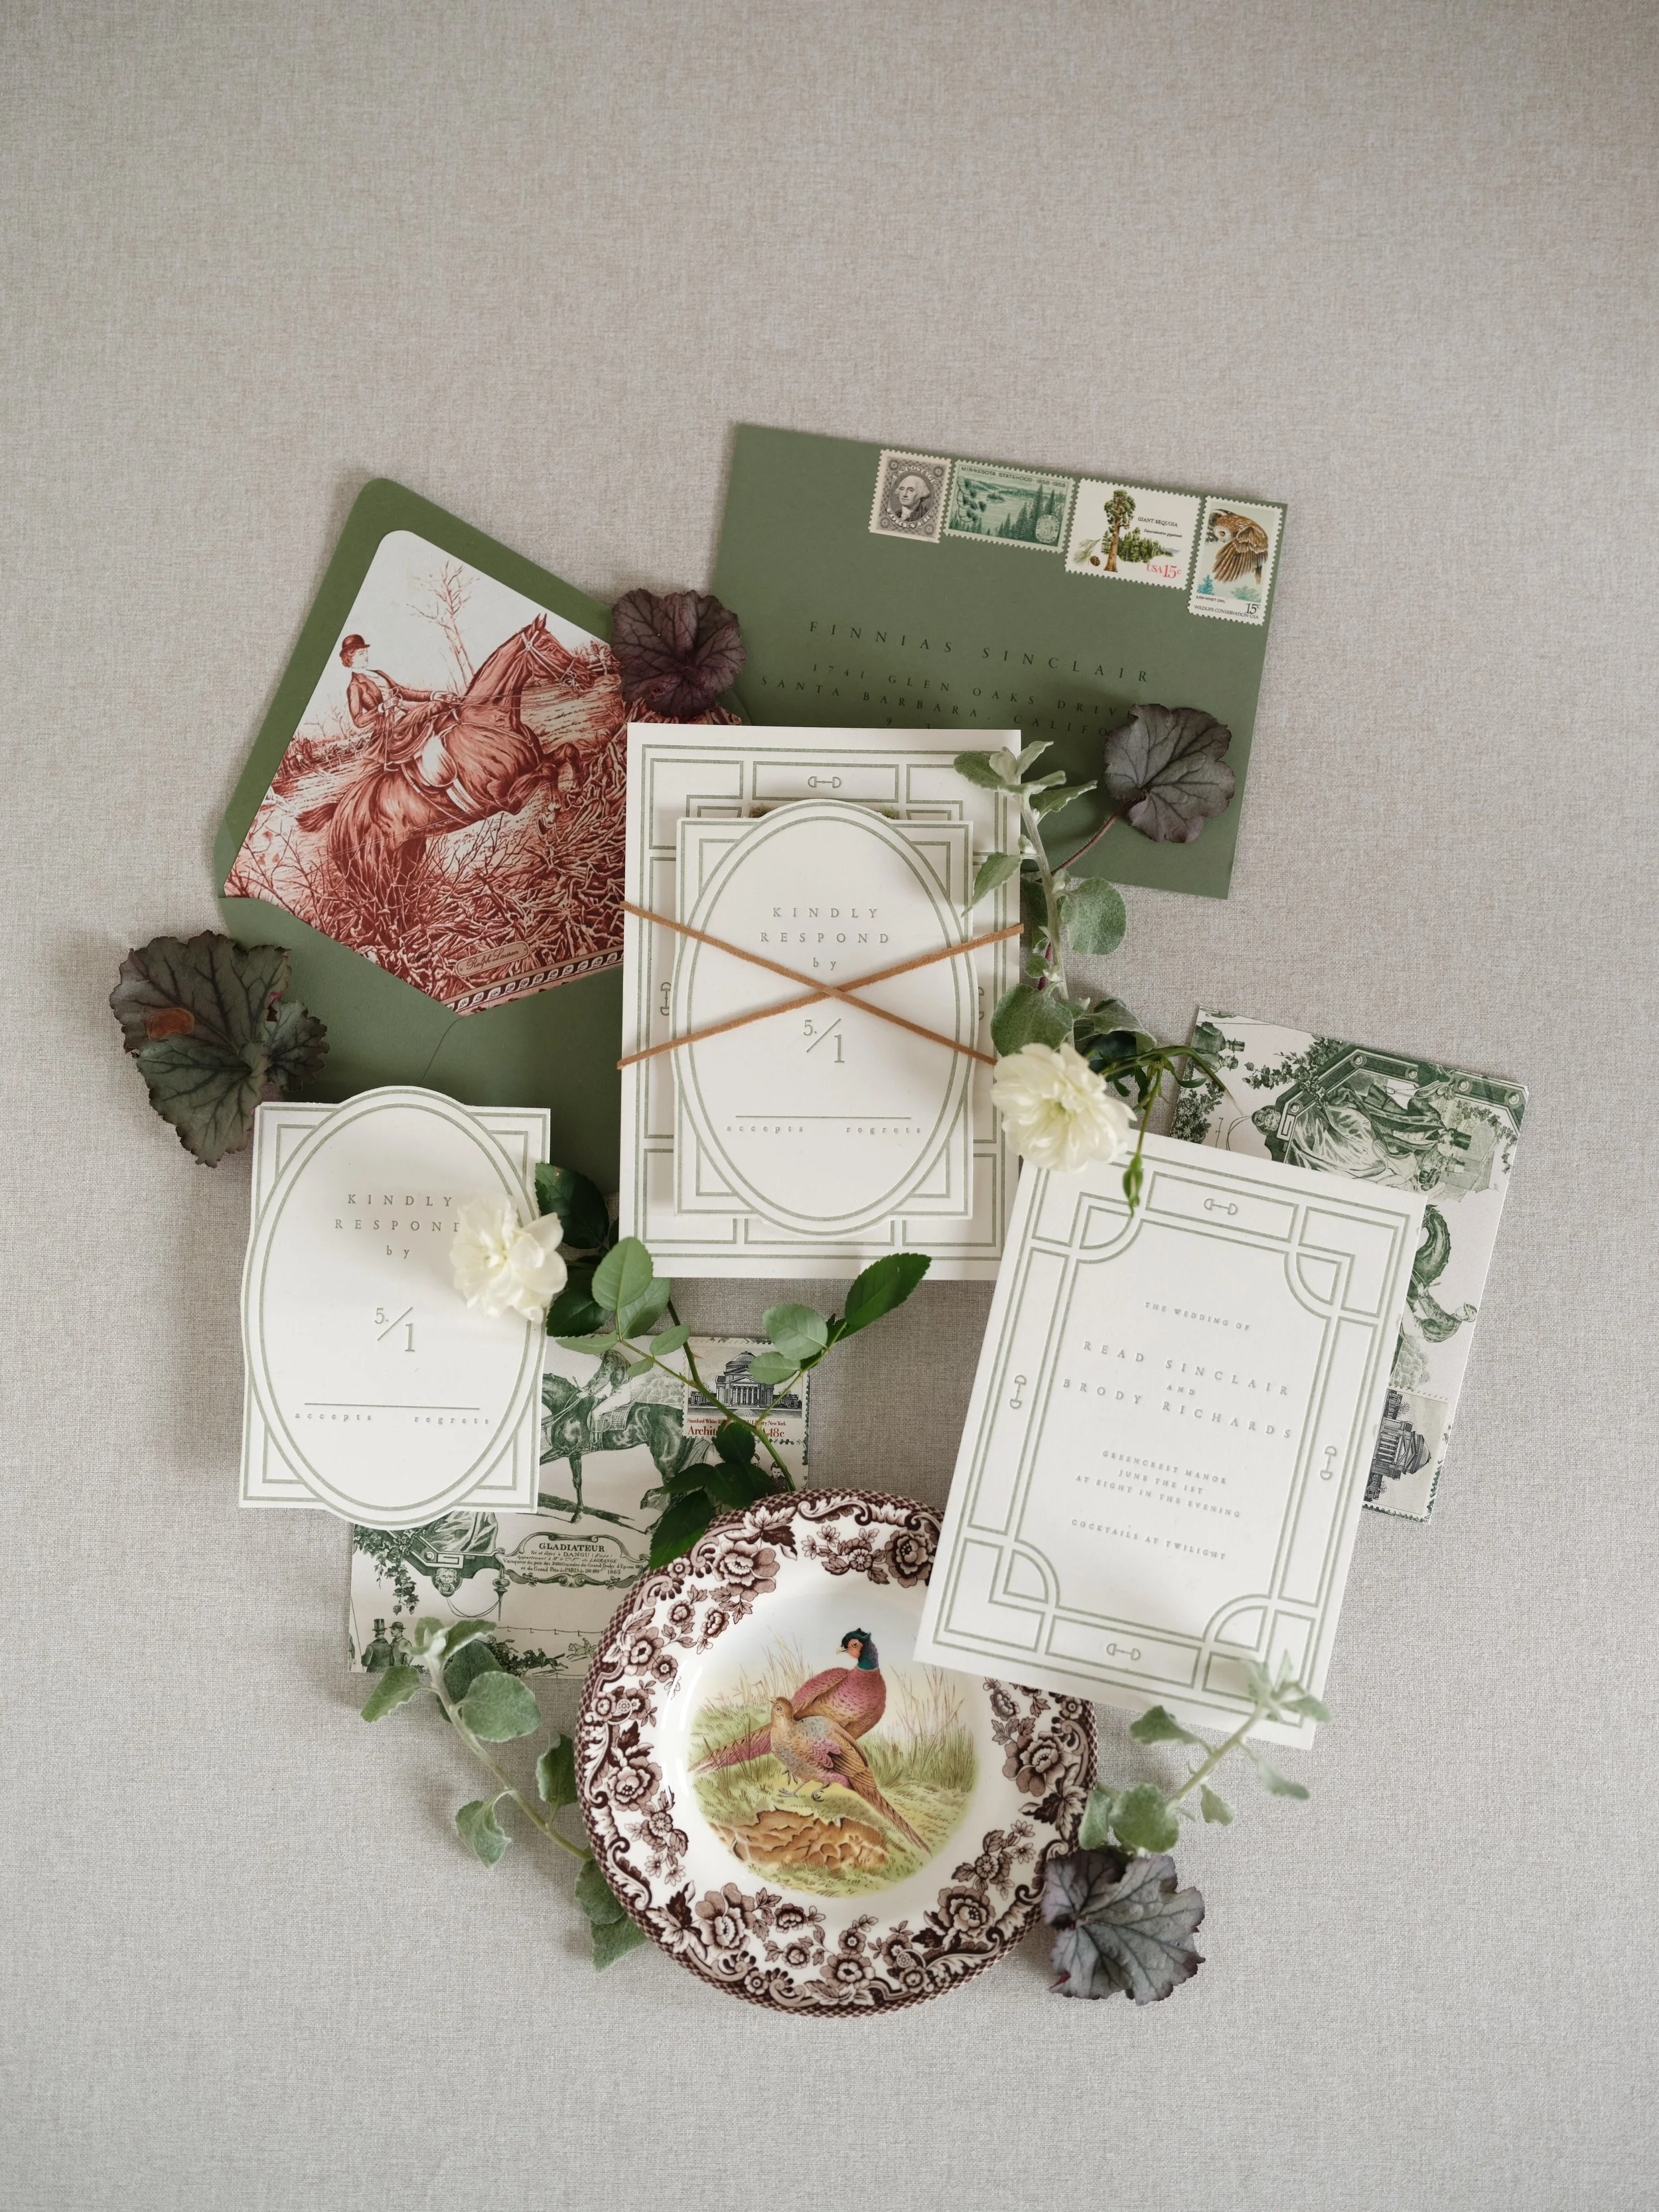
Layered stationery, overlapping elements, and green tones distributed across the frame so the eye travels naturally through the composition. Every detail here is intentional, and it starts with a surface that supports the palette instead of fighting it.
8. Style with Odd Numbers
Three tulips look more natural than two or four. Five macarons feel more organic than six. Seven styling elements create more visual interest than eight. This principle comes from floral design and visual art, and it applies directly to flat lay photography.
Even numbers create symmetry, and symmetry reads as static and formal. Odd numbers create a slight visual tension that the eye finds engaging. When you group identical or similar items, use odd quantities. When you're deciding how many supporting props to include around your hero element, lean odd.
This doesn't mean you should count every item obsessively. It means that when something feels too rigid or too symmetrical in your arrangement, pulling one item out often fixes it. A pair of earrings feels more interesting photographed alongside one ring rather than two. Three sprigs of eucalyptus feel more organic than four evenly spaced ones.
9. Use Color Flow to Guide the Eye
Strong flat lay compositions have intentional color distribution. Your viewer's eye moves through the image following color, jumping from one item of similar tone to the next. If all your white elements cluster on the left and all your dark elements sit on the right, the composition feels lopsided regardless of how carefully you positioned everything.
Distribute color deliberately. If you have three white objects, triangle them across the frame. If there's a single pop of color, place it where you want attention to land. Use your surface tone as the connecting tissue that ties disparate colors together, which is another reason your surface choice matters so much. A warm neutral surface unifies a collection of objects in a way that a stark white surface cannot.
This technique becomes even more important when you're working with a client's branded colors or a wedding's specific palette. If the color palette includes navy, blush, and gold, make sure each of those colors appears in at least two or three places across the frame, distributed so the eye travels smoothly rather than getting stuck in one area. Check out this guide on color theory for photographers.
10. Shoot Tethered Whenever Possible
Tethering your camera to a laptop or tablet transforms your flat lay workflow in ways that are hard to appreciate until you've tried it. When you're shooting directly overhead, your camera's LCD screen faces the ceiling. You can't see what you're capturing without craning your neck awkwardly or climbing up and down constantly.
Tethered shooting displays your image in real time on a larger screen at a comfortable viewing angle. You can see composition issues, exposure problems, and styling adjustments instantly without moving away from your setup. You can nudge a ring two millimeters to the left and immediately see whether it helped. That real-time feedback loop dramatically accelerates your styling process.
Lightroom, Capture One, and even some free apps offer tethered shooting support. The technical setup takes a few minutes, but it saves significant time per session and produces noticeably better results. For on-location work where full tethering isn't practical, many photographers use wireless camera-to-phone apps as a lighter alternative. Either way, getting your image onto a screen you can actually see while styling changes everything.
11. Manage Reflections Before You Shoot, Not After
Rings, glass bottles, metallic surfaces, phone screens, and glossy paper all create reflections that are far easier to prevent than to fix in post-processing. The time to deal with reflections is during setup, not during editing.
Start by identifying every reflective surface in your arrangement. Then check what those surfaces are reflecting. Often, it's the ceiling, your camera, your own face, or a nearby light source. Small angle adjustments solve most reflection issues. Tilting a ring box five degrees, rotating a perfume bottle slightly, or shifting the angle of a metallic frame can eliminate a distracting hotspot without changing the composition.
For persistent reflections, a polarizing filter on your lens can reduce glare from glass and shiny surfaces. It's not a cure-all, and it costs you about a stop of light, but for product and detail photography involving lots of reflective elements, it's worth keeping in your kit.
And watch for your own reflection. When shooting directly overhead, your dark shirt or your camera lens can appear in glossy surfaces below. Wear a neutral-colored top and position your camera slightly to the side if needed.

Patent leather, glass, and metallic surfaces in one flat lay? That's a reflection management challenge. The right surface and single-direction lighting make it work. Shop hand-painted styling surfaces at chasingstone.com.
12. Create Visual Movement with Diagonal Lines
Perfectly aligned horizontal and vertical arrangements look orderly, but they can also feel static. Introducing diagonal lines adds energy and visual flow that makes flat lays feel more dynamic and less like a catalog grid.
Diagonal movement can come from many places: a ribbon trailing from upper left to lower right, a row of items arranged on a slight angle, a piece of greenery pointing diagonally across the frame, or simply rotating your hero element a few degrees off-axis. These diagonals create leading lines that guide the viewer's eye through the composition rather than letting it settle in one spot.
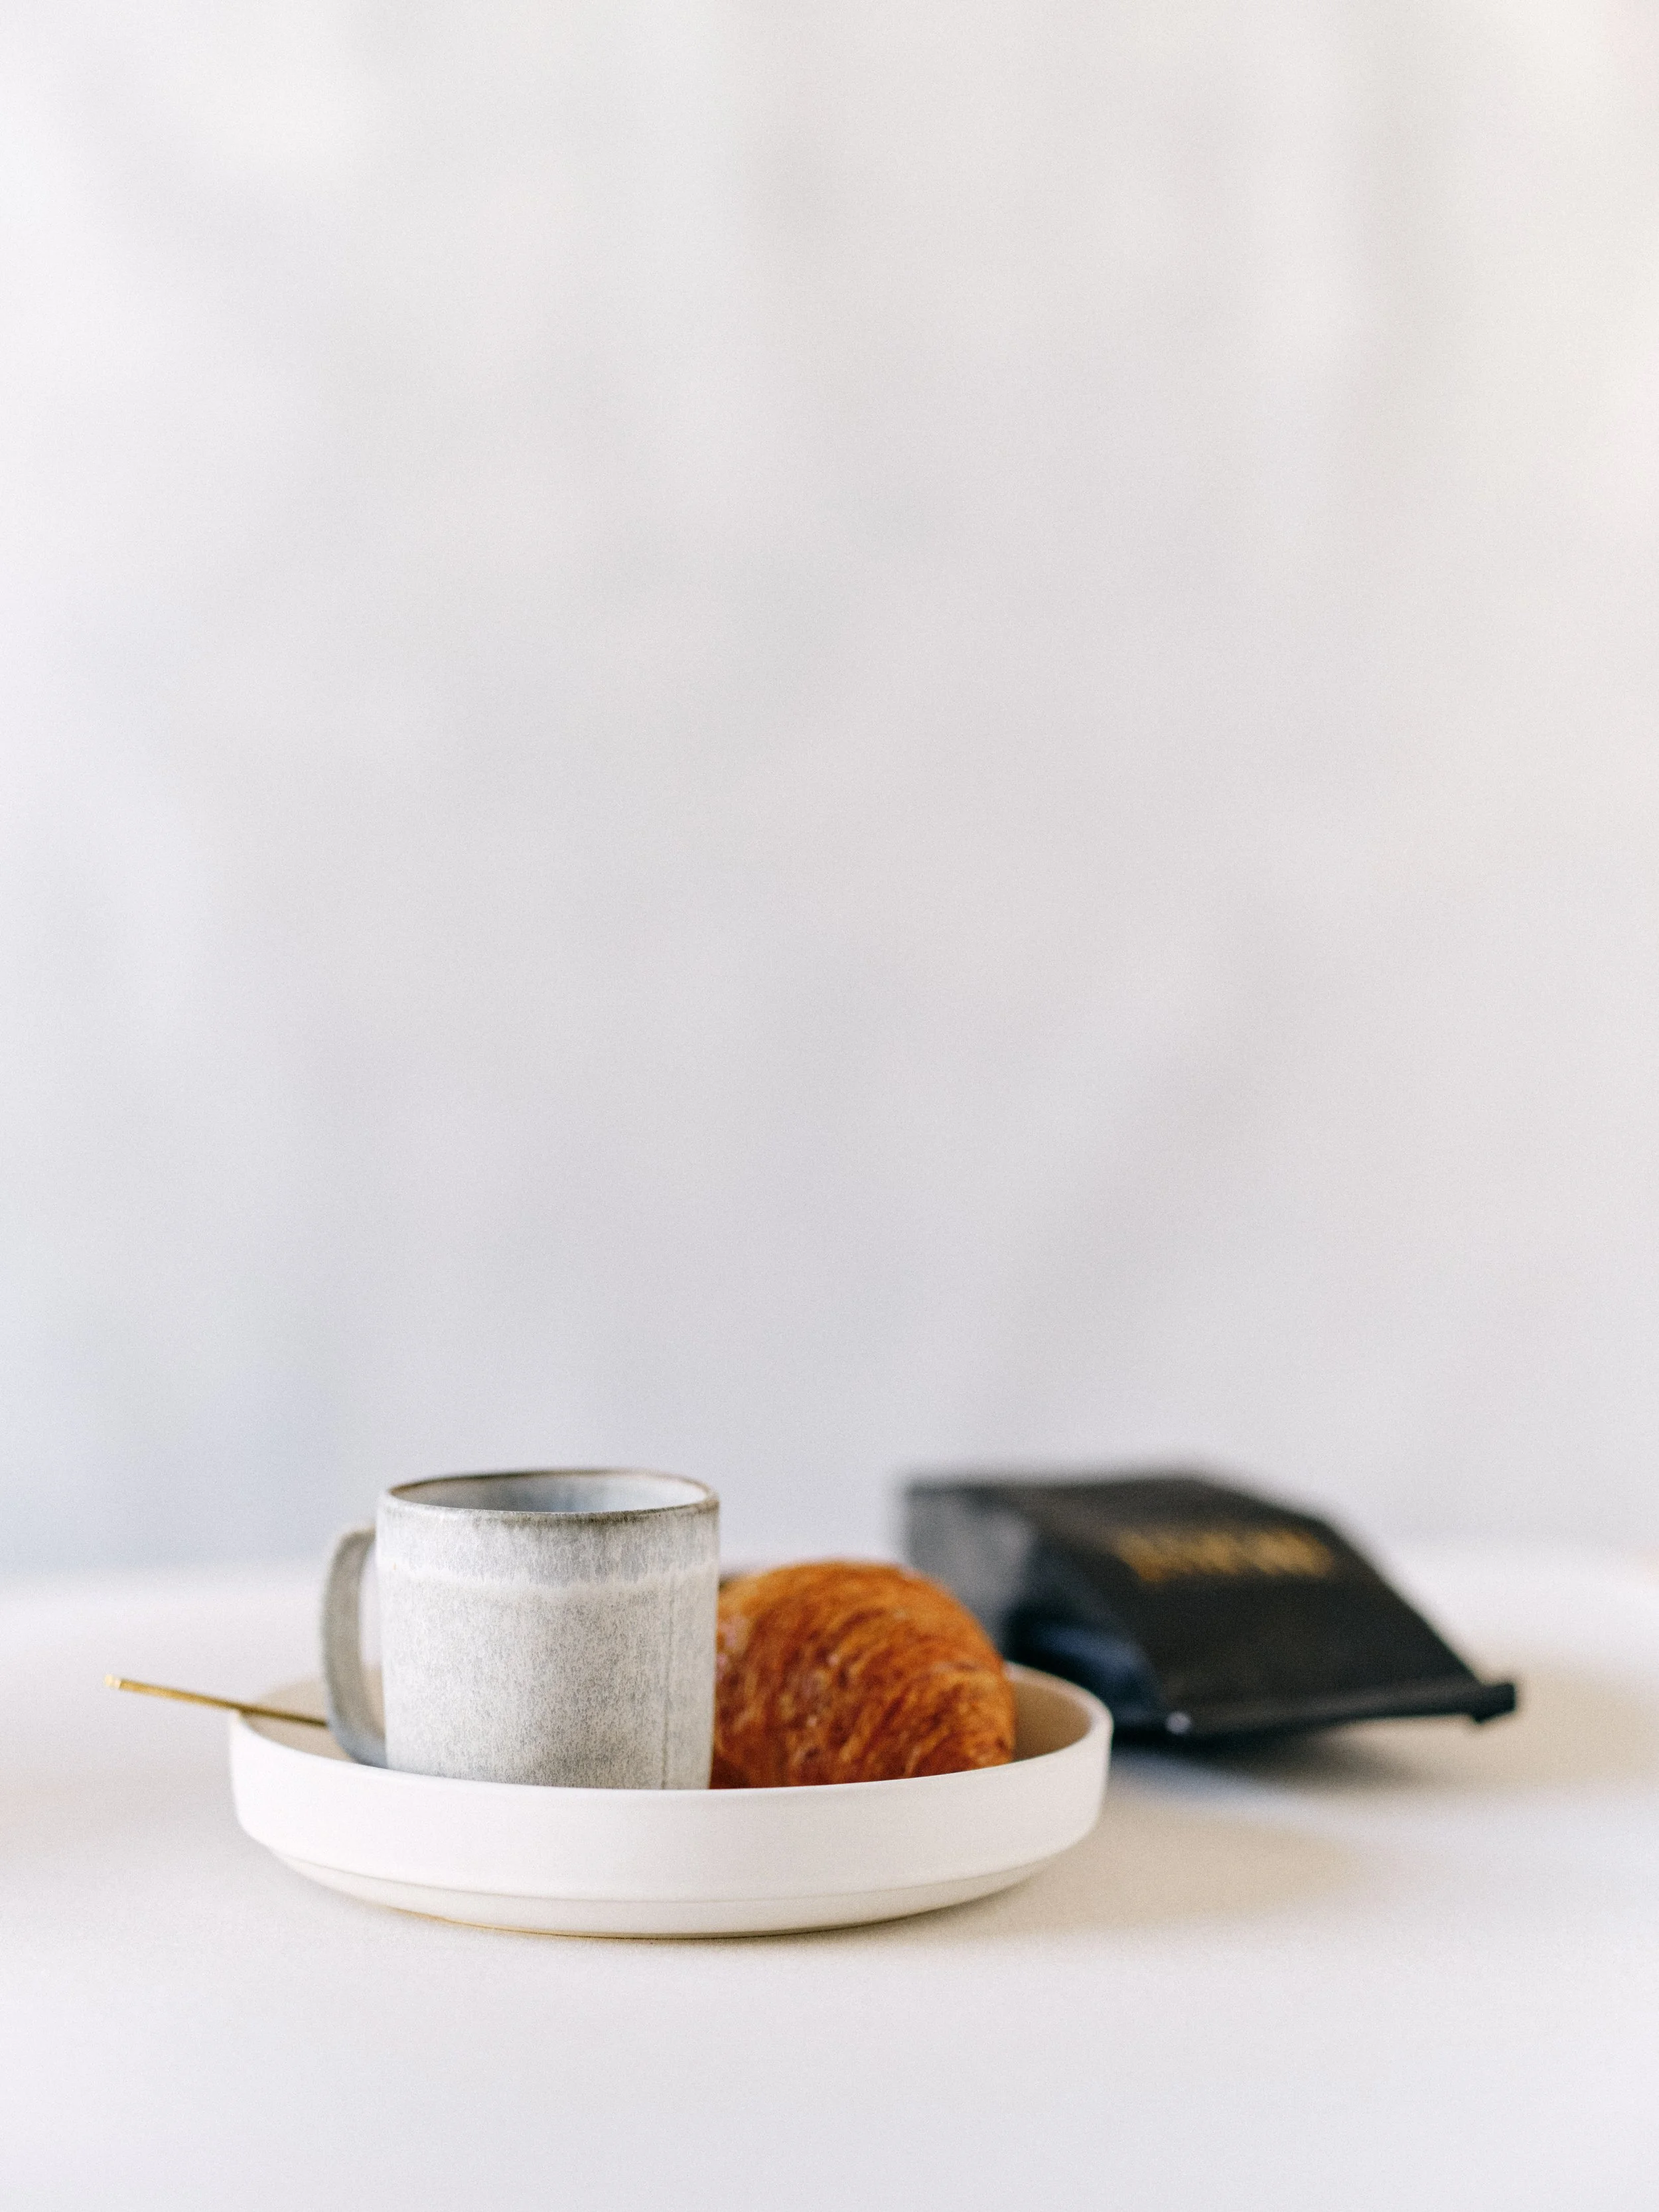
The technique works especially well for lifestyle and food flat lays where you want a sense of casual, in-the-moment energy. An overhead shot of a breakfast scene with the newspaper angled, the fork positioned diagonally, and a napkin draped at an angle feels lived-in and authentic. The same objects perfectly squared to the frame edges feel staged and stiff.
13. Build a Consistent Prop Kit
The photographers who produce consistently strong flat lays aren't reinventing their prop collection for every shoot. They've built a small, curated kit of versatile styling elements that work across a wide range of scenarios.
A solid starter prop kit for flat lay photography includes a few neutral fabric elements (linen napkins, silk ribbon in two or three tones, a piece of raw cotton or muslin for texture), some organic items you can refresh as needed (dried florals, small branches, loose petals, fresh greenery from your yard), and a few hard goods (a vintage tray, an interesting book, a small ceramic dish or two).
Keep your prop kit edited. Too many options lead to overcomplication. The photographers who shoot the cleanest flat lays tend to work from a surprisingly small selection of elements they know intimately, surfaces they've tested in every light, and a handful of accent pieces that play well together. We go deeper on DIY prop building in our flat lay styling props guide, which covers how to source beautiful props from items you already own.
14. Photograph the Same Arrangement Multiple Ways
One of the biggest missed opportunities in flat lay photography is shooting a single composition and moving on. Professional photographers understand that each arrangement contains multiple images if you're willing to look for them.
Start with the full scene at your widest useful focal length. Then move in. Isolate two or three elements from the larger arrangement. Get a tight detail shot of just the hero item with the surface texture showing around it. Shoot one frame with everything sharp and another with a wider aperture so the edges soften into beautiful blur. Rotate your camera between horizontal and vertical orientations.
The hardest part of flat lay photography isn't adding more. It's knowing when to stop. This entire composition is three elements on a clean surface, and it works because there's nothing competing for your attention.
A single flat lay setup can produce five to ten distinct images that serve different purposes: a full scene for blog posts, a tight crop for Instagram, a detail shot for printed albums, and a vertical frame for Pinterest and stories. This approach maximizes the time you invest in styling and gives you far more usable content from each session. For wedding photographers specifically, this multi-shot approach means your flat lay portion of the day produces enough variety to fill an entire album spread rather than a single page. Our complete wedding flat lay guide walks through this multi-angle workflow in detail, including exactly which crops and compositions work best for different deliverables.
15. Edit for Consistency, Not Perfection
The flat lay images that build brands and attract clients share a consistent look across an entire portfolio. Individual image perfection matters less than cohesive quality across the body of work.
Develop a base editing preset that works for your flat lay photography and apply it consistently. Adjust individually as needed, but start from the same place every time. Your white balance should be consistent. Your contrast and saturation levels should feel similar from image to image. The color rendering of your surfaces should match across different sessions and lighting conditions.
This consistency is what makes a portfolio feel intentional and professional. When a potential client scrolls through your work and sees flat lays that share a cohesive color palette, similar tonal qualities, and a recognizable styling sensibility, they experience your work as a brand rather than a collection of individual images. That perception of brand consistency is what commands premium pricing across every photography niche.
Pay particular attention to surface colors in your editing. If you're using the same styling surface across multiple sessions, it should look the same across the portfolio. Inconsistent white balance between sessions makes the same surface appear as three different colors, which undermines the cohesion you're working to build.
The Equipment That Makes a Difference
You don't need specialized gear to start shooting flat lays. A camera (or phone), natural light, and a decent surface will get you further than most people expect. But as you refine your flat lay work, a few targeted investments have an outsized impact on quality and efficiency.
A 50mm prime lens is the flat lay workhorse. It provides clean rendering without the edge distortion that wider lenses introduce, and it's fast enough to work in lower light situations. A macro lens in the 85mm to 100mm range is excellent for tight detail shots of rings, textures, and small objects. Avoid anything wider than 35mm for flat lay work, as the barrel distortion warps rectangular items like invitations and books.
A sturdy tripod with a center column that tilts horizontally or a boom arm attachment keeps your camera perfectly level and frees your hands for styling. This single piece of equipment makes the biggest practical difference in your flat lay workflow. For a comprehensive gear rundown including camera recommendations, lens options, lighting equipment, and complete kit lists, see our Essential Photography Gear for Wedding Flat Lays guide.
The other investment that transforms flat lay quality overnight is your working surface. Dedicated flat lay surfaces eliminate the biggest variable in on-location shooting: whatever random surface the venue happens to have. When you bring your own surface, you control the foundation of every composition regardless of venue conditions. That control is what allows you to apply every technique in this guide consistently, session after session, whether you're shooting in a five-star hotel suite or a cramped Airbnb bedroom.
Putting It All Together
These fifteen techniques aren't meant to be applied all at once to a single image. They're a toolkit. Some sessions call for dramatic diagonal energy and tight, layered compositions. Others demand minimal arrangements with generous negative space and soft, diffused light. The skill is in reading the situation, understanding what the subject needs, and reaching for the right technique at the right moment.
Start with the fundamentals: one directional light source, a quality surface, a clear hero element, and room to breathe. Master those four things and your flat lay photography will improve noticeably. Then layer in the more nuanced techniques over time. Triangular arrangements, color flow, odd number groupings, and diagonal movement will become second nature as you practice.
The photographers producing the flat lay work that earns publication features, drives social engagement, and books premium clients are working from these same principles. They're not relying on luck or natural talent. They've built systems that produce consistent quality under real-world conditions, whether that's a perfectly controlled studio environment or a hotel room at 7 AM on a wedding morning with fifteen minutes to get the shot.
That kind of consistency starts with understanding the techniques. The rest is practice.
Ready to build your flat lay kit? Explore hand-painted styling surfaces, spill-proof fabric mats, and professional photography backdrops at chasingstone.com.
Sources and Further Reading
Composition and Visual Theory:
Freeman, M. (2007). The Photographer's Eye: Composition and Design for Better Digital Photos. Focal Press. (Foundational text on visual composition principles including the rule of thirds, triangular composition, and negative space theory applied here in techniques 2, 5, 6, and 12.)
Peterson, B. (2010). Learning to See Creatively: Design, Color, and Composition in Photography. Amphoto Books. (Color flow and odd-number grouping principles referenced in techniques 8 and 9.)
Lighting for Product and Still Life Photography:
Hunter, F., Biver, S., & Fuqua, P. (2021). Light: Science and Magic: An Introduction to Photographic Lighting (6th ed.). Routledge. (Industry-standard reference on single-source directional lighting, managing reflections on specular surfaces, and fill light ratios discussed in techniques 3 and 11.)
Hicks, R. & Schultz, F. (2000). Lighting for Food Photography. RotoVision. (Overhead and side-lighting techniques for product-on-surface photography applied throughout.)
Professional Flat Lay Technique:
Adobe Creative Cloud. "Flat Lay Photography: A Beginner's Guide." Adobe.com. (Cited for foundational flat lay setup principles including camera positioning, prop selection, and storytelling through object arrangement.)
Canon Europe. "Shoot Striking Flat Lays." Canon-Europe.com/get-inspired. (Referenced for professional tethering workflow and the multi-angle shooting approach described in technique 14, featuring commercial photographer Chris Priestley's studio methodology.)
Styling and Color Theory:
Eiseman, L. (2017). The Complete Color Harmony: Expert Color Information for Professional Results. Rockport Publishers. (Color distribution and palette cohesion principles applied in technique 9.)
Itten, J. (1970). The Elements of Color. Van Nostrand Reinhold. (Foundational color theory on complementary and analogous relationships referenced in the discussion of surface-to-subject color interaction in techniques 1 and 9.)

Creators of premium photography backdrops and styling surfaces
Trusted by thousands of discerning creatives worldwide
Every piece is handcrafted with intention in Orange County, California